


Configuring authentication for SSL-VPN users
The process described in this guide is for enabling secure authentication through FortiAuthenticator. It does not include full configuration instructions for enabling SSL-VPN. For more information on configuring SSL-VPN, please see the FortiGate Cookbook on the Fortinet Documentation Library.
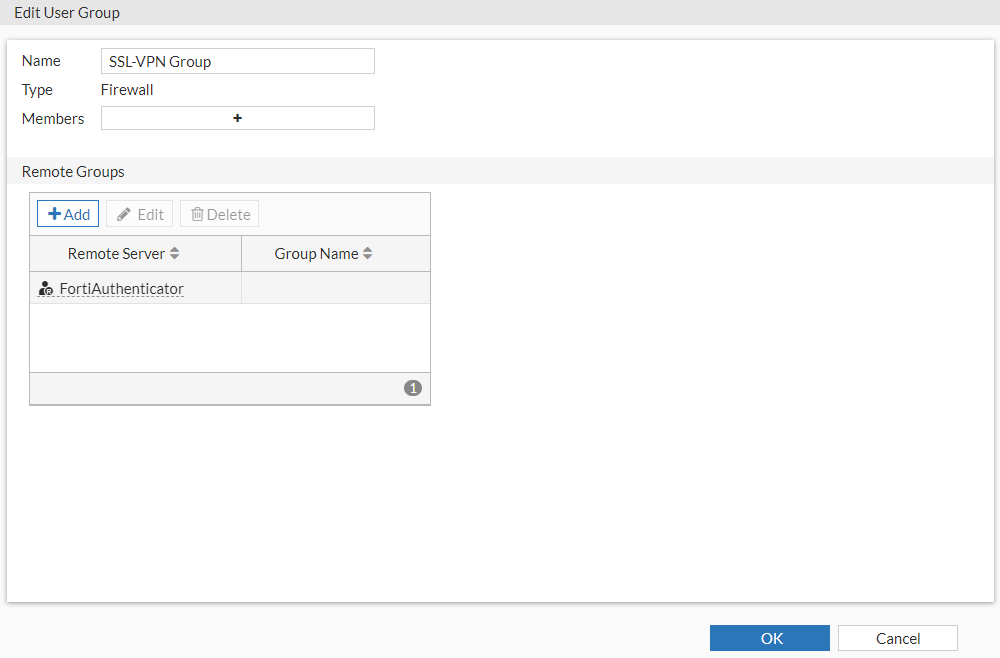
In order to set up authentication for SSL-VPN users, you must first create a new user group.
To create a user group:
- Go to User & Authentication > User Groups, and select Create New.
- Enter a name for the user group, for example: SSL-VPN Group.
- Select Firewall as the type.
- Under Remote Groups, click Add, and select the FortiAuthenticator RADIUS server from the dropdown menu. Click OK.
You can now create a firewall policy which enables SSL-VPN access into your chosen network.
To configure the SSL-VPN settings:
- Configure the SSL VPN web portal.
- Go to VPN > SSL-VPN Portals to edit the full-access portal.
- Disable Enable Split Tunneling so that all SSL VPN traffic goes through the FortiGate.
- Configure the SSL VPN settings.
- Go to VPN > SSL-VPN Settings.
- Select the Listen on Interface(s).
-
Set Listen on Port to
10443. - Set Service Certificate to the authentication certificate.
- Under Authentication/Portal Mapping, select the full-access portal for the SSL-VPN group, and choose a portal for All Other Users/Groups.
- Configure the SSL VPN Firewall policy.
- Go to Policy & Objects > Firewall Policy, select IPv4 from the dropdown on the right, and select Create New.
- Fill in the firewall policy name.
- Set the Incoming Interface to the SSL-VPN tunnel interface(ssl.root).
- Set the Source to all and Source User to the SSL-VPN group.
- Set the Outgoing Interface to the local network interface so that the remote user can access the internal network.
- Set the Destination to the internal protected subnet.
- Set the Schedule to always, Service to ALL, and Action to ACCEPT.
- Enable NAT.
- Configure any remaining firewall and security options as desired.
- Click OK.
Open a new browser and navigate to the SSL VPN web portal identified when you set up the SSL-VPN settings (example: 172.27.2.247:10443). Enter a valid username and password, and select Login, and you will be prompted to enter a FortiToken PIN. Once entered, you will have access to the SSL VPN tunnel.