


FortiSwitch Manager support for per-device management mode
You can use FortiSwitch Manager in per-device management mode. All changes saved to the FortiGate database can be installed to the FortiGate.
To enable per-device management mode:
- Ensure that central management is disabled for FortiSwitch Manager.
- Go to System Settings > All ADOMs.
- Double-click an ADOM to open it for editing.
- In the Central Management area, clear the FortiSwitch check box, and click OK.

- Go to FortiSwitch Manager > Managed Switches.
Per-Device Management is displayed for the panes.

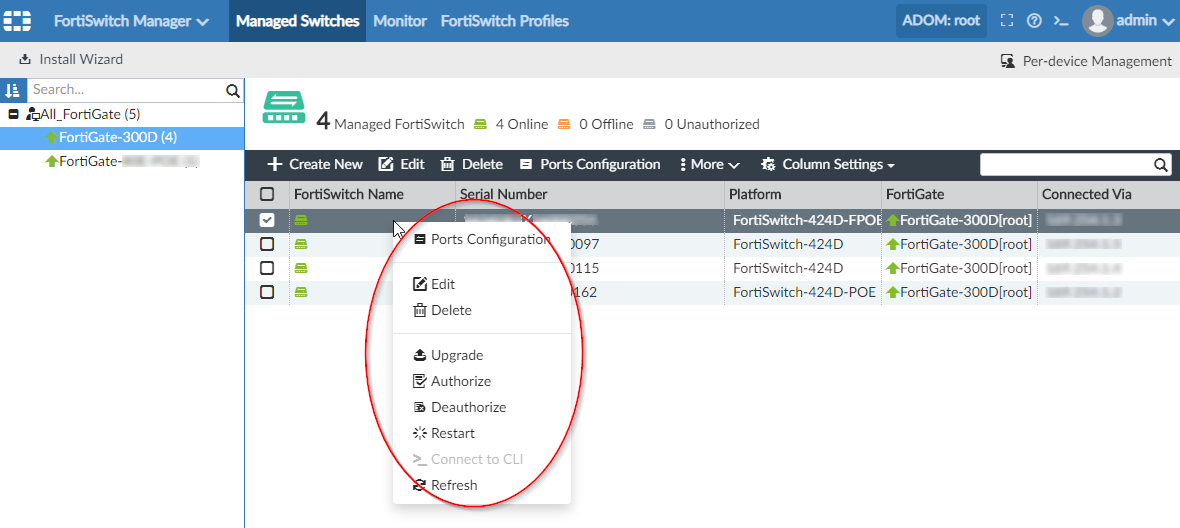
- On the Managed Switches page, right-click the switch to display a menu of options.
- Double-click the switch to display the FortiSwitch Ports pane.

On the FortiSwitch Ports pane, you can change the settings for all columns that are displayed.

- On the FortiSwitch Ports pane, click Create New to create a new trunk interface.

On the Managed Switches pane, you can use the right-click menu to Edit, Delete, Upgrade, Authorize, Deauthorize, Restart, or Refresh a switch.

- Go to the FortiSwitch Manager > Monitor pane to view the managed switches with connection topology.
- Select a switch to access the Ports Configuration and More menus.

- Go to FortiSwitch Manager > FortiSwitch Profiles > VLANs to view information in the FortiLink Interface and VLANs sections.
You can use this page to create, edit, or delete a VLAN.

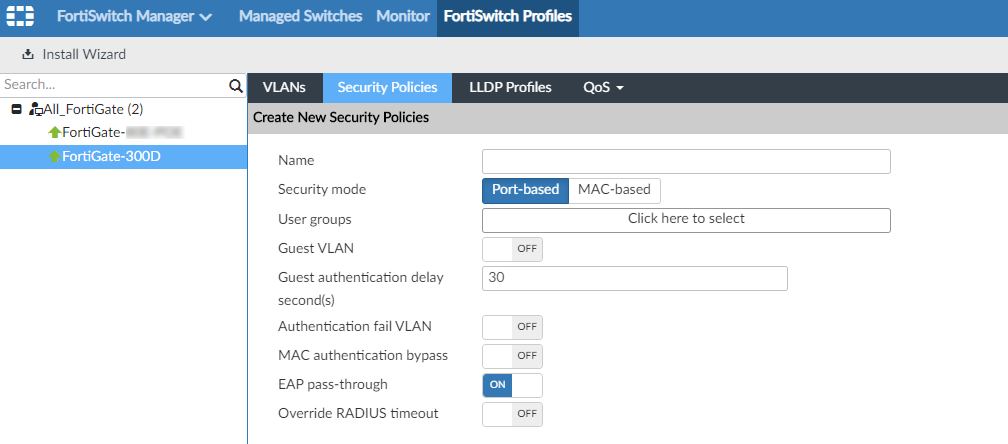
- Click the Security Policies tab to create, edit, or delete security policies.
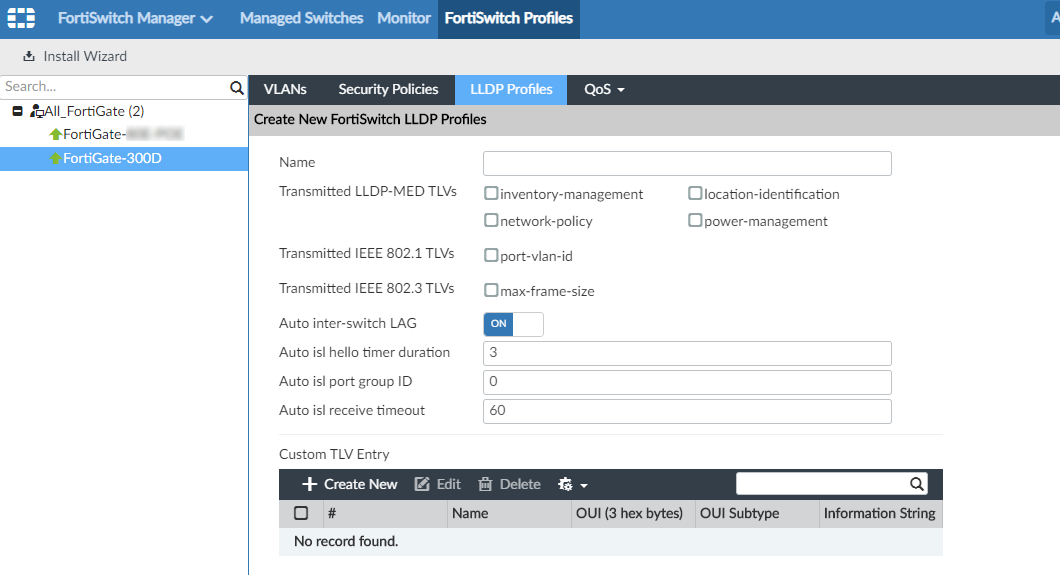
- Click the LLDP Profiles tab to create, edit, or delete LLDP profiles.
- Click the QoS menu, and select QoS Policy to create, edit, or delete QoS policies.

- Click the QoS menu, and select QoS Egress Queue Policy to create, edit, or delete QoS egress queue policies.

- Click the QoS menu, and select QoS IP Precedence/DSCP to create, edit, or delete these items.

- Click the QoS menu, and select QoS 802.11p page to create, edit, or delete these items.
