


Creating new Member Accounts
New Member Accounts can be created directly within the Root account Organization or a SubOU without an invitation token.
The new Member Account can be linked to a real email address or a new dummy email address generated at the same time as the Member Account. If you use a real email address, a notification email will be sent to the address and authentication is required. If you use a dummy email address, you cannot perform the features of a Master Account, such as resetting the password. However, the dummy account can still perform standard tasks, such as moving assets.
|
|
A new Member Account cannot be created if the Root account's FortiCloud Premium contract is expired. See Prerequisites. |
To create a Member Account:
-
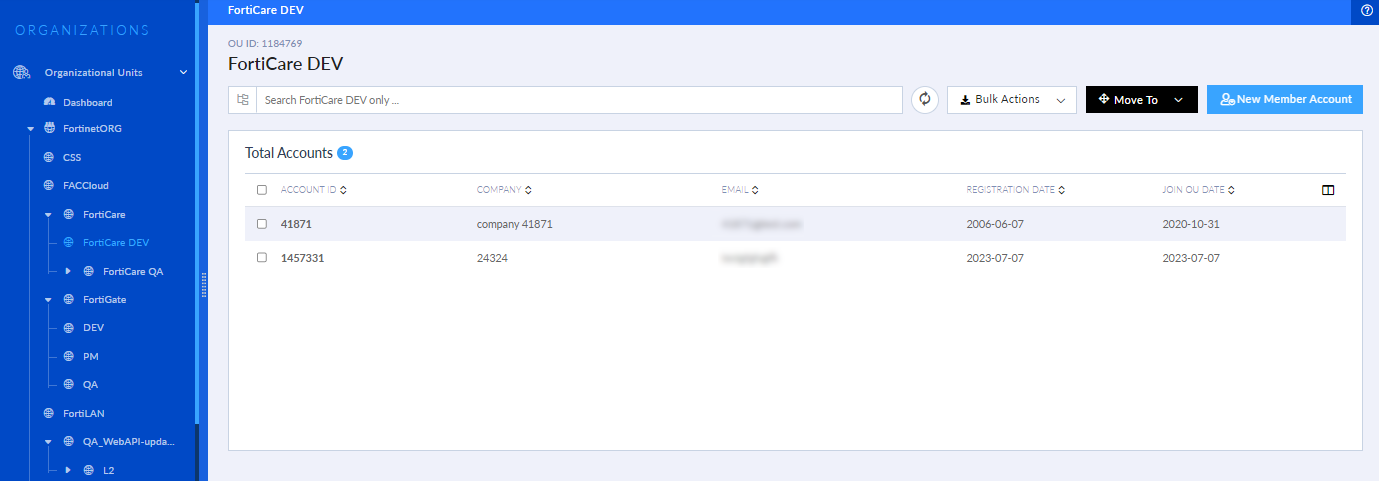
Select the Organization or SubOU that you want to add the Member Account to.

The Organization level that you can select and add a Member Account to is dependent on your permission scope. See Permission scope with Organizations in the Identity & Access Management (IAM) guide.
-
Click New Member Account. The New Member Account dialog is displayed.

-
Define the Member Account's email status:
-
Select I want to use a real email to input an existing email address. Fields are displayed to enter the email address.

-
Leave I want to us a real email unselected to have a dummy email address created for the Member Account.
-
-
Select the SubOU that you want the Member Account to be linked to from the Choose an OU dropdown menu.
-
Configure the New Member Account dialog fields as required.
-
Click Submit.
-
If the Organization Portal detects a more accurate match for the inputted address, a dialog is displayed.

-
Select Use the suggested address and continue to next step to replace the inputted address with the suggested address.
-
Select Use the address you entered as is and continue to next step to use the inputted address.
-
Select Go back and edit the address manually to edit the inputted address.
-
-
Click Continue.
-
If the inputted address is detected as incomplete or incorrect, a warning message is displayed.

-
Select to continue with the inputted address to ignore the message.
-
Select to return to the previous step and edit the inputted address.
-
-
Click Continue. A confirmation message is displayed.