Connecting to the primary FortiADC-VM
If you have enabled the Elastic IP option in the CFT parameter, you can use the EIP to manage the primary FortiADC.
- Identify the management IP address of the FortiADC.
If you choose to use an existing Elastic IP, the Elastic IP you entered is the management IP of the FortiADC.
If you choose to create a new Elastic IP, you need to search for the IP address created for you on the AWS Elastic IP console using the FortiADC Elastic IP or Name you have specified in the template.
Take note of the Elastic IP address for later steps. - Identify the Primary FortiADC in the ASG from the DynamoDB.
- In the AWS console, go to Services > Database > DynamoDB > Items.
- Locate the FortiadcPrimaryElection table and copy the instanceId for later steps.
For steps on how to locate the FortiadcPrimaryElection table, see Locating deployed resources.
- Navigate to the EC2 instance tab and paste the instanceId into the filter box.
- Locate the primary instance from the filtered list.
- Connect to the Primary node via the serial console, SSH or web browser.
- Connect via the serial console:
In the Primary Instance tab, click Connect > EC2 serial console.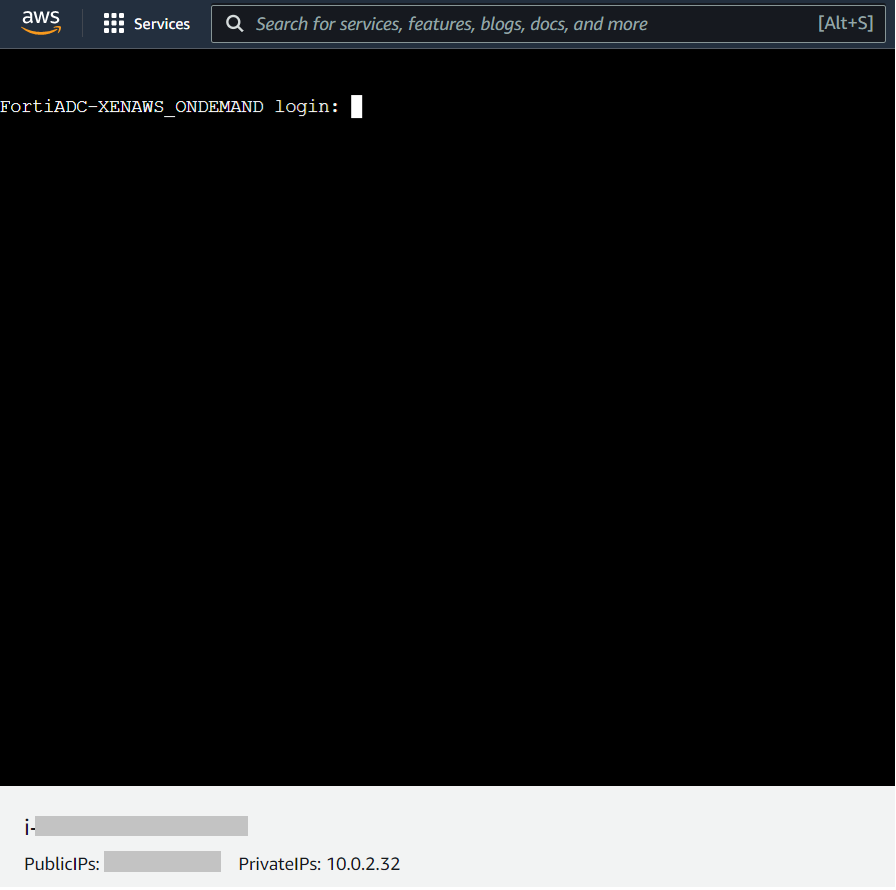
- Connect via SSH:
Use admin instead of root as the login user.
- Connect via web browser:
If you have not enabled the Elastic IP, take note of the public IP or FQDN of the primary FortiADC.
In your web browser, open an HTTPS session using the Public IP address, FQDN, or Elastic IP. Ensure to specify the HTTPS admin port (https://<Public IP address or FQDN or Elastic IP>: 8443).
You will see a certificate error message from your browser, which is normal because the default FortiADC certificate is self-signed and not recognized by browsers. Proceed past this error. At a later time, you can upload a publicly signed certificate to avoid this error.
- Connect via the serial console:
- Login to the FortiADC-VM with the default user name
admin. The password is the instance ID by default and you will be required to change the password after you log into the FortiADC-VM.
See the example below for the serial console:
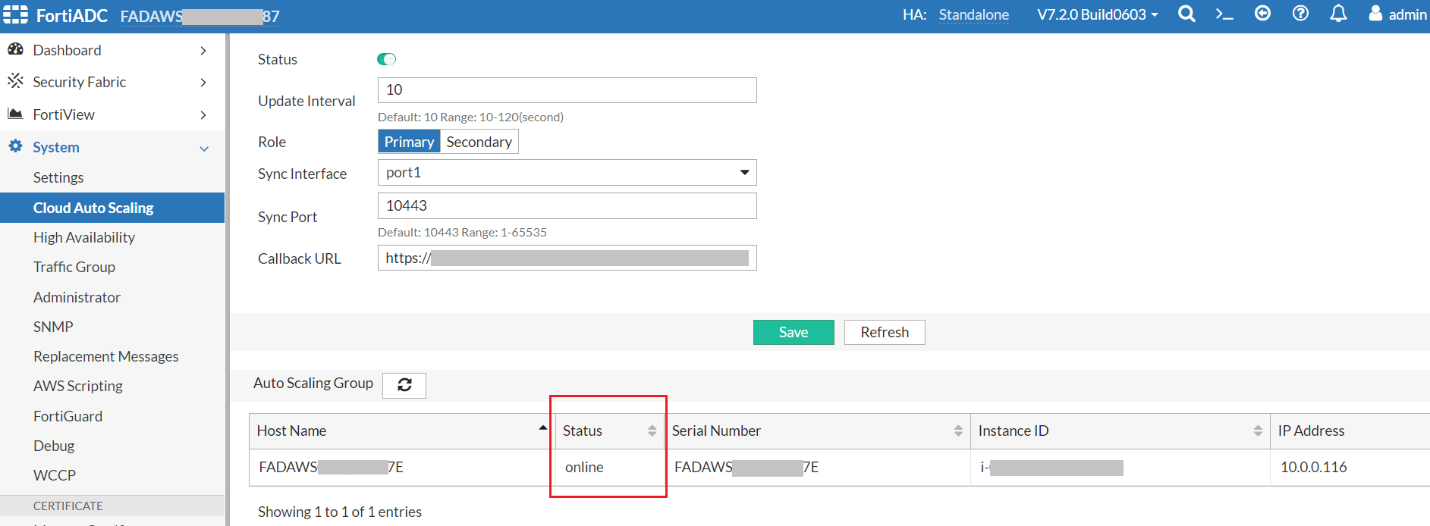
- From the Web UI, navigate to System > Cloud Auto Scaling. You will see the auto-scaling configuration is automatically configured. On the primary FortiADC-VM, you can see the status of all secondary FortiADC-VMs, including hostname, serial number, AWS ec2 instance-id and the status.
If the status of the secondary FortiADC is init, it means the secondary FortiADC is connected and synchronized to the primary.
If the status changes to online, it means the synchronization is done and the secondary FortiADC is ready to serve. If you want to connect to the secondary FortiADC to check configuration or log, please wait until its status becomes online.