


Configuring the FortiADC-VM for Autoscaling
The autoscaling settings on FortiADC are automatically configured. You can view or change the configurations through System > Cloud Auto Scaling on the GUI or run config system auto-scale in CLI.
After AWS autoscaling resources are deployed, the function APP elects a server instance, the primary node. All clients (secondary nodes) will continuously communicate with the elected primary server. The primary node will later synchronize its configurations to all the clients.
When a new instance joins the cluster, it automatically inherits configurations from the primary node.
You only need to configure the settings on the primary node. The configuration will be automatically synchronized to all the secondary nodes.
Note: The configuration synchronization can be only triggered by Primary node.
The following provides steps on how to direct web traffic to FortiADC for threat detection. Please note that we would only be covering basic options, for more information on other options such as the web protection profile, see the FortiADC Administration Guide.
Basic steps:
- Create and configure a real server and real server pool.
- Create and configure a virtual server
- Test the connection between the FortiADC-VM and AWS.
Create and configure a real server and real server pool
- In the Primary FortiADC-VM, go to Server Load Balance > Real Server Pool.
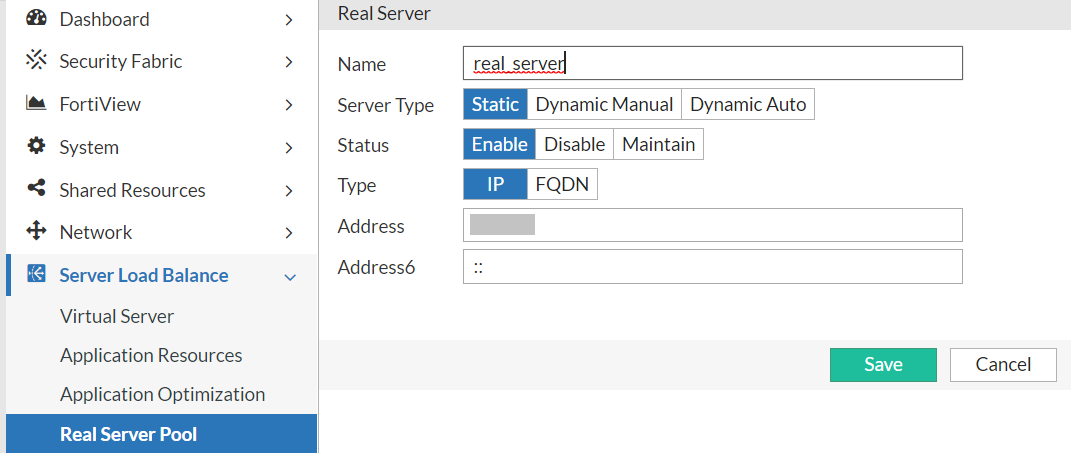
- Navigate to the Real Server tab and click Create New to create a new real server.
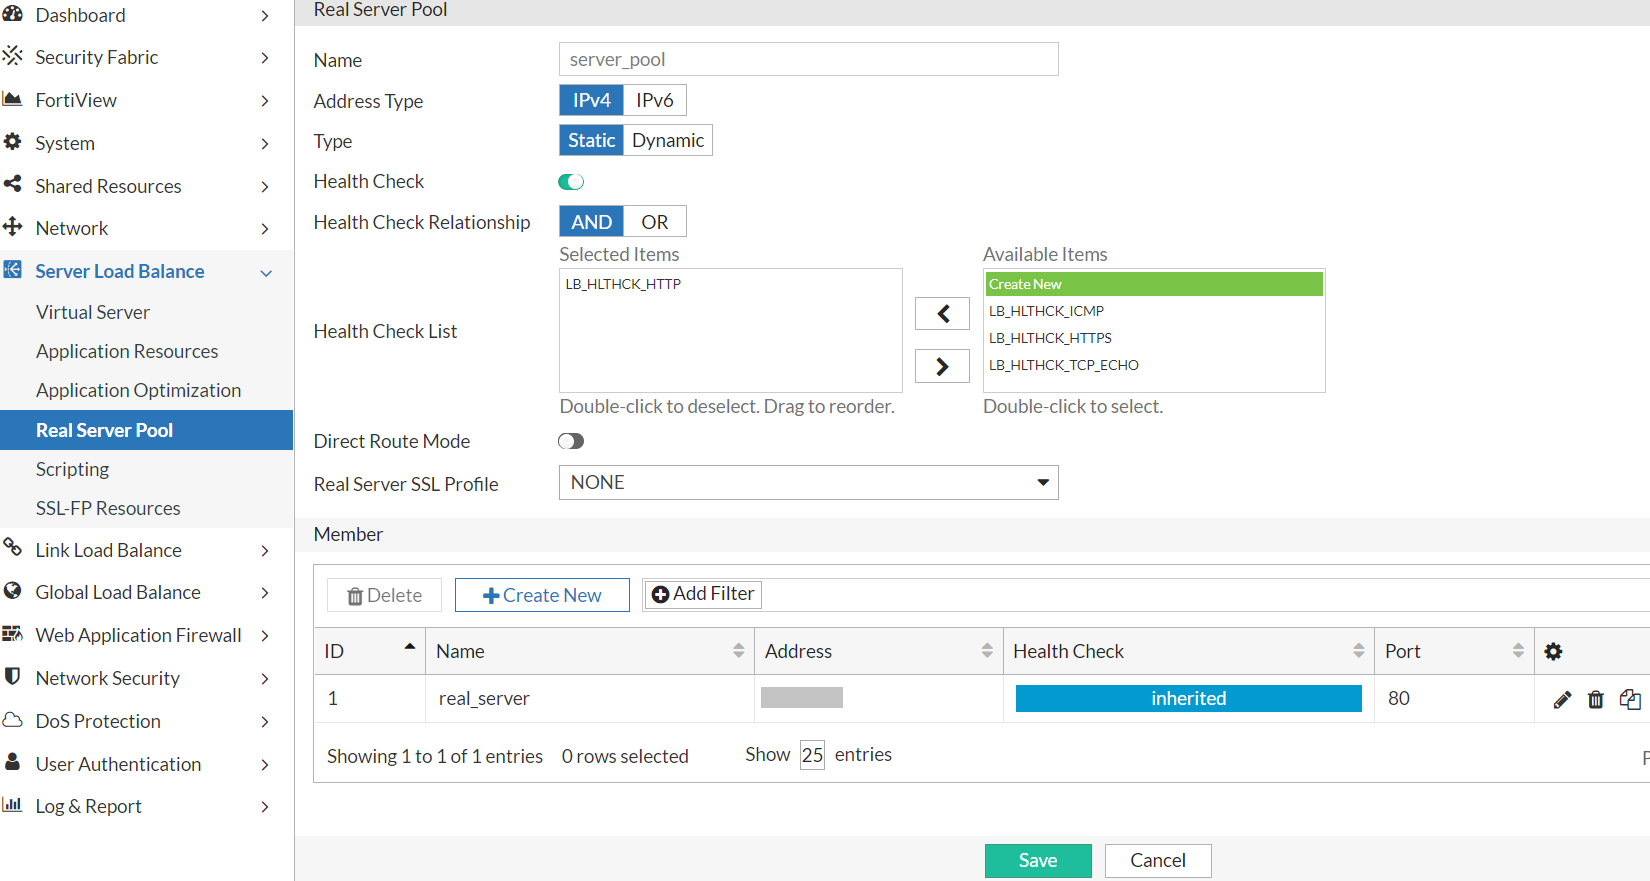
- Navigate to the Real Server Pool tab and click Create New to create a new real server pool.
Create and configure a virtual server
- Go to Server Load Balance > Virtual Server.
- In the Virtual Server tab, click Create New to create a new virtual server.
- Configure the following settings:
-
Setting
Guideline
Profile Select the LB_PROF_HTTPS profile. Port Enter the port number specified in the Web service traffic port CFT parameter. Real Server Pool Select the real server pool created previously.
Test the connection between the FortiADC-VM and AWS
- Log in to AWS and select Load Balancers in EC2 service.
- Locate the load balancer you have created. Take note of its DNS name.

- Enter the DNS name in your web browser to access your application.
The URL is constructed in the format https://<dns name>:<port>. For example, https://xxxxx.amazonaws.com:443.
You should be directed to your application homepage.