


WiFi settings
You can create a profile of WiFi settings. After you create the profile, assign the profile to devices, and install the changes to devices. You can assign WiFi settings profiles to FortiGate VDOMs.
To view WiFi settings profile list:
- If using ADOMs, ensure that you are in the correct ADOM.
- Go to AP Manager > WiFi Profiles > WiFi Settings.
The following options are available in the toolbar and right-click menu:
Create New
Create a new AP settings profile.
Edit
Edit the selected AP settings profile.
Delete
Delete the selected AP settings profile.
Assign to Device/Group
Assign the selected AP settings profile to one or more devices.
Clone
Clone the selected AP settings profile.
To create WiFi settings profiles:
- Ensure you are in the correct ADOM.
- Go to AP Manager > WiFi Profiles > WiFi Settings.
- In the toolbar, click Create New.
The Create dialog opens.
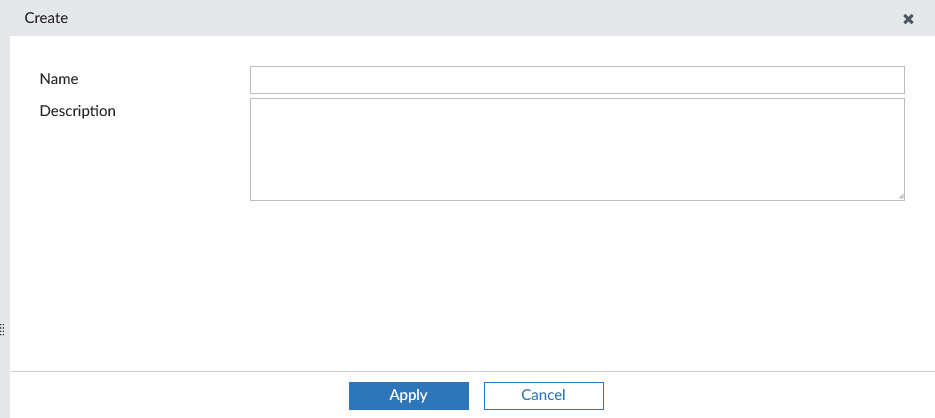
- Type a name and description (optional), and click Apply.
The Edit WiFi Settings pane opens.
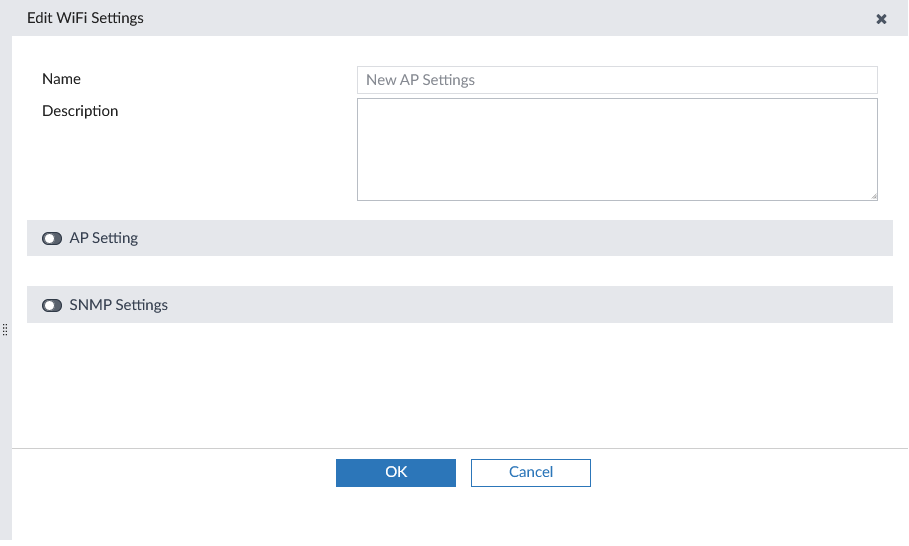
- Enter the following information, and click OK to create the AP settings profile:
Description
Optionally, enter a description of the settings.
AP Setting
Enable to access and set AP settings. WiFi country/region
Select a country/region.
FortiAP auto firmware provisioning
When enabled, newly discovered FortiAPs will automatically be upgraded to the latest compatible firmware. This will happen once during authorization.
Duplicate SSID
Enable/disable allowing Virtual Access Points (VAPs) to use the same SSID name in the same VDOM (default = disable).
DARRP Optimize Interval (seconds)
Enter the time for running Dynamic Automatic Radio Resource Provisioning (DARRP) (0 to 86400, default = 86400).
DARRP Optimize Schedule
Select the schedule name.
Firewall schedules for DARRP running time. DARRP will run periodically based on darrp-optimize within the schedules.
Phishing SSID Detect
Enable/disable phishing SSID detection (default = enable).
Advanced Options
Expand to display and set the advanced options. Hover the mouse over the i icon to view a tooltip of each advanced option.
For more information, refer to the FortiOS CLI Reference.
SNMP Profile
Enable to access and set SNMP profile settings.
Engine ID
Enter the SNMP engine ID (maximum 24 characters).
Contact Info
Enter the contact information for the contact information for the SNMP (maximum 31 characters).
CPU Usage Threshold
Enter CPU usage when trap is sent (10 to 100, default = 80).
Memory Usage Threshold
Enter the memory usage when trap is sent (10 to 100, default = 80).
User List
Click Create New to create a new user.
Select the following, then click OK:
Name: Enter a name for the SNMP user.
Current SNMP User: Enable/disable this user.
Queries: Enable/disable SNMP queries for this user.
Traps: Enable/disable traps for this SNMP user.
Authentication: Select the security level for message authentication and encryption. Configure the authentication and encryption, as needed.
Notify Host IP: Enter the IPv4-address to configure SNMP User Notify Hosts.
Community List
Click Create New to create a community.
Select the following, then click OK:
ID: Enter the ID for the community.
Name: Enter a name for the community.
Current SNMP community: Enable/disable this SNMP community.
V1 Queries: Enable/disable SNMP v1 queries.
V2c Queries: Enable/disable SNMP v2c queries.
V1 Traps: Enable/disable SNMP v1 traps.
V2c Traps: Enable/disable SNMP v2c traps.
Host list: Create new hosts. Enter the IP/netmask for the SNMP manager (host).
To assign AP settings profiles to devices:
- Select the AP settings profile, and click Assign to Device/Group.
The Assign to Devices/Groups dialog opens.
- In the Available Entries list, select the devices, and click the right arrow (>) to move the devices to the Selected Entries list.
- Click OK to save the changes.
- Click Install Wizard to install the changes to the selected devices.
To edit AP settings profiles:
- Select the profile.
- In the toolbar, click Edit.
Alternatively, you can right-click the profile and select Edit, or double-click the profile.
The Edit AP Settings pane opens.
- Edit the settings as required. The name cannot be edited.
- Click OK to apply your changes.
To delete AP settings profiles:
- Select the profile to be deleted.
- In the toolbar, click Delete.
Alternatively, you can right-click the settings and select Delete.
- Click OK in the confirmation dialog to delete the profile.
To clone AP settings profiles:
- Select the profile to be cloned.
- In the toolbar, click More > Clone.
Alternatively, you can right-click the settings and select Clone.
- Edit the name of the profile, and click Apply.
The Edit AP Settings pane opens.
- Edit the settings, and click OK to clone the profile.