


Appendix G: Installation on Azure
Uploading the VHD file to an Azure storage account
To upload the VHD file to an Azure storage account:
-
Unzip the
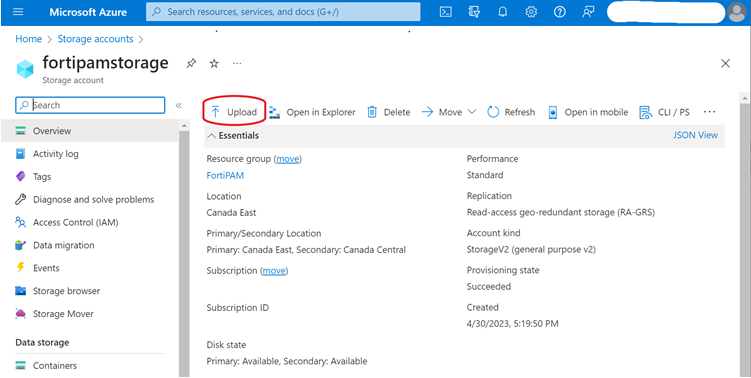
FPA_AZURE-v100-buildXXXX-FORTINET.out.hyperv.zipfile and store thefortipam.vhdfile on your management computer. - Go to your storage account on the Microsoft Azure Portal and click Upload.
The Upload blob window opens.
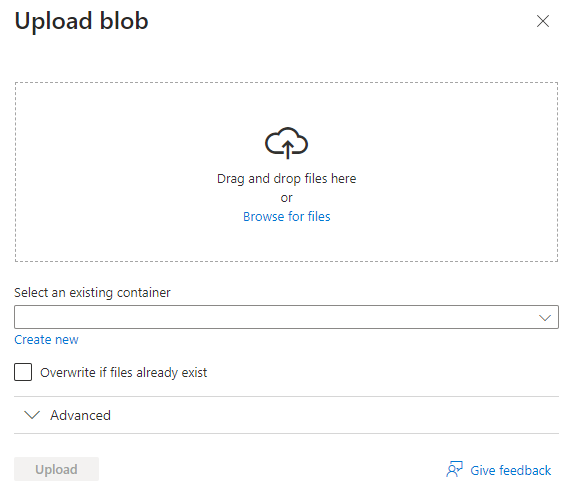
- Select Browse for files and locate the
fortipam.vhdfile that you downloaded and unzipped in step 1. - Click Upload.
Creating an image on Azure Images
To create an image:
- Go to Images on the Azure Portal and select Create.

The Create an image wizard opens.
- From the Resource group dropdown, select a resource group.
- In Name, enter the name for the image.
- In the Region dropdown, select a region.
- In OS type, select Linux.
- In VM generation, you can select Gen 1 or Gen 2.

Gen 1 VMs use BIOS-based architecture, whereas Gen 2 VMs use the new UEFI-based boot architecture.
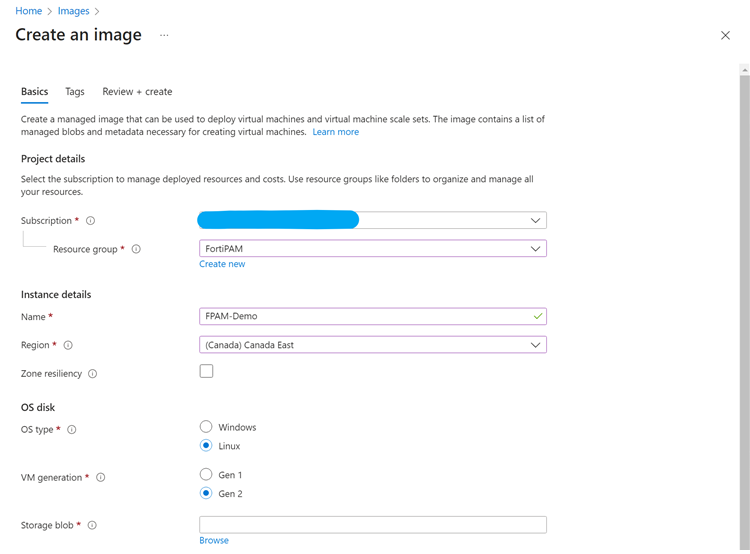
- In the Storage blob, click Browse, locate the
fortipam.vhdfile that you uploaded to your storage account in Uploading the VHD file to an Azure storage account, and click Next : Tags. - Optionally, in Tags, enter tags, and click Next : Review + Create.
- Review your settings and then click Create.
Note: The deployment may take several minutes to finish.
Creating the FortiPAM-VM
To create the FortiPAM-VM:
- On the Azure Portal, open the image you created in Creating an image on Azure Images, and click Create VM.
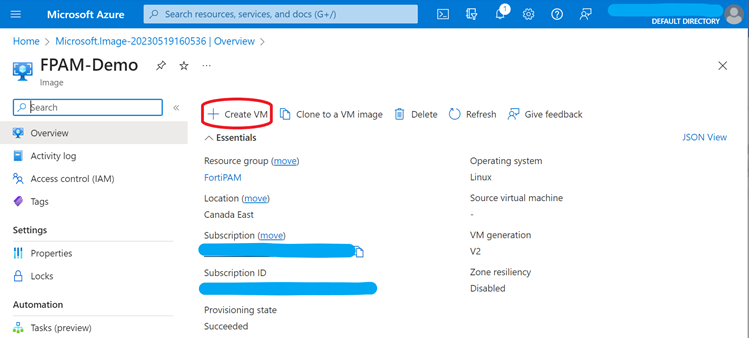
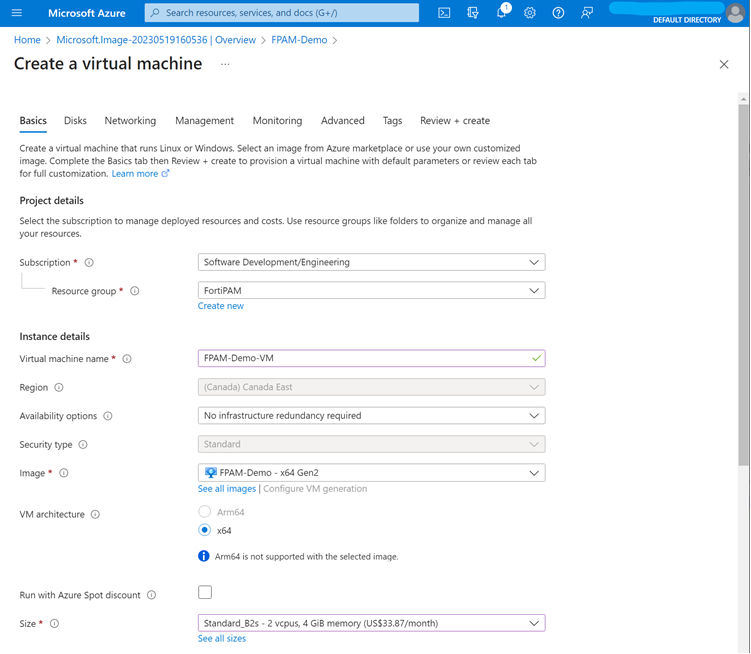
The Create a virtual machine wizard opens.
- In Virtual machine name, enter a name for the VM being created.
- In the Region dropdown, select a region if the region is not automatically selected.
- In the Image dropdown, select the image created in Creating an image on Azure Images if the image is not automatically selected.
- In the Size dropdown, select a size that supports the workload you intend to perform.
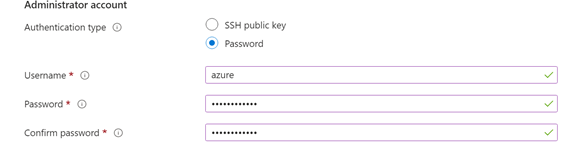
- In the Administrator account pane:
- In Authentication type, select Password.
- In Username, enter a username.
- In Password, enter the password.
- In Confirm password, enter the password again to confirm.
The account is created with the Super Administrator role on FortiPAM.
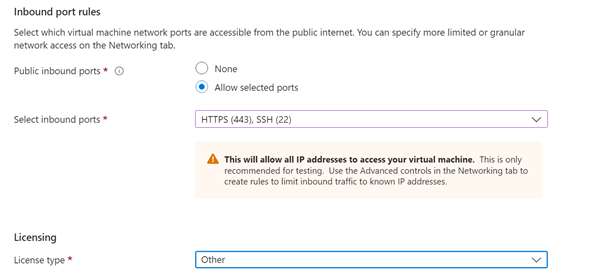
- In the Inbound port rules pane:
- In Public inbound ports, select Allow selected ports.
- In the Select inbound ports dropdown, select HTTPS (443), SSH (22).
- In the License Type dropdown, select Other, and click Next.
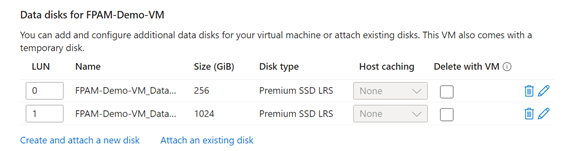
- In Data disks for FPAM-demo-VM, select Create and attach a new disk.
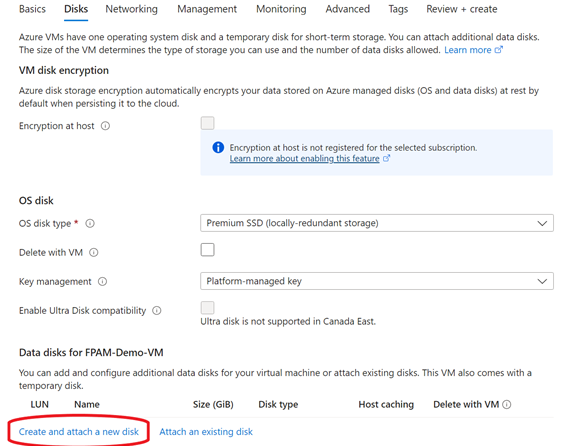
- Create a disk for the log and another for the video, and click Next.
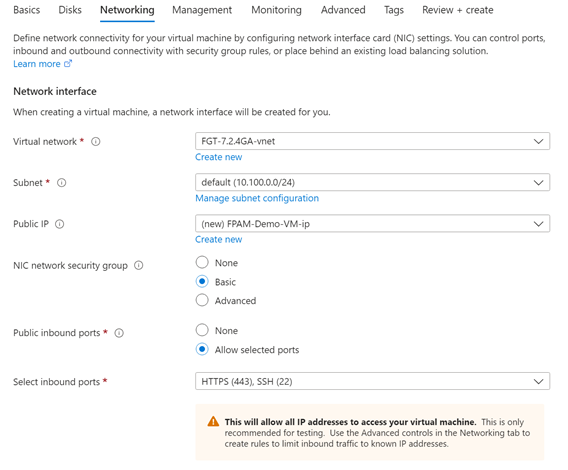
- In the Networking tab:
- In the Virtual network dropdown, select a virtual network.
- In the Subnet dropdown, select a subnet.
- In the Public IP dropdown, select a public IP address or create a new public IP address.
- In NIC network security group, select Basic.
- In Public inbound ports, select Allow selected ports.
- In the Select inbound ports dropdown, select HTTPS (443), SSH (22), and click Next.
- Click Next and navigate through the remaining tabs.
- Finally, review your settings and then click Create.
Note: The VM deployment may take several minutes to finish.
Initial configuration
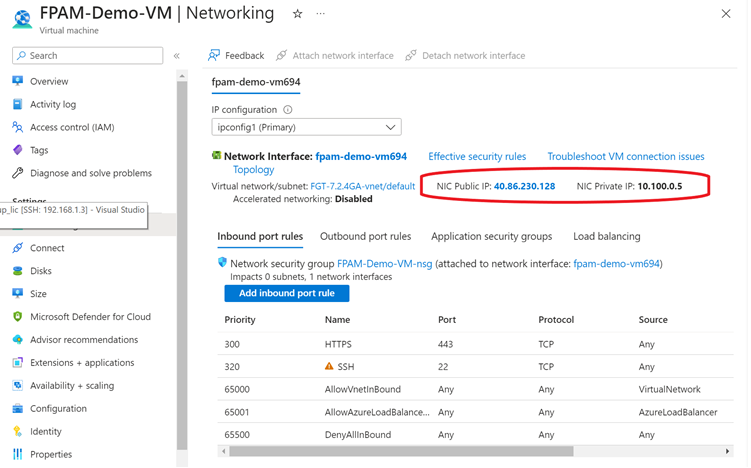
- On the FortiPAM-VM Networking page, copy and save the network interface's private and public IP addresses.
- In the VM serial console, log in as the default super admin set up in step 6 of Creating the FortiPAM-VM.
- Using the following CLI commands, configure
port1:config system interface
edit port1
set mode static #by default, set as dhcp
set ip 10.100.0.5/24 #set to the private IP address assigned by Azure in step 1
set allowaccess ssh https #by default, only ssh
next
end
-
Using the following CLI commands, configure a static route:
config router static
edit 1
set gateway 10.100.0.1
set device port1
next
end
- On a web browser, go to
https://<Public IP>to access the FortiPAM-VM GUI.Note: The public IP address was saved in step 1.
-
Log in with the super admin username and password as set up in step 6 of Creating the FortiPAM-VM.
The FortiPAM VM license window appears immediately after you log in.
- In the Upload License File pane, select Upload and browse to the license file on your management computer.
- Click OK.
After the boot up, the license status changes to valid.
You can now use your FortiPAM-VM deployed on Azure.

Evaluation license is not available on Azure.