


Creating FortiProxy-VM instances for HA
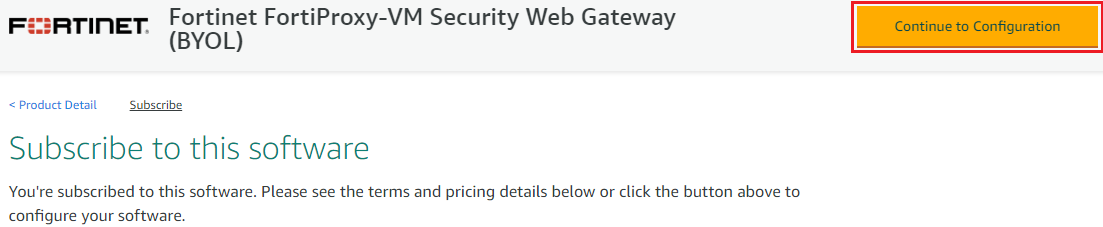
- Go to the AWS Marketplace’s page for Fortinet FortiProxy-VM Security Web Gateway (BYOL).
- Click Continue to Subscribe and then Continue to Configuration.

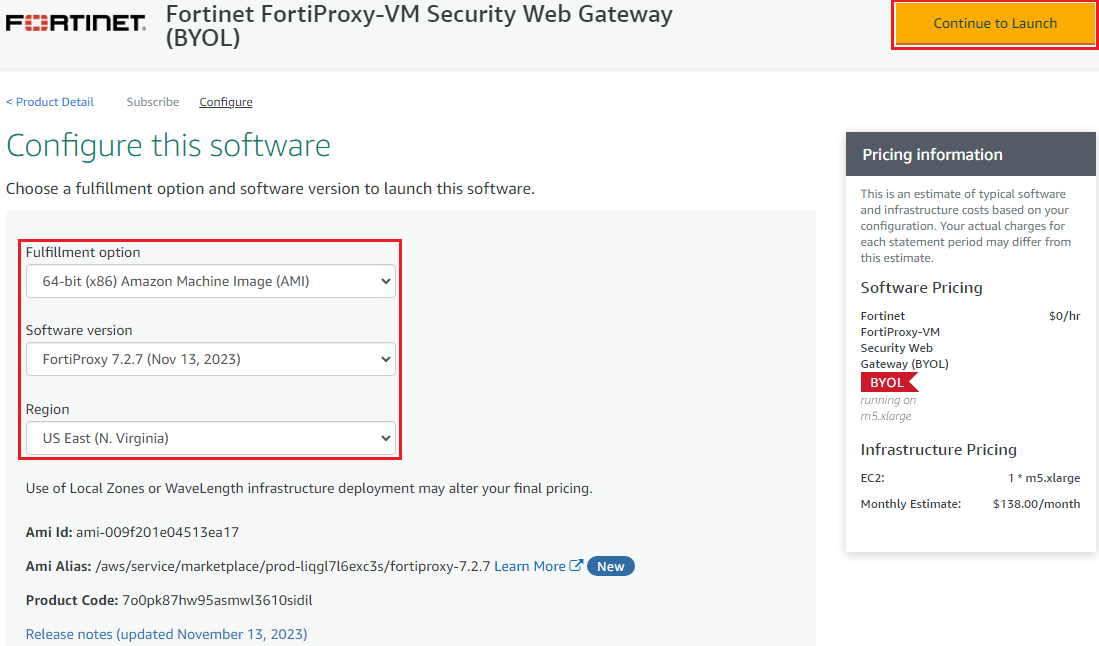
- Click Continue to Configuration.
- Select the fulfillment option, version, and region as needed. Note that the region must match your VPC region. Then click Continue to Launch.
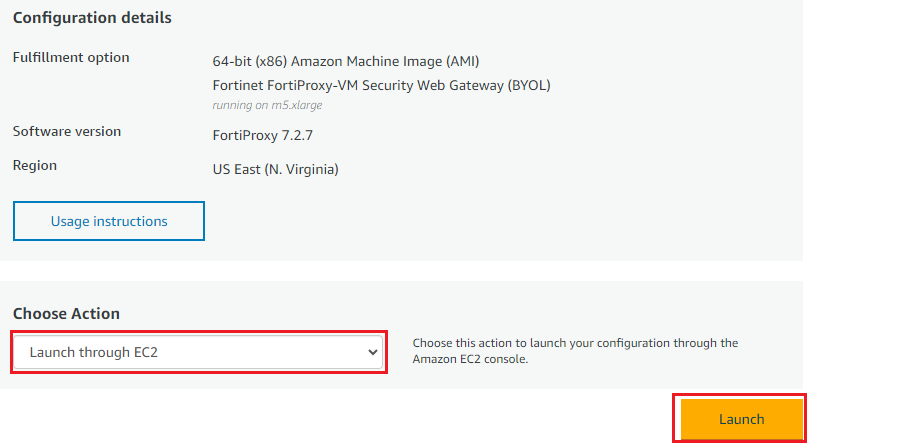
- Under Choose Action, select Launch through EC2 and click Launch.
- In the Name field, specify a name to identify the instance.

- In the Instance type field, select an instance type according to your needs.

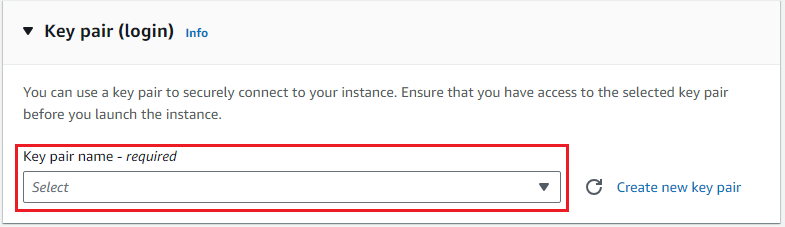
- Under Key pair (login), select an existing key pair or create a new key pair.
- Under Network settings, configure the following:
- Select the VPC that you created earlier.
- Select the public subnet you created earlier.
- Disable Auto-assign public IP.
- Select the security group you created earlier.

- Expand the Advanced network configuration section and configure 3 interfaces as follows, each mapping to the public, hasync, and mgmt subnets of the first availability zone. Make sure that you select the security group that you created earlier.


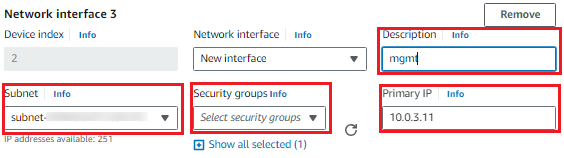
Subnet
IPv4 subnet CIDR block
public/inlet
10.0.1.11
hasync
10.0.2.11
mngt
10.0.3.11
- Under Configure storage, configure the storage specifications for the instance according to your needs.

- Under Advanced details, configure the options as needed. Specifically, in the User data field, copy the string in the license file (
.lic) you obtained during Licensing and paste it here. This ensures that the FortiProxy VM is licensed before you launch it and avoids the need to manually load the license file during your first login.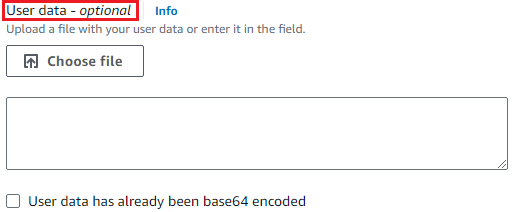
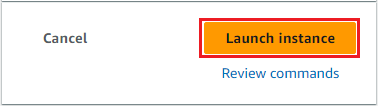
- Click Launch instance at the bottom right corner.
- In the instance summary page, verify that Instance state is Running. Note down the instance ID, which will be the default login password of the instance. The default username is
admin.
-
Create 2 elastic IPs and assign them to the mgmt interface (port3) and public interface (port1) of the FortiProxy instance, respectively.
-
In the menu on the left, select Elastic IPs under Network & Security.

- Click Allocate Elastic IP address on the top right corner.

-
Enter a key and value. Click Allocate.

-
In the menu on the left, select Network Interfaces under Network & Security.

- Select the mgmt interface you created earlier and select Actions > Associate address.

-
Select the elastic IP address you created earlier and click Associate.

-
Repeat the steps above to create the second elastic IP and associate it with the public interface (port1).
-
-
Now that you have created the first FortiProxy VM instance, repeat the steps above for each additional FortiProxy VM you want to set up in the HA active-active (config-sync) cluster. You can add a maximum of 8 FortiProxy VM instances in the cluster.