
Adding integrations
The EASM > Integrations page displays all existing AWS and Azure integrations. You can manually add new integrations as needed.
To add a new AWS integration:
-
Go to EASM > Integrations.
-
Click the + icon.
-
Select AWS. The Add AWS page is displayed.
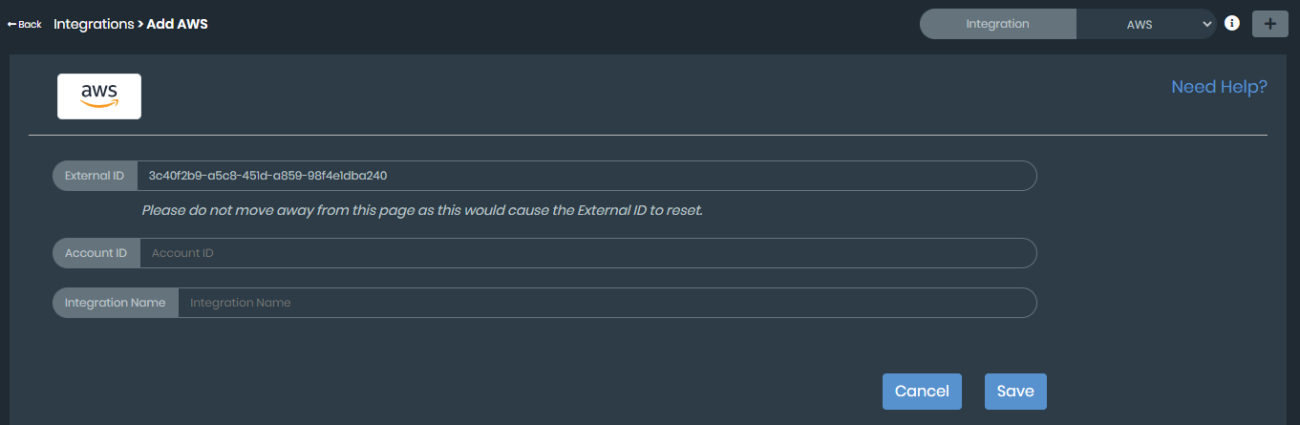

For more information on creating an AWS IAM policy and role, click Need Help?.
-
Enter the account ID number in the Account ID field.
-
Enter a descriptive name in the Integration Name field.
-
Click Save.
To add a new Azure integration:
-
Go to EASM > Integrations.
-
Click the + icon.
-
Select Azure. The Add Azure page is displayed.

-
Enter the relevant values in the Subscription ID, Client ID, Tenant ID, and Client Secret fields.
These four values are necessary to create read-only access for your Azure cloud account. For information on generating these values, click Need Help?.
-
Enter a descriptive name in the Integration Name field.
-
Click Save.