


Deploying the FortiSandbox VM
- Uncompress the
.out.hyperv.zipfile in the share folder of the Hyper-V server. - Launch Hyper-V Manager on your Microsoft server from Start > Windows Administrative Tools > Hyper-V Manager.
- Connect to the Hyper-V server by clicking Connect to Server from the Actions pane on the right.
- Right-click the server and select New and select Virtual Machine from the menu. Optionally, in the Actions menu, select New and select Virtual Machine from the menu. The New Virtual Machine Wizard opens.

- Configure VM settings:
- Specify any name for your FortiSandbox and Location (if different from the default) for the VM and click Next.
- Specify Generation 1 (this option is mandatory for FortiSandbox ).

- In the Startup memory field, specify the amount of memory to allocate to this VM. The minimum memory for the FortiSandbox VM is 4 GB. Click Next.
- Each new VM includes a network adapter. This should be configured to port1 under the Connection drop down menu, then click Next.
- Select the Attach a virtual hard disk later option and click Next. We will perform this task in a following section.
Review the chosen options, then Select Finish.
- Configure Hardware settings:
- Right click your newly-created VM and click Settings.
- Click BIOS and Set the BIOS to boot from the IDE as primary by moving it to the top. Click Apply.
- Click Processor and Edit the Processor number to be a minimum of 2. 4 is recommended for best performance.
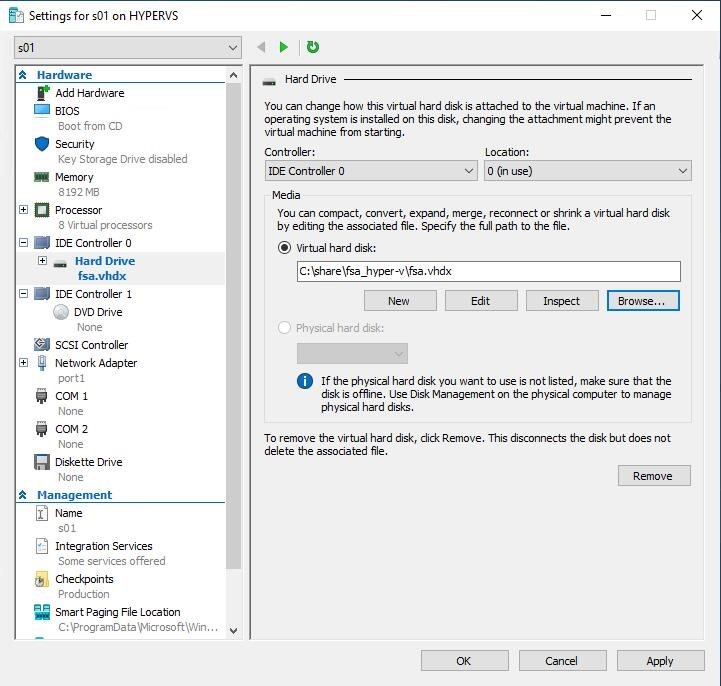
- Click IDE Controller 0, Add ‘Hard Drive’.

- Select the Virtual Hard disk radio button, then click Browse to attach the first Hard Drive from the download package 'fsa.vhdx', then repeat this for the second hard Drive, 'datadrive.vhdx'. For more information, see Deploy package contents.
-
FortiSandbox requires at least 4 Network Adapters. Attach the Network Adapters by selecting Add Hardware > Network Adapter > Add.
Once you have added all the adapters, Click Apply then OK.

Click Smart Paging File Location from the Management section and use the Browse... button to select the management folder on the Hyper-V server.
-
Next, open a Powershell window on the Hyper-V server and execute the following CLI command:
Set-VMProcessor -VMName <VMName> -ExposeVirtualizationExtensions $true
- Start up the FortiSandbox console from the Virtual Machines window. The default login is admin with no password.
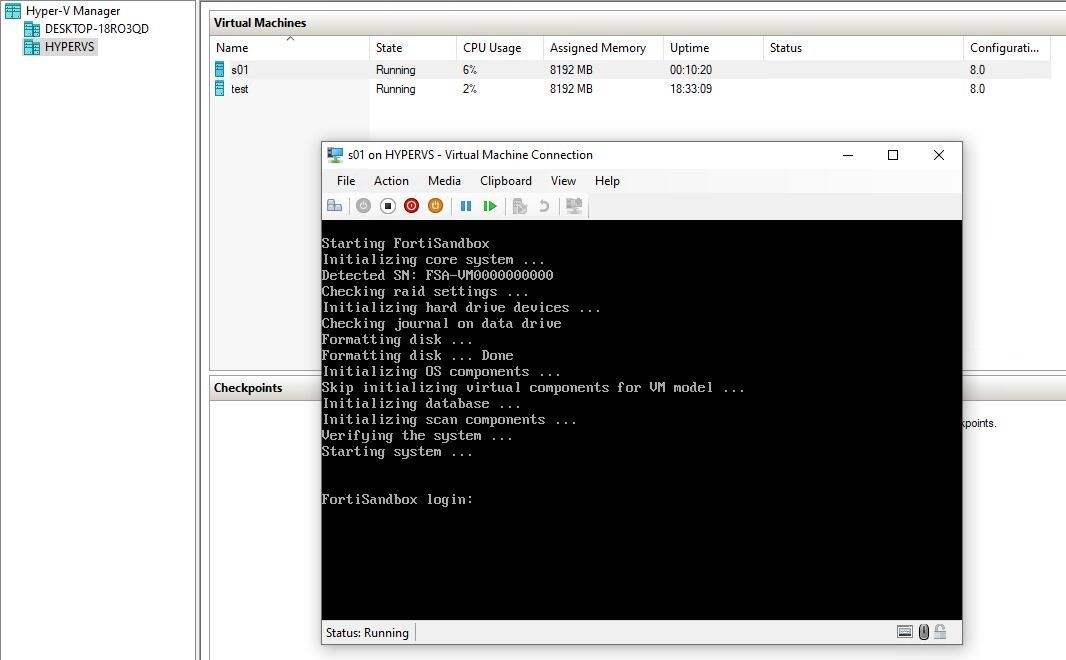
- Enter the console of the FortiSandbox and configure the port1 IP and Default gateway as per the FortiSandbox Administration Guide.