
Groups
Groups are distribution lists for your campaigns. Groups allow you to compare responses across segments within your organization. Users can be added to a group one at a time, or using the CSV template to perform a bulk user import. Each user in the group must have a unique email address.
Additionally, you can create Smart Groups to dynamically assign users based on defined rules. See, Smart Group
Use the Groups page to:
Creating a group
To create a group:
- Go to User Management > Groups and click Create > Group. The Create page opens.
- In the Group name field, enter a name for the group.
- Enter the user's First name, Last name, Email, and Position.
- Click Add. The user is added to the group. A warning appears if there is a duplicate email.
- (Optional) Click the trash button to remove a user.
- Click Submit, and then click OK. The group is added to the Users & Groups page.
Adding imported users to a group:
To add imported users to a group:
-
Click Create > Group.
-
On the Group creation page, click View imported users. The Users window opens, listing all users currently added to FortiSAT, including users imported from LDAP, Azure AD, SCIM, or manually created users.
-
Optionally, use the filter in Created field to view the users based on their import source.
-
Select the check box next to the desired users, and click Import selected. Alternatively, click Import all to add every user currently displayed in the list.
Updating a user's details:
To update a user's details:
- Go to User Management > Groups, and select a group in the list.
- In Users List section, click the Edit button in Actions column for the user you want to edit.
- Update the details, and click Submit.
- (Optional) Click the Delete button to remove the user from the group.
To update details of a user imported from Azure AD, the changes must be made within Azure AD server and then synced back to FortiSAT.
Filtering groups
To filter the group, utilize the search option in the Name column to search for specific groups. Additionally, you can apply the risk grade filter in the Risk Grade column. All columns can be sorted by clicking on the arrow icons next to the column title.
Hiding and Unhiding a group
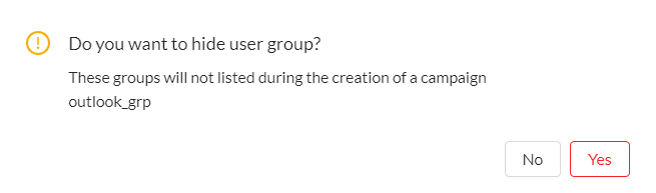
By hiding a group, it will no longer appear in the group list page or when creating a campaign. This applies to both manually created groups and groups imported from Azure AD.
To hide a group:
-
Go to User Management > Groups.
-
Click Actions menu and select Hide groups.
-
Select the desired groups and click Hide.
-
A confirmation message is displayed. Click Yes.
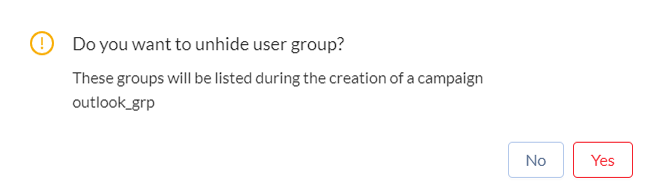
When the unhide option is selected, the list of hidden groups will be displayed. You can unhide the groups, allowing them to appear in the group list page and when creating a campaign.
To unhide a group:
-
Go to User Management > Groups.
-
Click Actions menu and select Unhide groups.
-
Select the desired groups and click Unhide.
-
A confirmation message is displayed. Click Yes.
You cannot delete, edit, or modify groups imported from an Azure AD client. You can only modify or manage them from the Azure AD server.
Exporting group details
You can now export group and smart group members information to a CSV file. This export includes member information, risk grade, risk score, and any synced Azure AD attributes.
To export group details:
-
Go to User Management > Groups, and select a group in the list.
-
Click Export CSV file.
Deleting a group
Groups imported from Azure AD can only be deleted once the Azure AD client is removed.
To delete a group:
-
Go to User Management > Group List.
-
Click Actions menu and select Delete groups.
-
Select the desired group and click Delete.
-
A confirmation is displayed. Click Yes.