


Configuring your FortiWeb instances
After autoscaling resources are deployed, the function APP elects a server instance. All clients will continuously communicate with the elected server. The server later will periodically synchronize its configuration to all the clients.
When a new instance joins the cluster, it automatically inherits configuration from the server instance.
The autoscaling options on FortiWeb are automatically configured. You can view or change the configurations through System > HA Cluster > Manager Cluster on GUI or run config system manager-mode in CLI.
Refer to the following steps on how to direct web traffic to FortiWeb for threat detection. Please note that we only introduce very basic options here. For information on other options such as the web protection profile, please see FortiWeb Administration Guide.
You only need to configure the settings on the server instance. They will be automatically synchronized to all the client instances.
Accessing the FortiWeb-VM server
- In the previous step, you have taken note of the public IP address of a FortiWeb-VM. SSH to the IP address with the username and password you specified when deploying resources with the ARM template.
- Execute the command
get system managerto get the server instance’s public IP address (server-public-ip). - Access the server instance's GUI via its public IP address and port 8443, for example, 20.39.160.1:8443. Log in to it with the username and password you specified.
- As shown in the below picture, you can see the manager mode is enabled and the member has joined in.

- You can also view the topology of the cluster in the Manager Cluster Topology label.

Configuring Virtual Server
- Sign in to your Azure Account through the Azure portal.
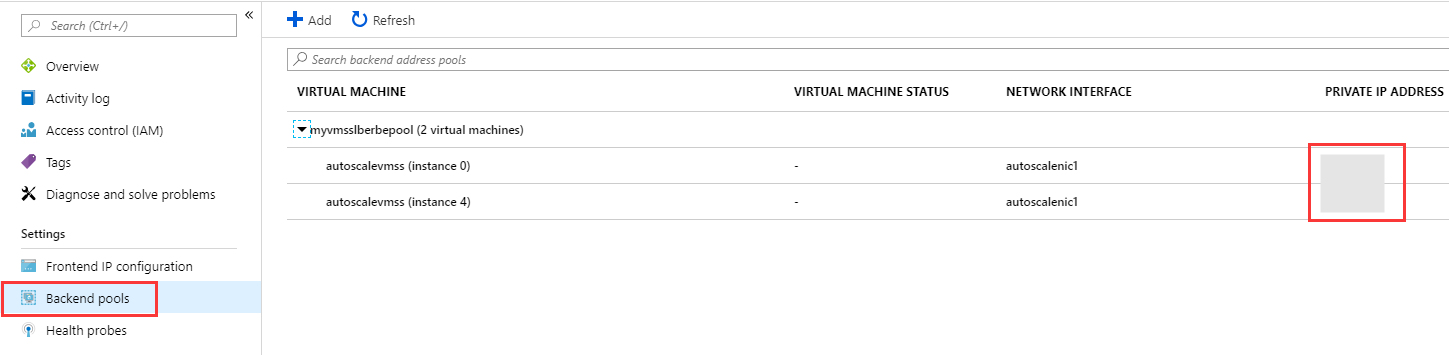
- Find the resource group in which the autoscaling resources are deployed. Select the load balancer resource, then select Frontend IP configuration. Take note of the IP ADDRESS.

- Select Backend pools. Take note of the PRIVATE IP ADDRESS.
- Click System > Network > Interface, find the port whose IP address is the same with the PRIVATE IP ADDRESS of the load balancer’s backend pool.

- Log in to the FortiWeb manager server. Click Network > Virtual IP. Click Create New. Specify the IPv4 Address to be the load balancer’s frontend IP address, the net mask 255.255.255.255. For Interface, select the port found in step 4.

- Click Server objects > Server > Virtual Server. Click Create to create a virtual server. Enter a name for the virtual server.
- Click Create New. Select the Virtual IP you have created. This is to direct your application web traffic to FortiWeb. Click OK.
- Click Create New to create another virtual server item. Azure Load Balancer will do probing before it distributes the traffic to the FortiWeb instances. As the probing packets are assembled with the private IP address, so you need to create another virtual-server for the probing traffic. For the probing virtual server, enable Use Interface IP, then select the Interface found in step 4. Click OK.

Configuring Server Pool
Click Server objects > Server > Server Pool. Create a server pool for later use.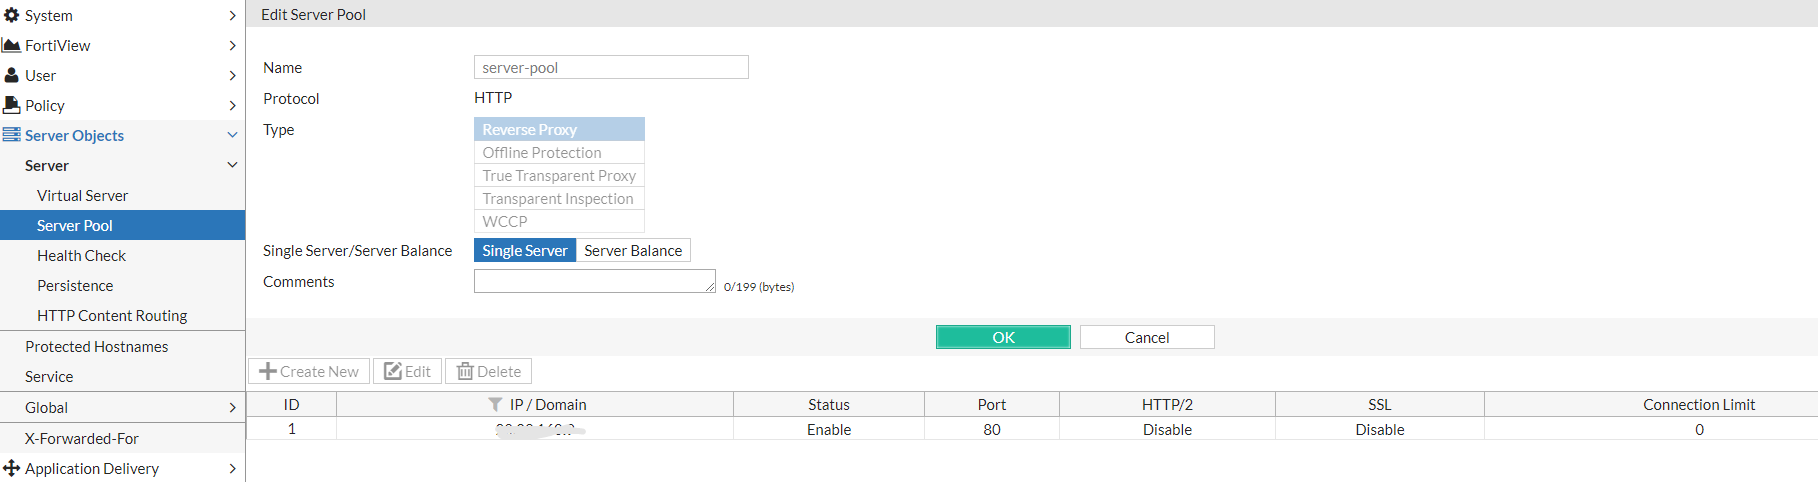
Configuring Server Policy
Click Server Policy > Policy. Select the virtual server and server pool you have created.

By far, the traffic flow will be directed to FortiWeb.
Two load balancing rules for port 80 and port 443 are configured automatically during the deployment. If you have other types of traffic, please add load balancing rules for them.
- Sign in to your Azure Account through the Azure portal.
- Find the resource group in which the autoscaling resources are deployed. Select the load balancer resource, then select Load balancing rules.
- Click the Add button to add a rule.

|
|
DO NOT manually upgrade the FortiWeb-VM instances in an auto-scaling cluster.
To deploy FortiWeb-VMs with a higher version, re-deploy the resources with the deployment templates. Remember to enter the desired version number for the "imageversion" parameter in Settings. |
Managing admin account
In its factory default configuration, FortiWeb has one administrator account named admin. This administrator has permissions that grant full access to FortiWeb’s features.
The account you have created in the VM basic settings is not the admin account. To use the admin account, you need to log in to FortiWeb's CLI using the account you have created, then set the password for the admin account.
config system admin
edit "admin"
set password "P@ssw0rd"
next
end
The password for the admin account on Azure should not be empty.