Using passkeys
Support for passkeys has been implemented in FIC using WebAuthn. According to FIDO Alliance, Web Authentication (WebAuthn), a core component of FIDO Alliance’s FIDO2 set of specifications, is a web-based API that allows websites to update their login pages to add FIDO-based authentication on supported browsers and platforms. FIDO2 enables users to leverage common devices to easily authenticate to online services in both mobile and desktop environments.
Passkeys are becoming the norm for enhanced protection in many sites. With passkey support, customers are able to meet higher security standards and protect their organizations from threats like phishing.
Use Case
For example, there are two users, John and Todd, in Company A. Bob is the FIC admin for the organization. The company wants to require all end-users in their company to use passkeys using either the FortiToken 410 USB key or their mobile phones.
To add the FortiToken 410 USB key as the passkey for John, Bob and John must do the following:
- Bob sets up a PIN for the FortiToken 410 USB key.
- Bob launches FIC, navigates to User Management >Users, locates John, and clicks the tool icon and selects Manage Passkeys.
- Bod then adds the FortiToken 410 USB key to John's profile.
- John will get the registered FortiToken 410 USB key from Bob, and Bob will share the PIN with him.
- John can change the PIN for the FortiToken 410 through Security key management in his computer.
- John can now choose to use 'Login with Registered Passkey' for any SP configured with the FIC's IdP Proxy and use FortiToken 410 USB as Passkey.
To add a SmartPhone as passkey for Todd, the following must be done:
- Todd needs to bring his phone to Bob
- Bob launches FIC, navigates to User Management >Users, locates Todd, and clicks the tool icon and selects Manage Passkeys.
- Bob choose Todd's iPhone or Android device to save the Passkey and a QR code is be generated.
- Todd then scans the QR code to his phone and adds the passkey to his device.
- If Todd is a new employee who gets a company provided phone, Bob can scan the QR code in Todd's company-provided phone.

Currently, end users are not able to provision their passkeys by themselves. It must be done by an FIC admin. To register their SmartPhones, end users must bring their phones to their FIC admin who can scan the QR code generated to their phones.
Registering FortiToken 410 USB key in Windows devices
Before registering a USB key, a PIN has to be set up for the key first. The following are the sample steps to set up the PIN for a FortiToken 410 key in Windows 11 machine.
In the use case above, Bob , the FIC admin, needs to set a PIN for the FortiToken 410 USB key to be used by John, using the following steps:
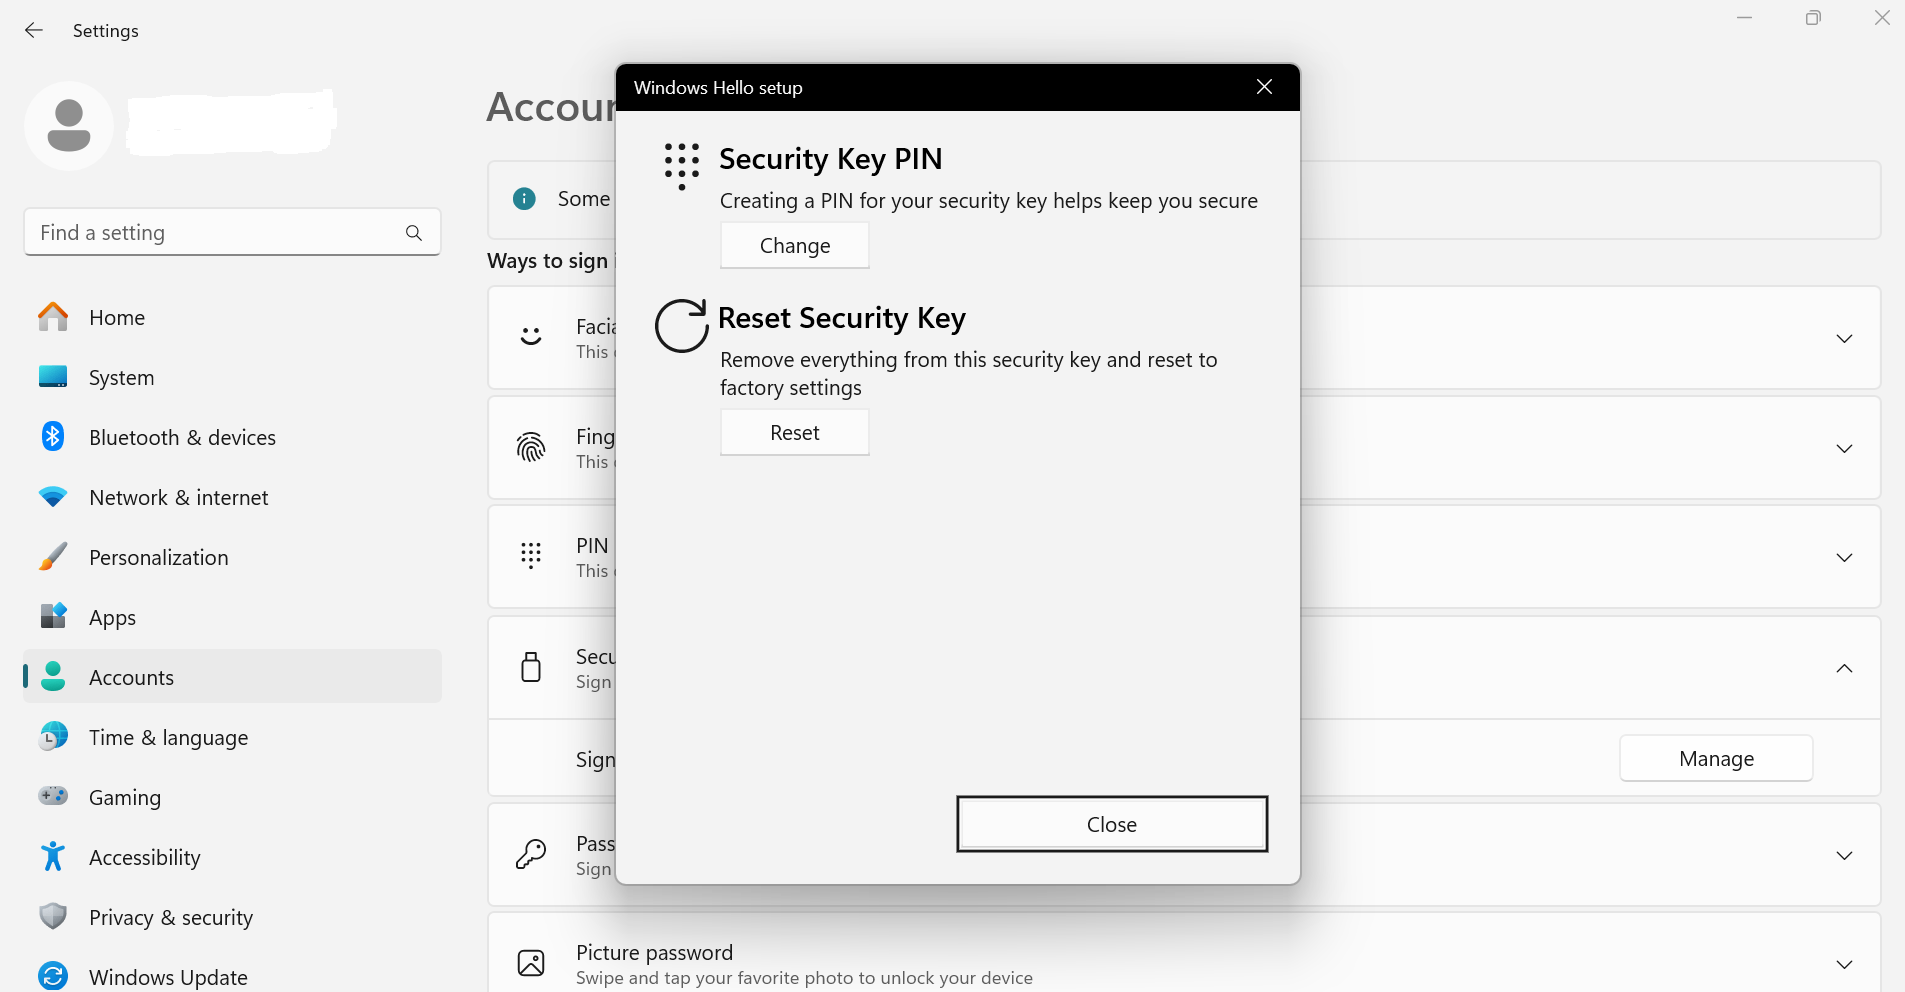
- After inserting the FortiToken 410 key in a USB slot in the Windows machine, search for Setup Security Key in the Windows taskbar search. Then choose Security Key > Sign in to apps with Security key > Manage.
- Choose Security Key PIN and set up a PIN for the key.
Registering a USB passkey for an end user
To add a FortiToken 410 USB key as passkey for John, Bob must do the following:
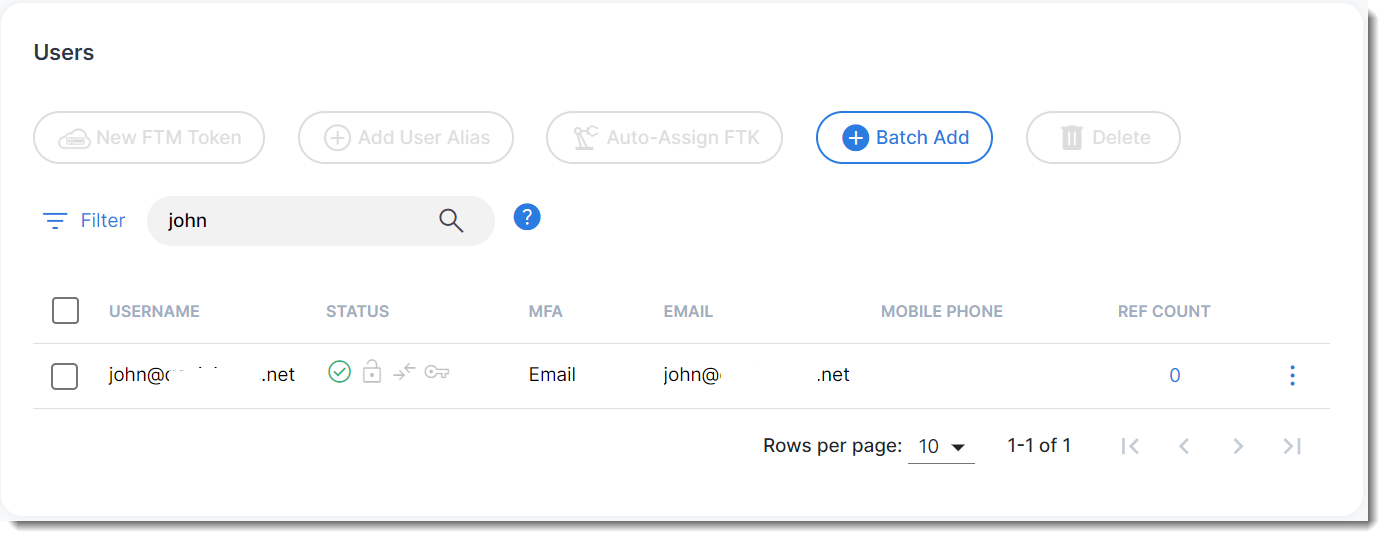
- Click User Management > Users, and search for John (end user) in this example.
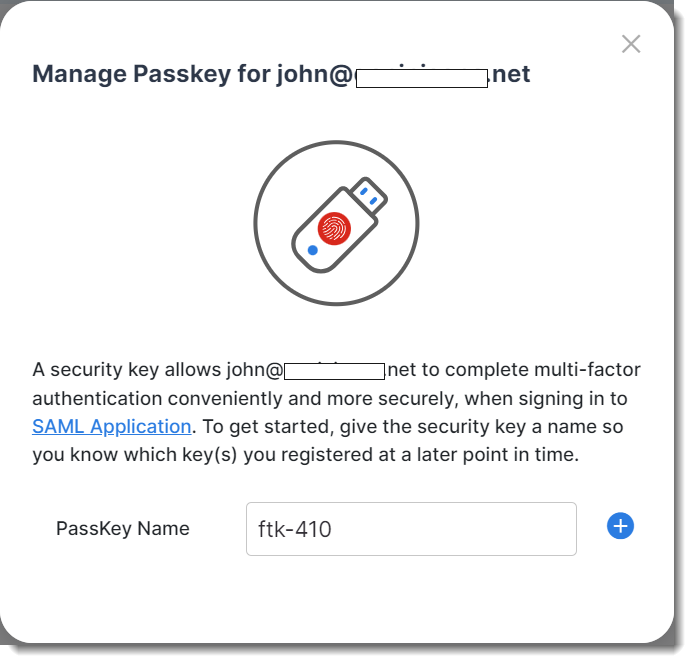
- Click the tool icon, and select Manage Passkey.
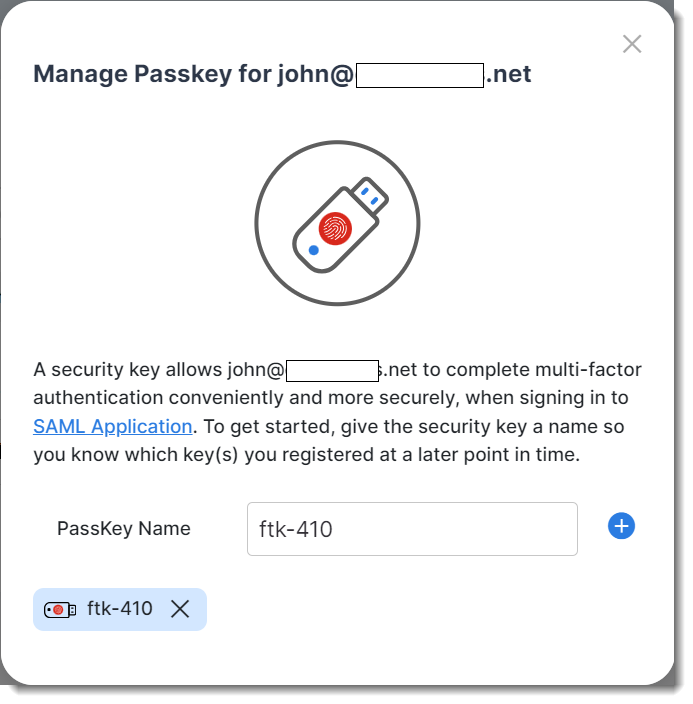
- Provide a name for the passkey (e.g., ftk-410 in the example shown in the following screen shot).
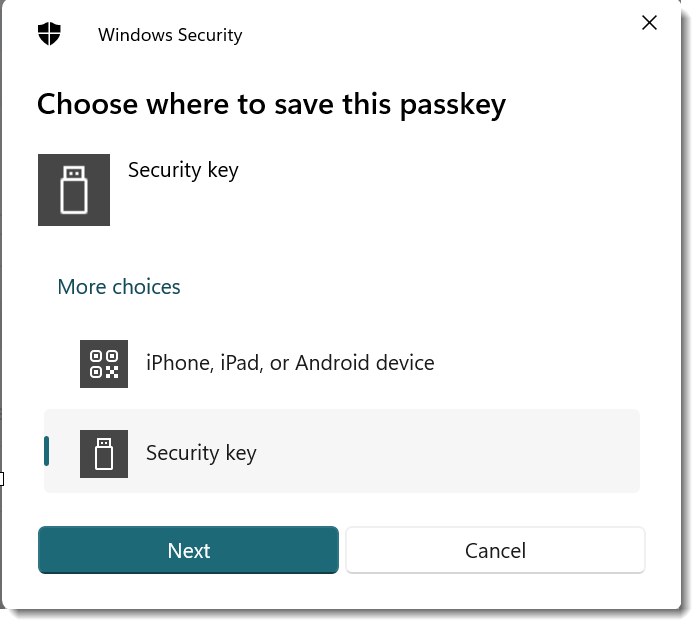
- Choose Security Key in the Wprompt,
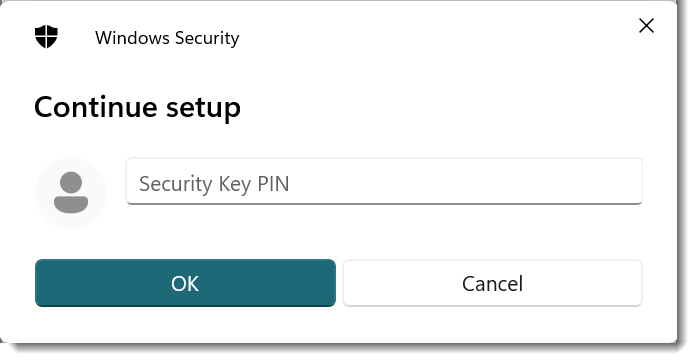
- Provide the PIN for the FortiToken 410 configured in the section Register FortiToken 410 USB key in Windows devices (at the beginning of this section).
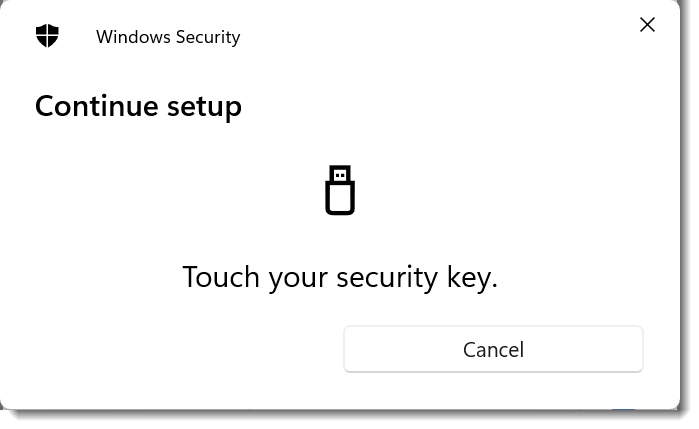
- Once the PIN is authenticated, the system will prompt Bob to press the security key.
- Once the key is successfully registered, the key appears on the screen, as illustrated in the following image.

Authenticating with the USB passkey in IdP proxy
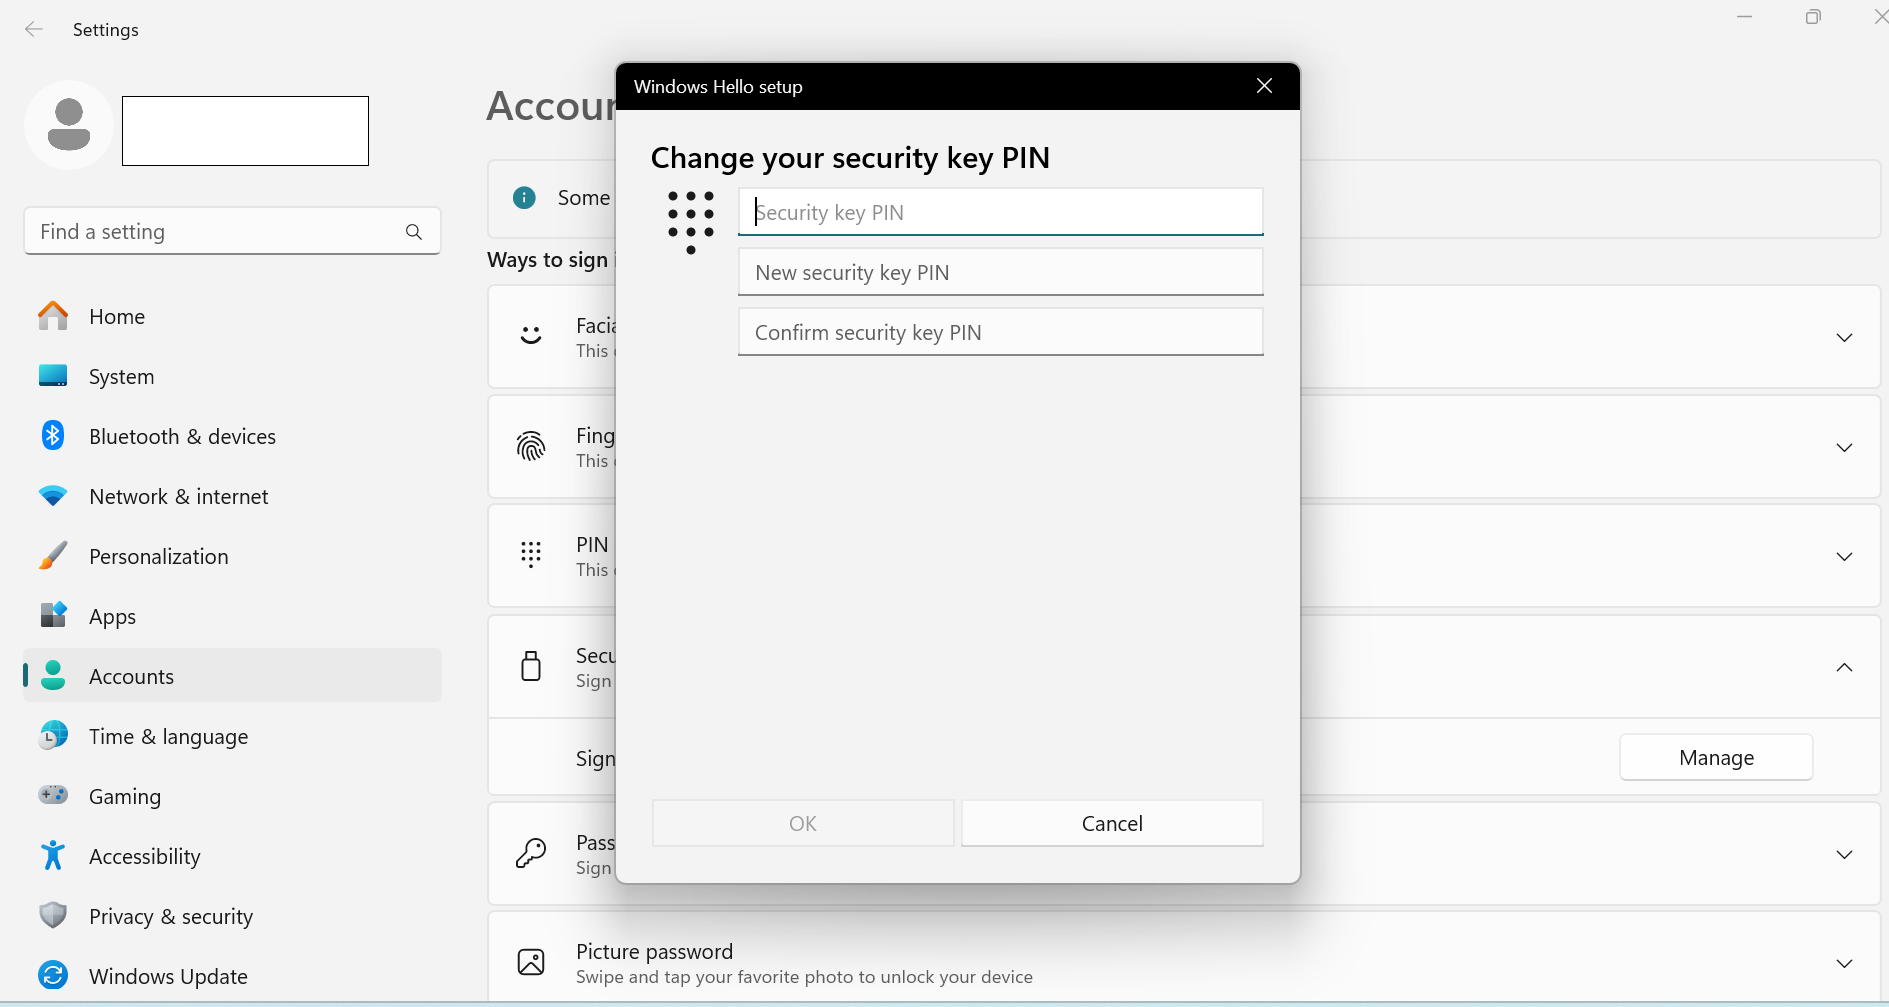
- Before trying to authenticate with any SP, John will first change the PIN shared by Bob for the FortiToken 410 key. After inserting the FortiToken 410 key in a USB slot in the machine, John must search for Setup Security Key in the Windows taskbar search, choose Security Key > Sign in to apps with Security key > Manage, provide the existing PIN that Bob has shared, and then update the PIN.
- After successfully changing the PIN, John opens any SP configured with FIC's IDP proxy.
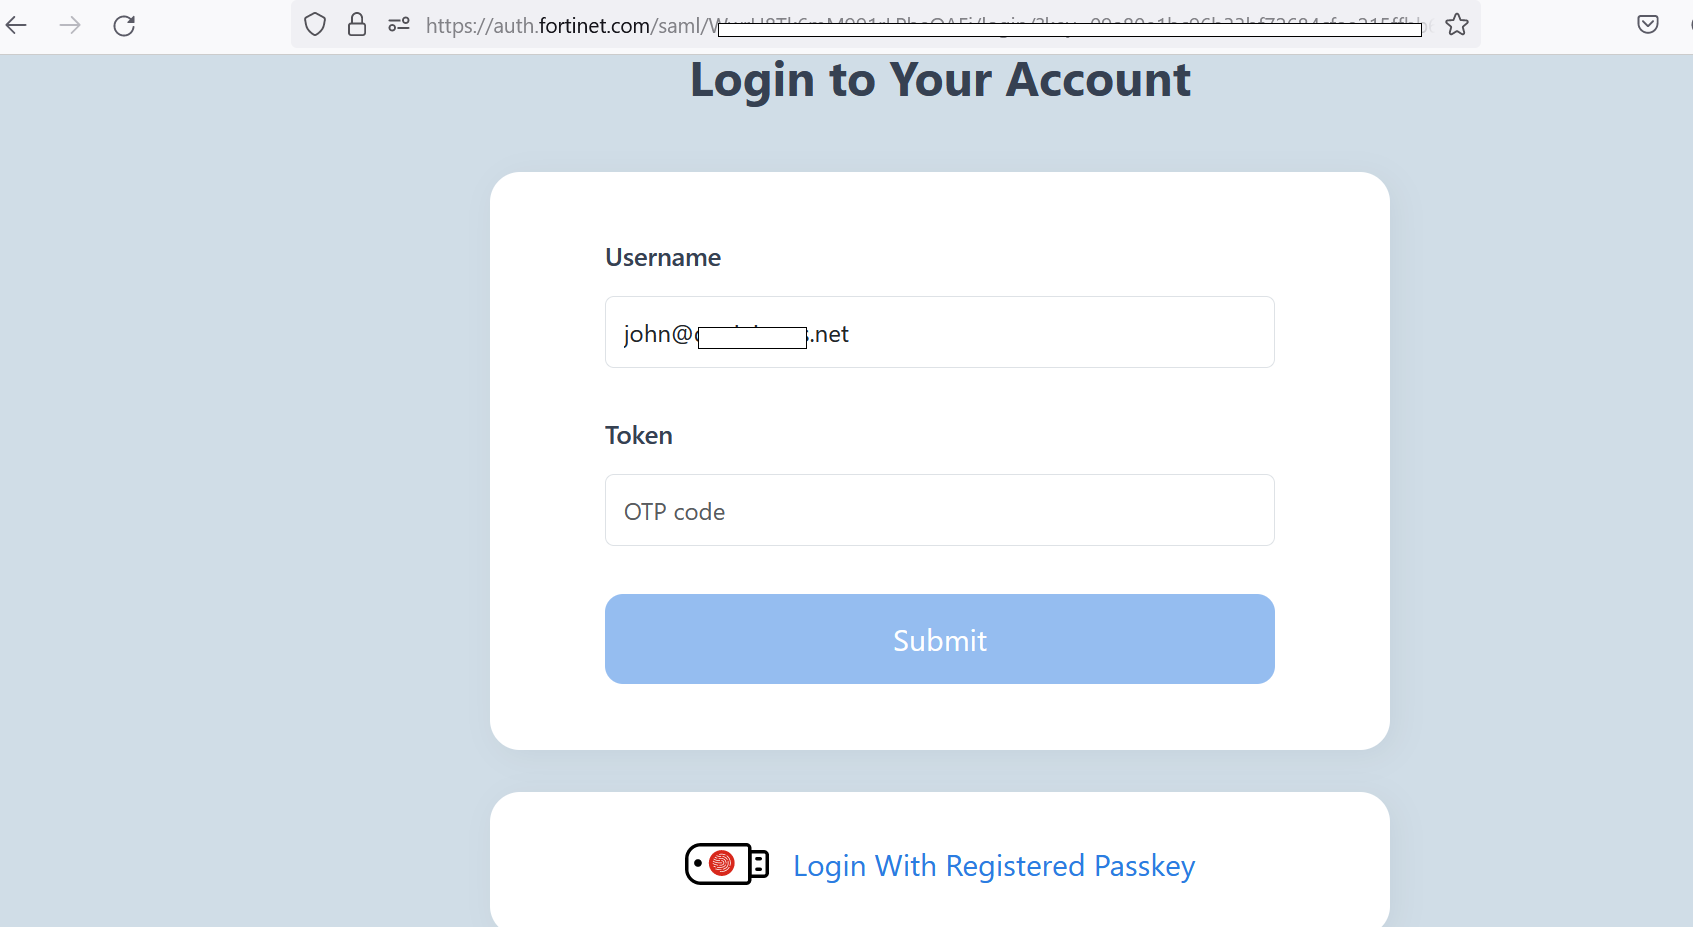
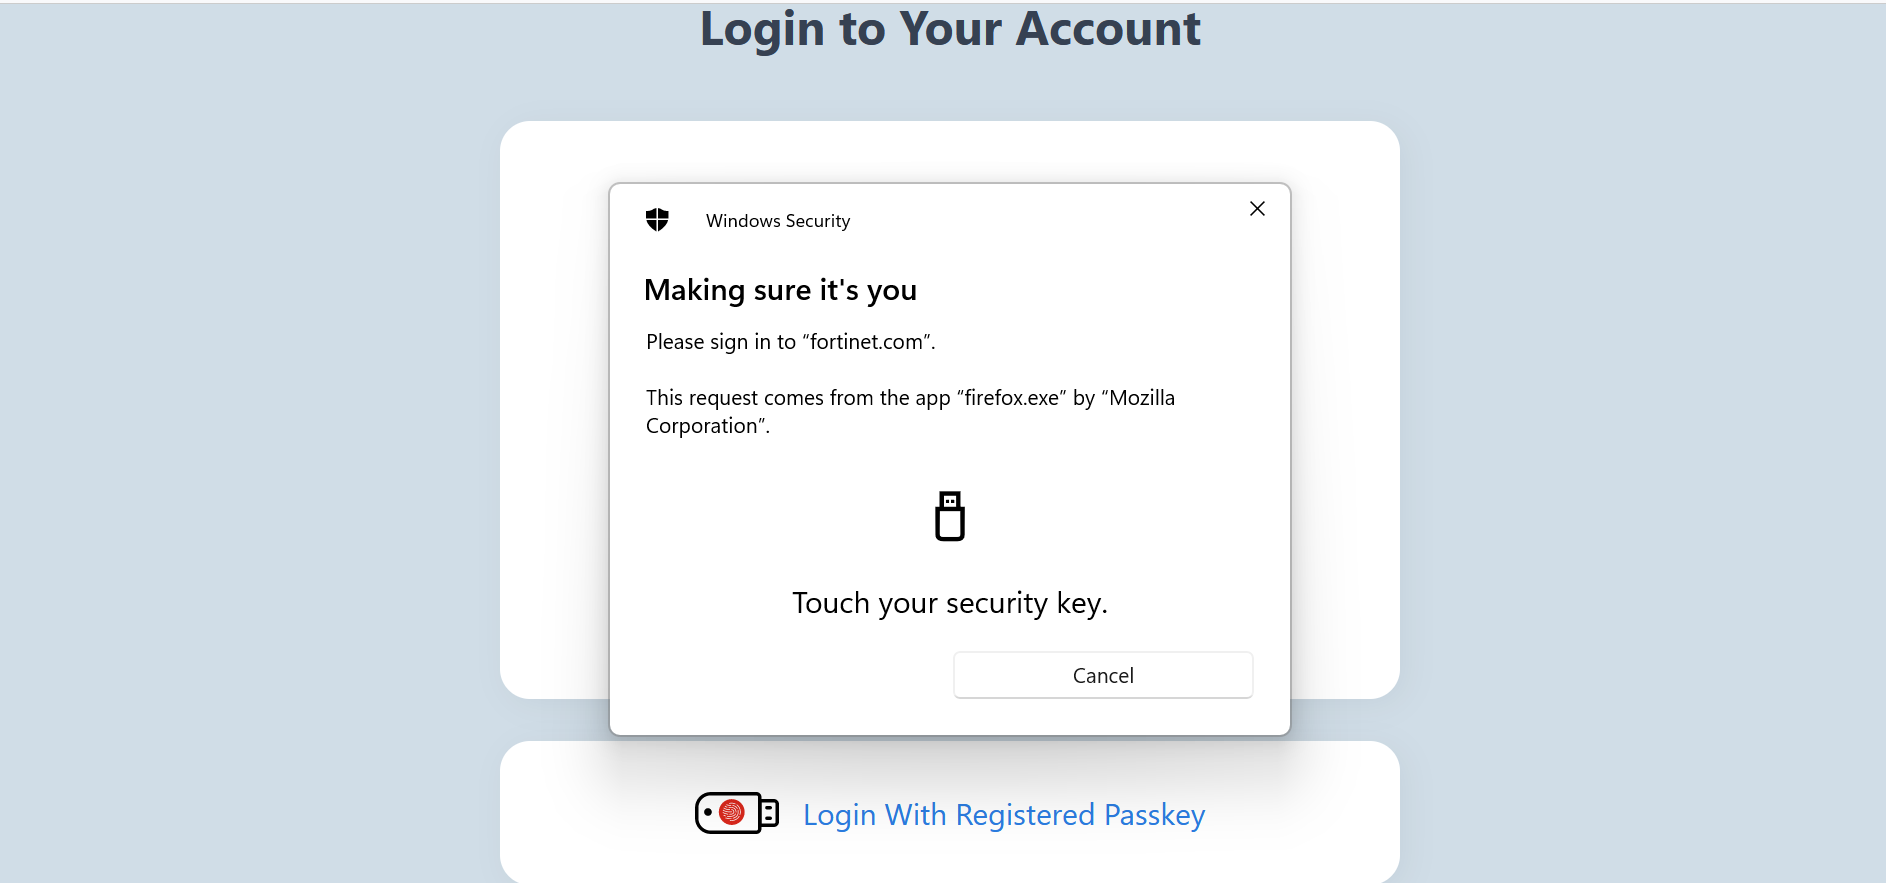
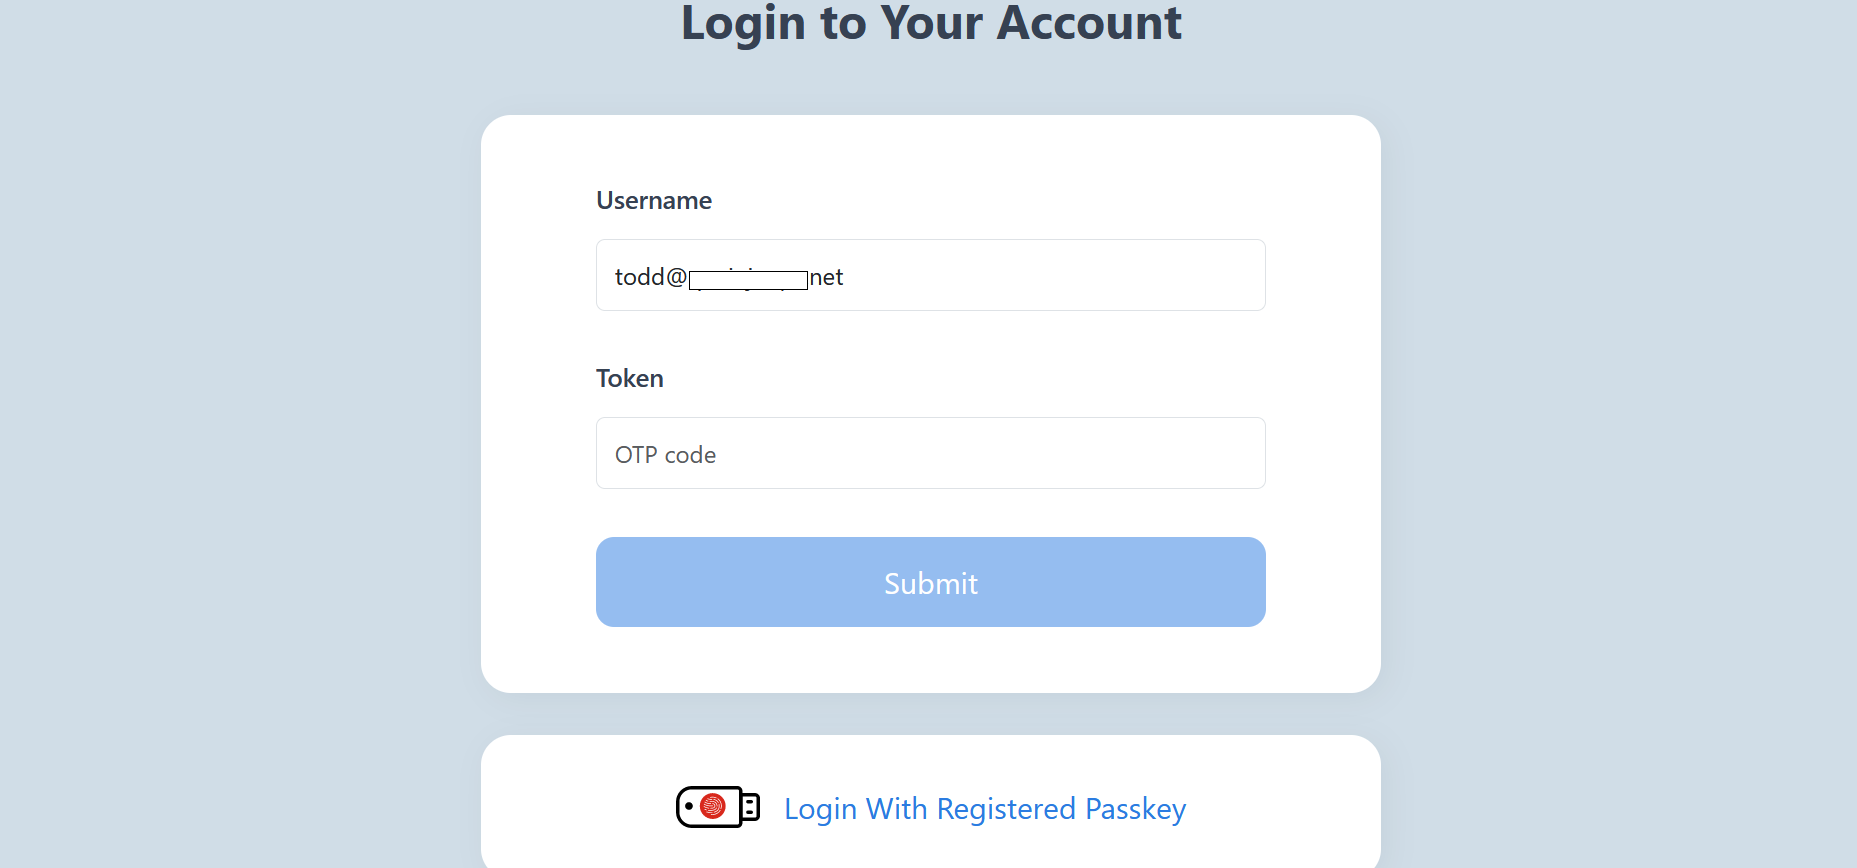
- After successful authentication with the external identity provider to access a service provider, John is presented with the auth.fortinet.com page from FIC for MFA. John then needs to choose Login with Registered Passkey.
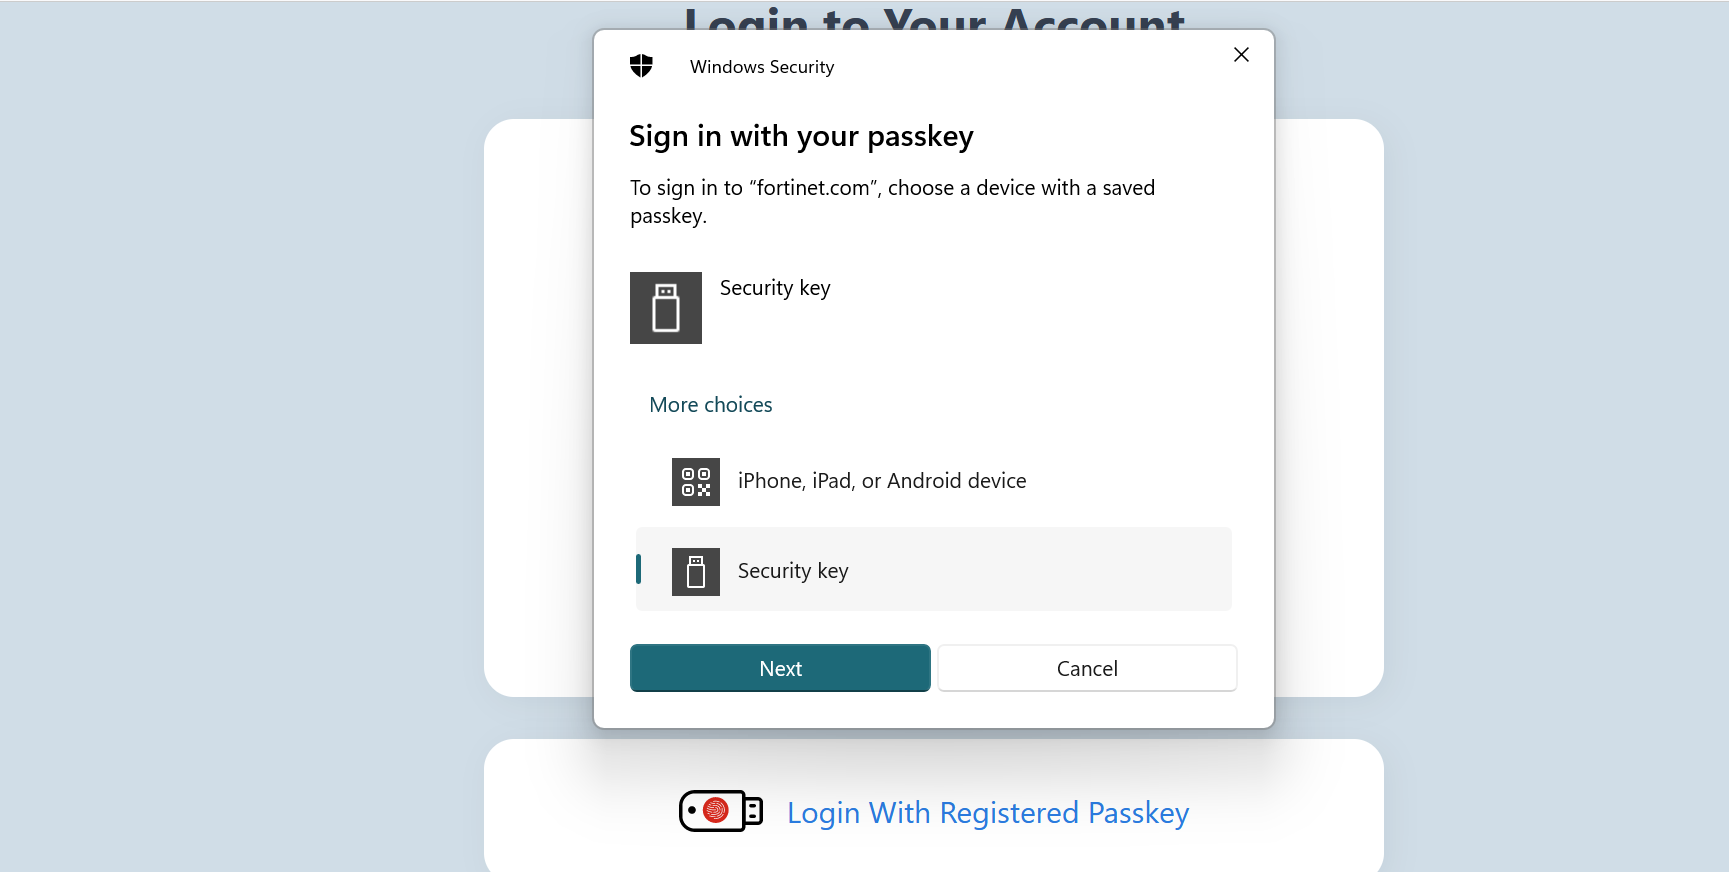
- John chooses Security key to use the FortiToken 410 USB passkey.
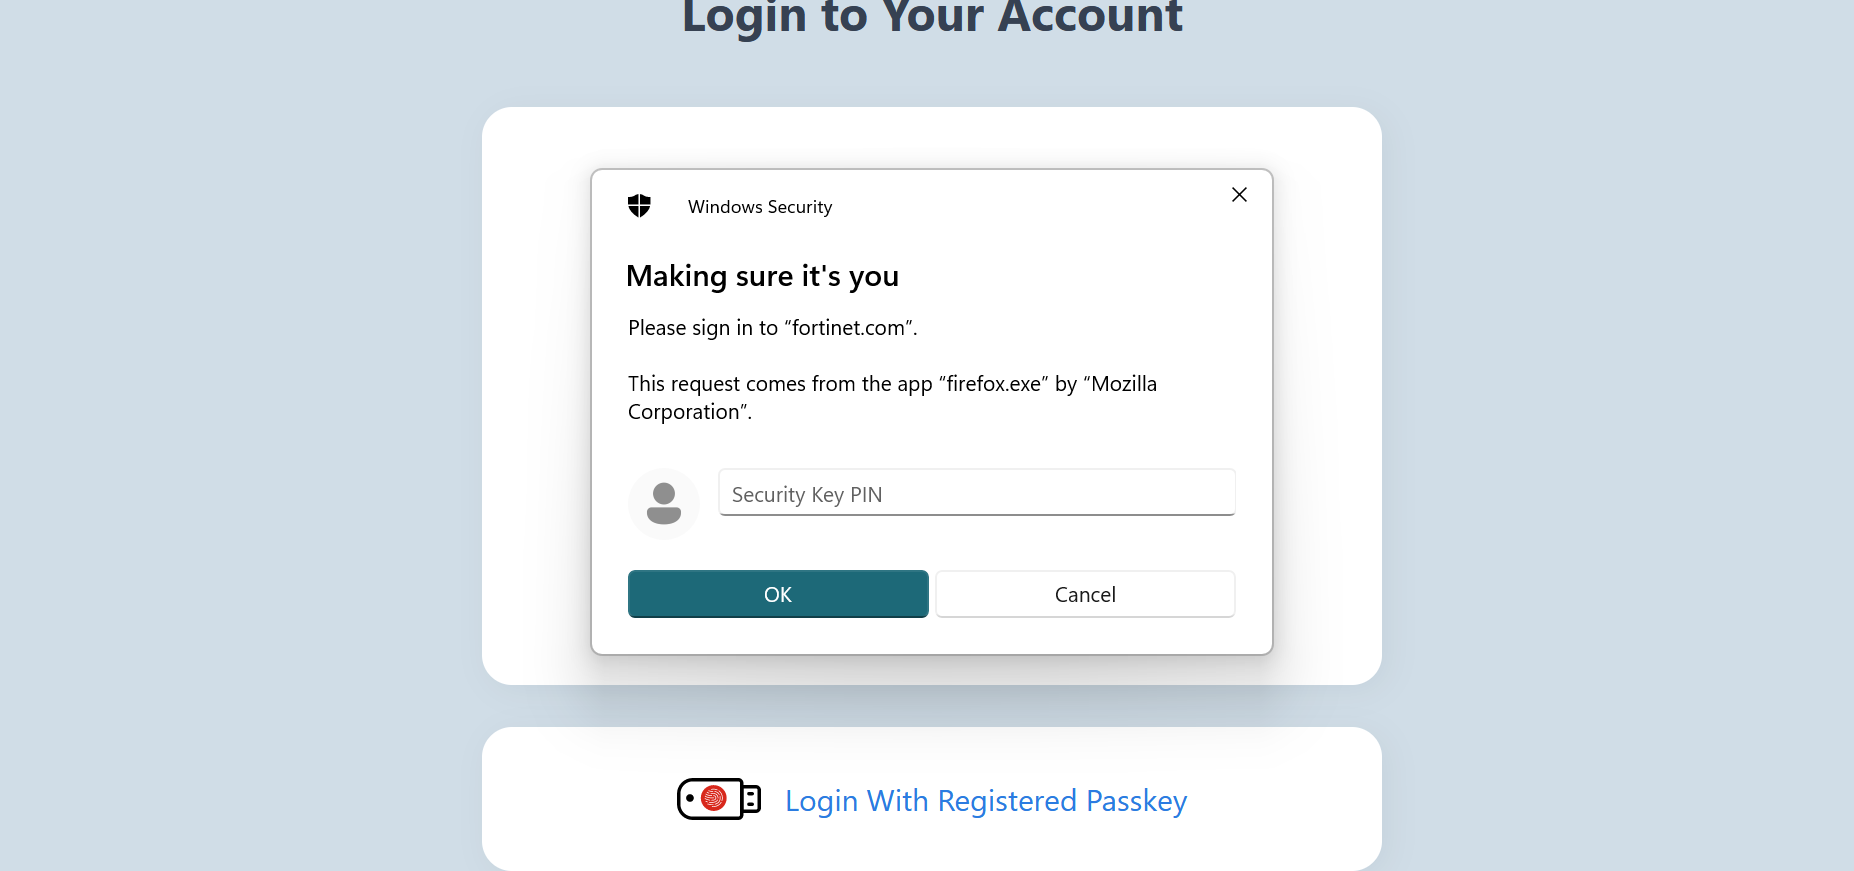
- John provides the PIN for the FortiToken 410 passkey.
- After the PIN is validated, John must follow the instructions and touch the FortiToken 410 passkey.
Registering phone passkeys for an end user
For a phone to be added as passkey for Todd (end user), Bob must do the following:
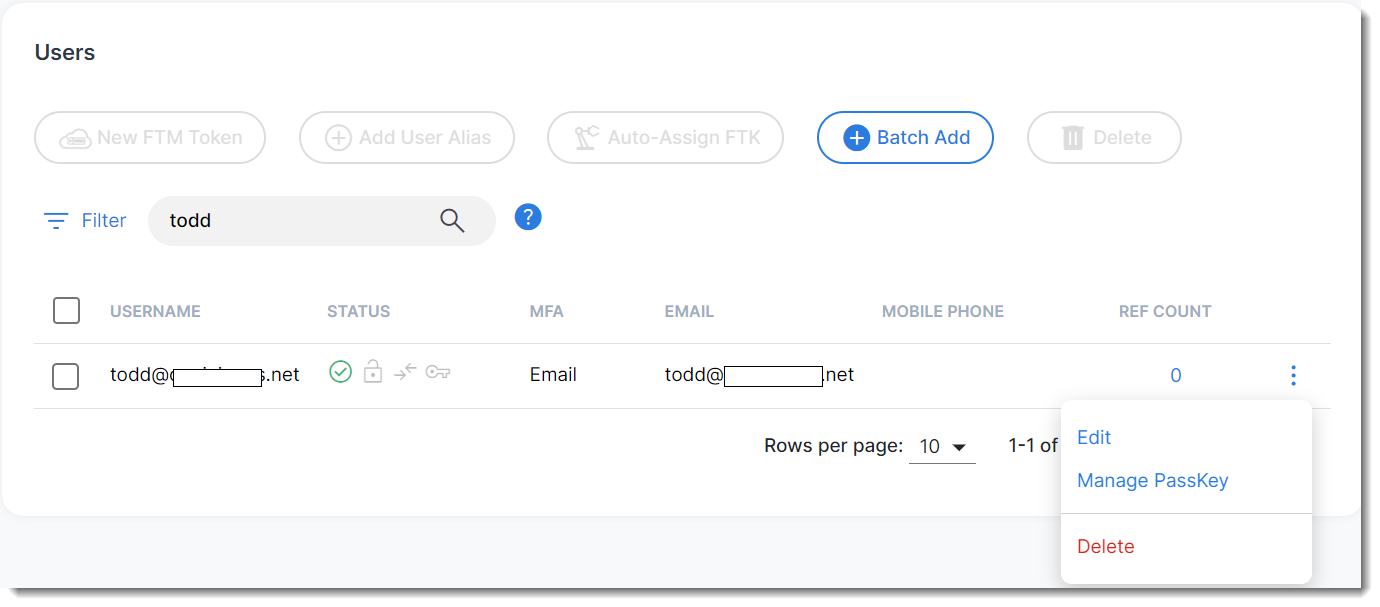
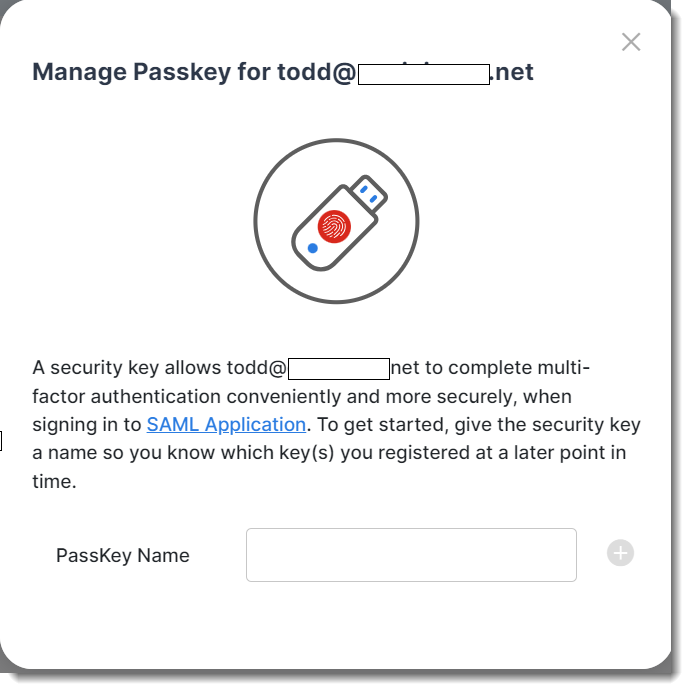
- Click User Management > Users, search for the user, "Todd", in the following example, and choose Manage Passkey from the tool menu.
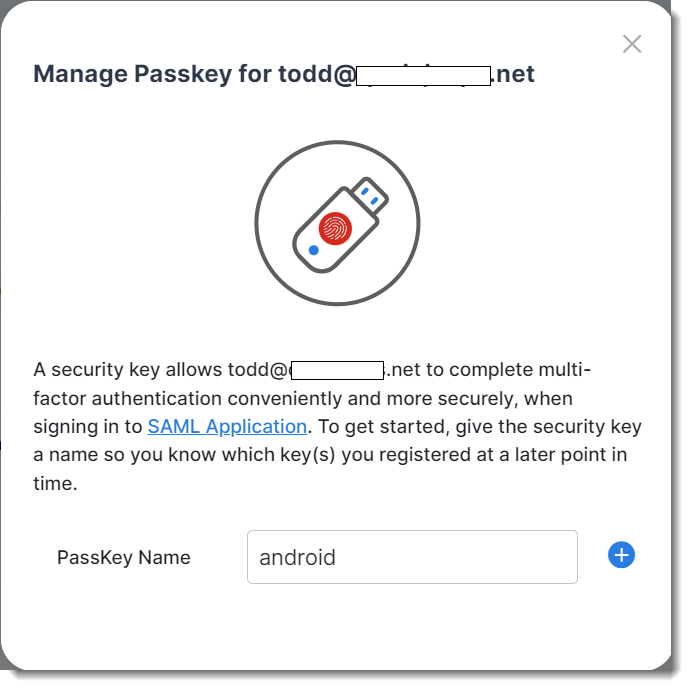
- Provide a name for the passkey, 'android' in the following screenshot.
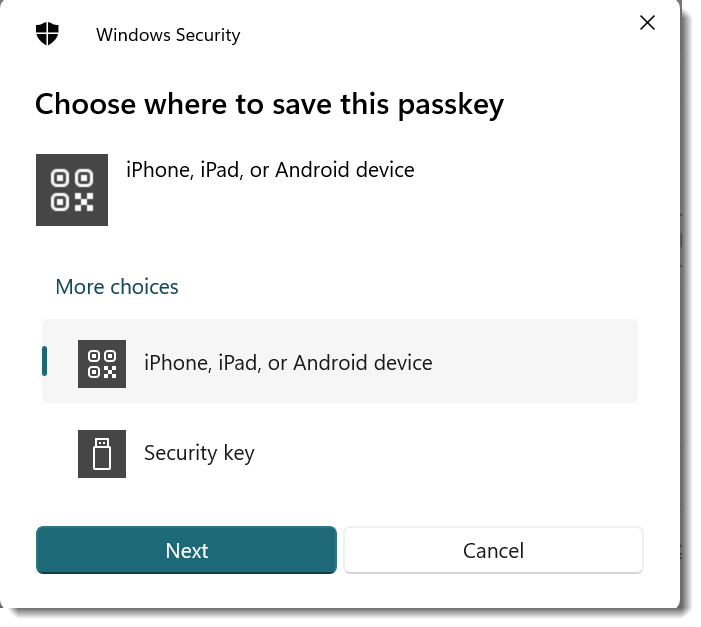
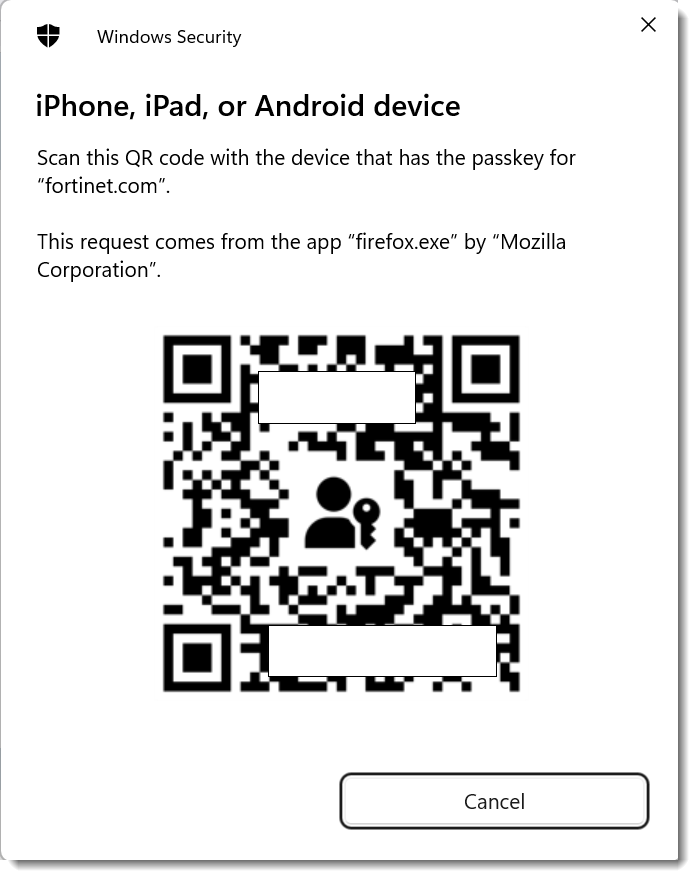
- Select iPhone, iPad, or Android device from the prompt.
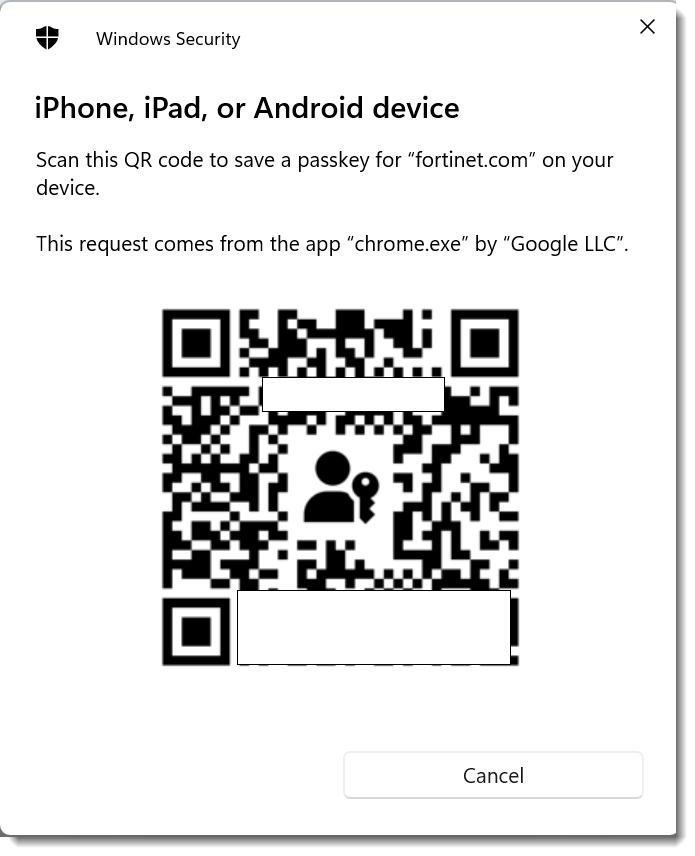
- Ensure Bluetooth is enabled in both his computer and the phone and scan the QR code. In this case , Todd's phone will be used to scan the QR code.
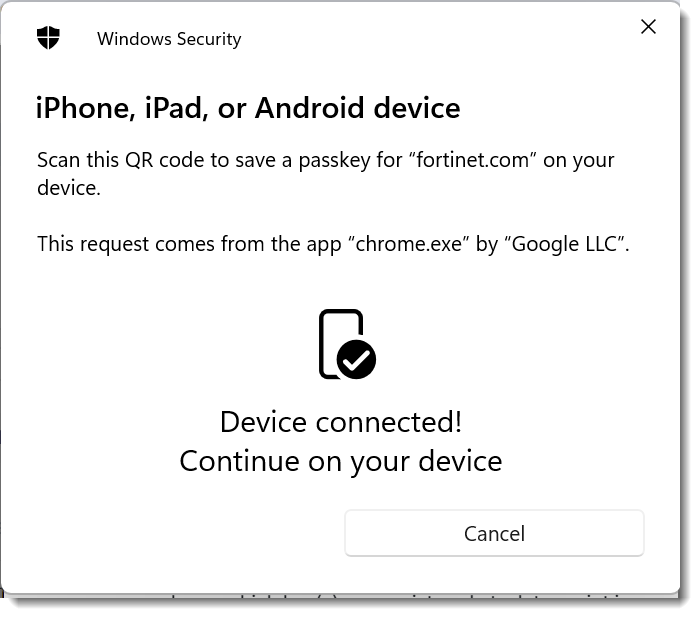
- The phone will automatically prompt to provide the screen lock or other protection mechanism configured in the phone. Follow the instructions on the phone to add the passkey.
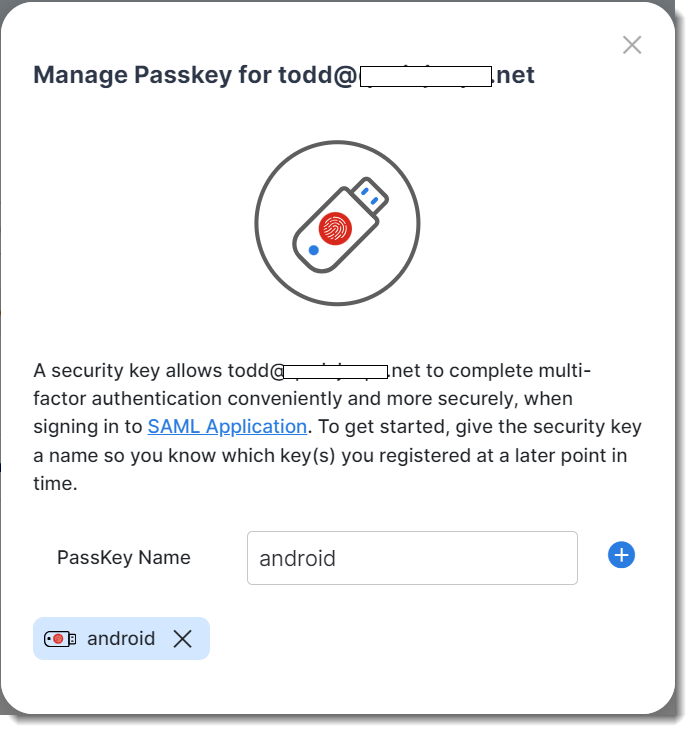
- Once the passkey is successfully added, the following confirmation will appear on the FIC portal screen to admin Bob.
- Once the phone is successfully added, Bob will see the following confirmation on the FIC portal.
Authenticating with a phone passkey in IdP proxy
- After successful authentication with the external identity provider in his computer for a configured service provider, the user (Todd in this case) will be presented with the auth.fortinet.com page from FIC for MFA. Choose Login with Registered Passkey.
- As the phone is used for the first time after provisioning, a QR code will pop up. Todd will scan the QR code.
- Follow the instruction on the phone to provide the screen lock or other authentication mechanisms in the phone.
- After the phone is set up successfully, Todd will be able to log into the service provider.
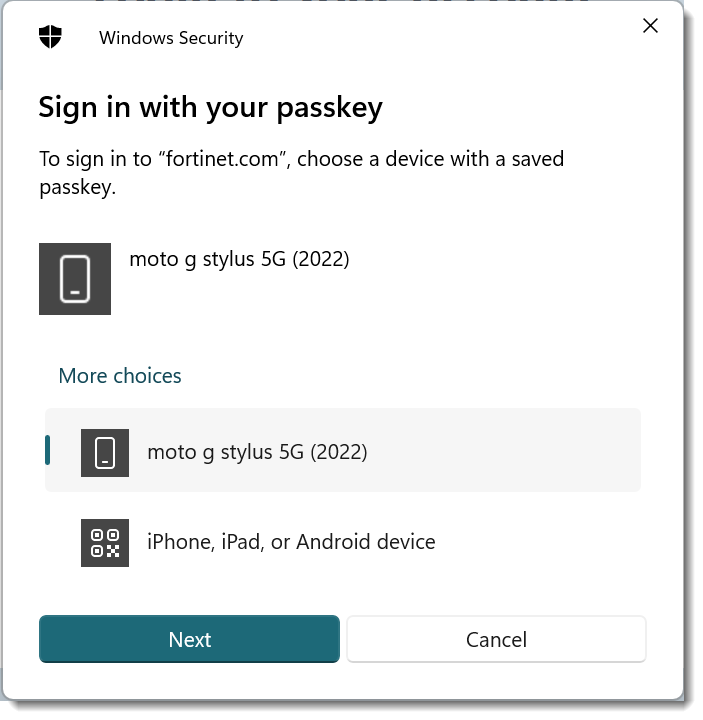
- Now that the Android phone is registered with Todd's computer, when Todd tries to log in the next time, his phone will be listed as one of the choices (moto gstylus 5G (2022) in the following screenshot).
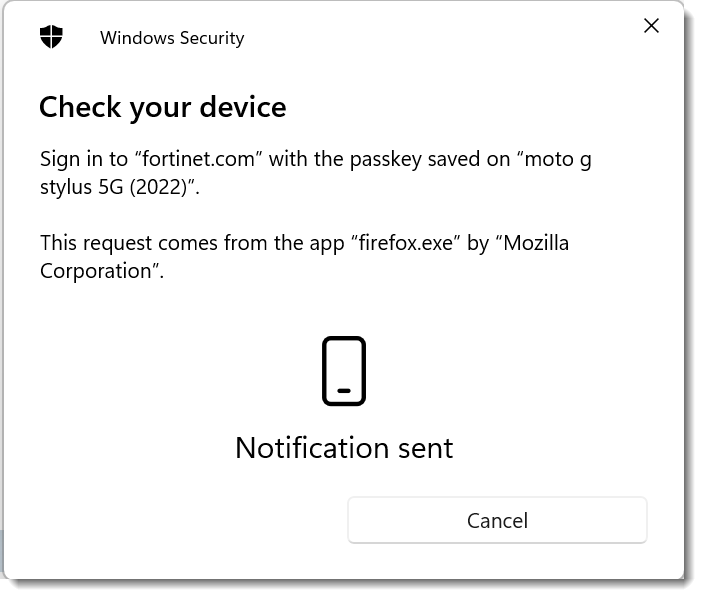
- Clicking on the phone will send a notification to the phone and the user will then have to provide the screen lock or other authentication mechanisms configured in the phone to authenticate.
Viewing logs for passkeys
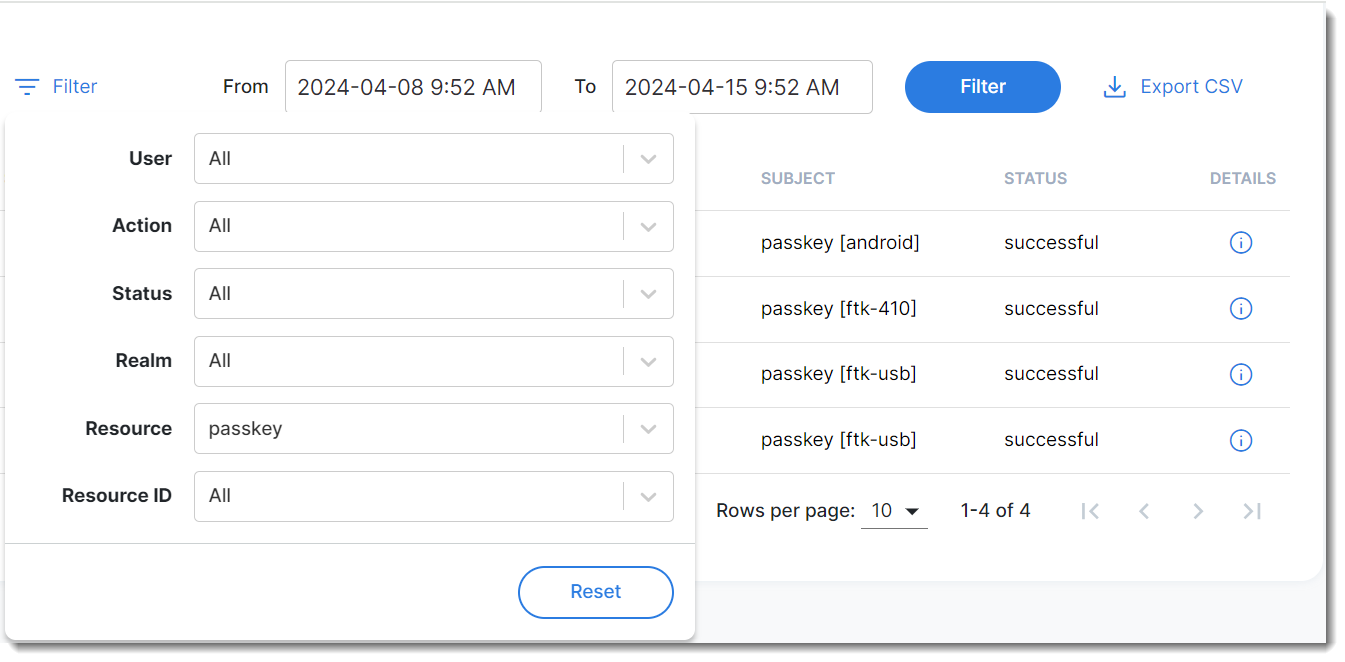
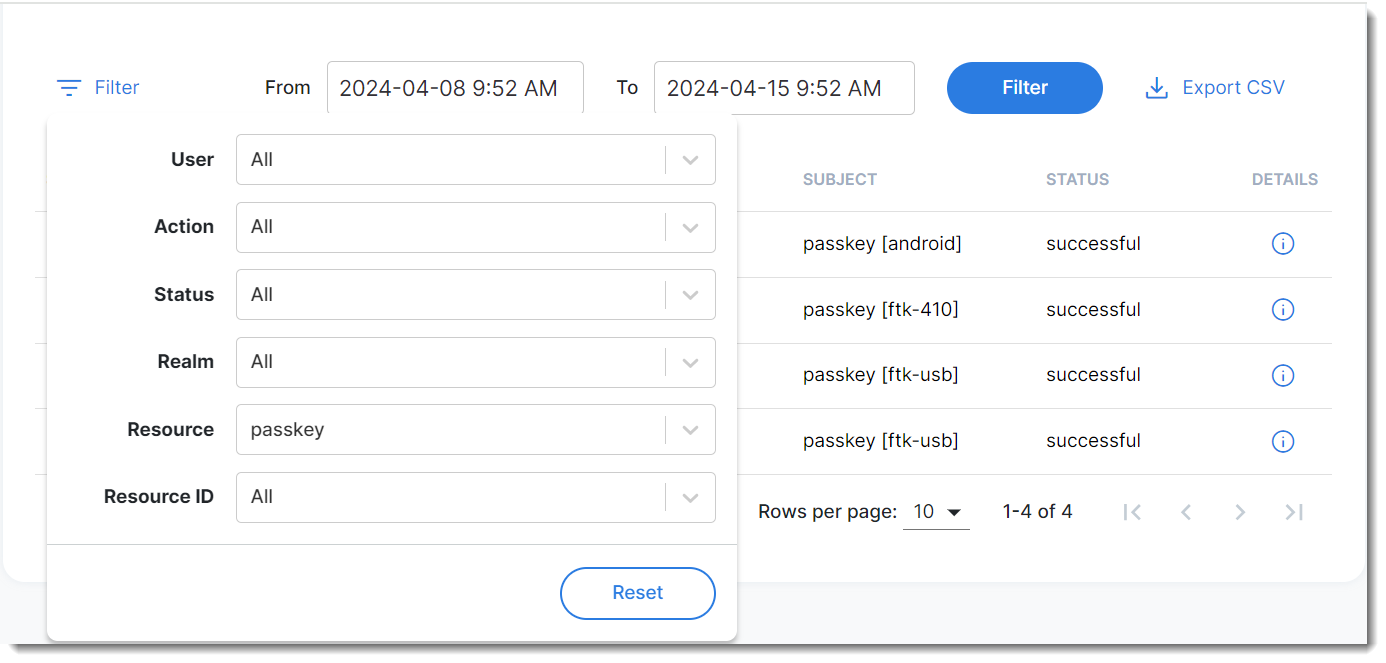
Management log:
- Navigate to Log and Report > Management Logs, click Filter, and select Passkey in the Resource field.
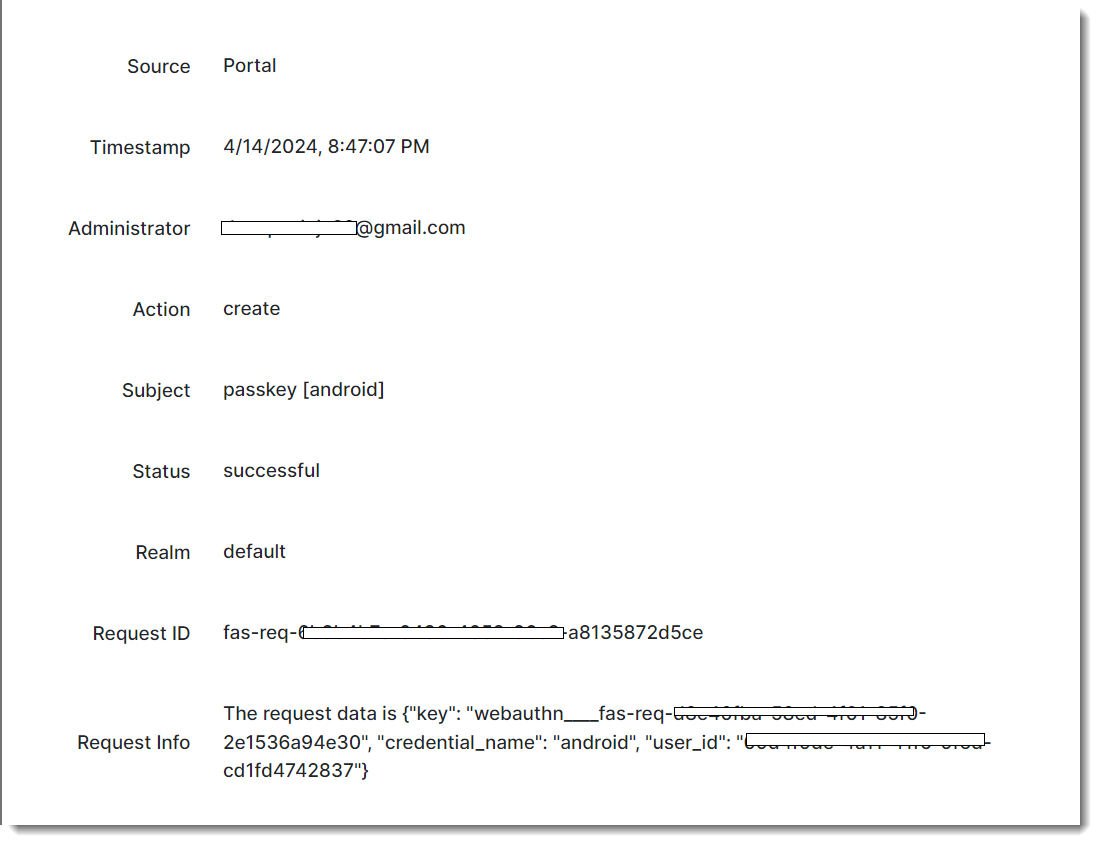
- Click the Details icon to view log details.
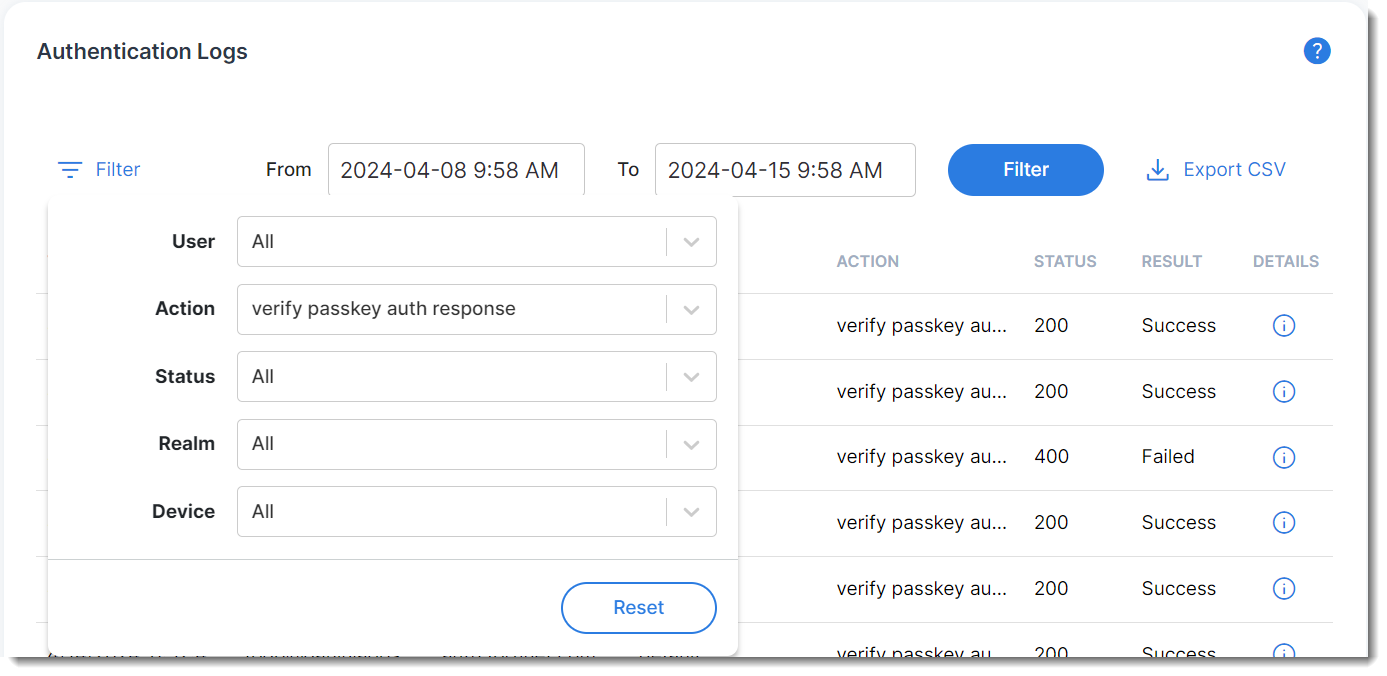
Authentication log:
- Navigate to Log and Report >Management Logs, click Filter, and select verify passkey auth response in the Action column to narrow down the search to passkey auth responses.
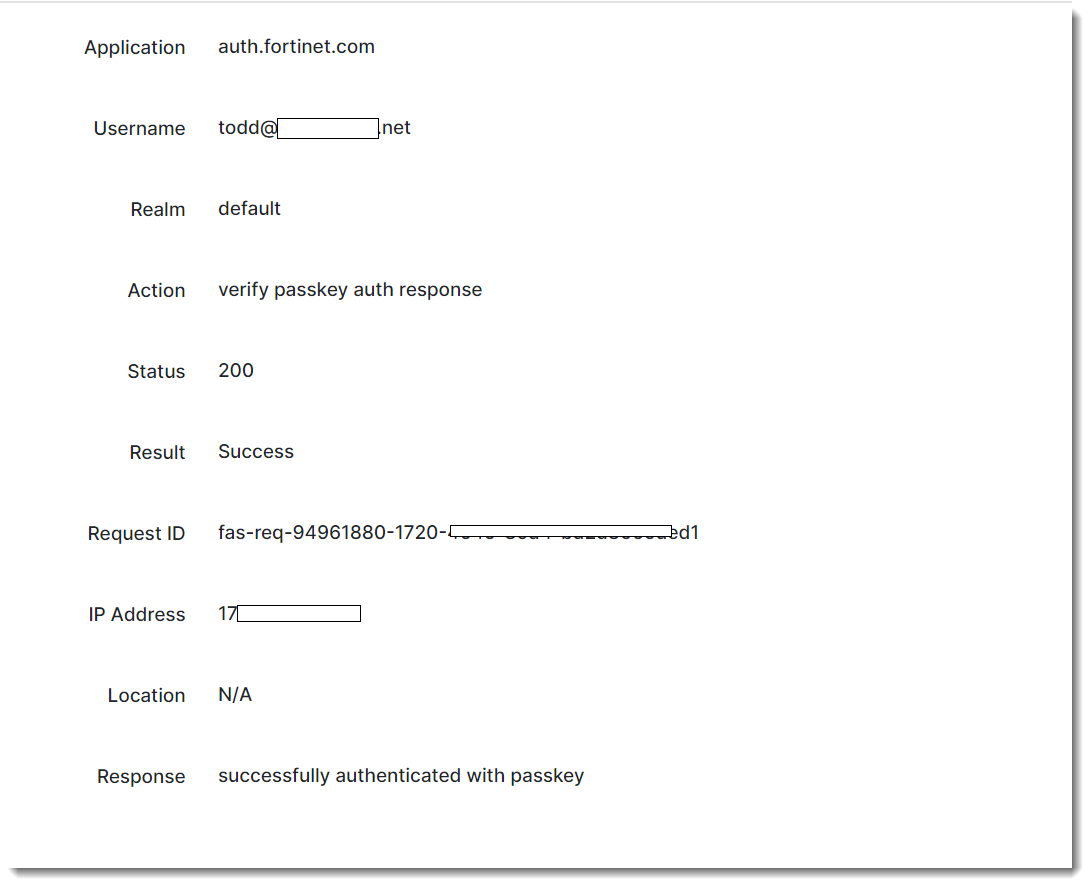
- Click the Details icon to view log details.
Deleting a passkey
There are two ways to delete passkeys.
User Management menu:
- Navigate to User Management >Users, and locate the user,
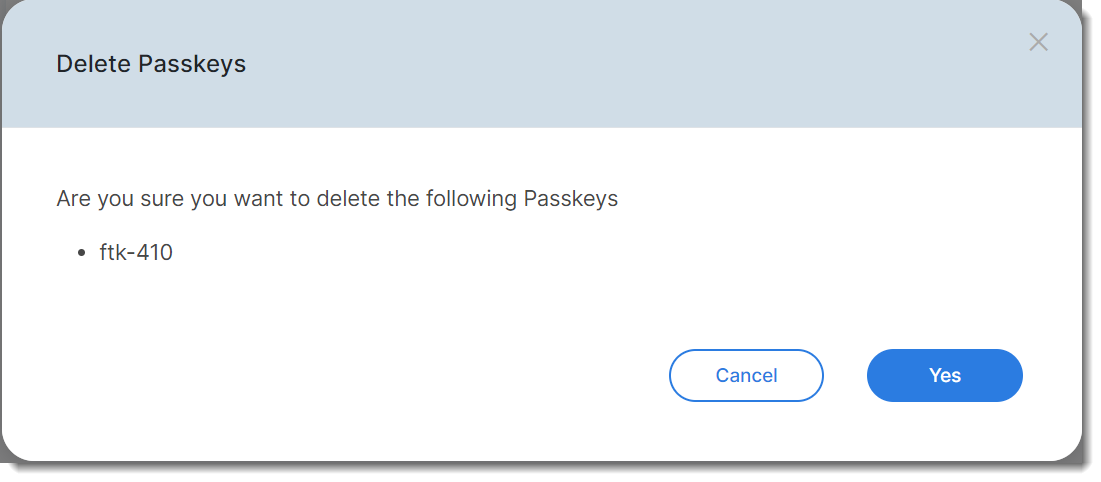
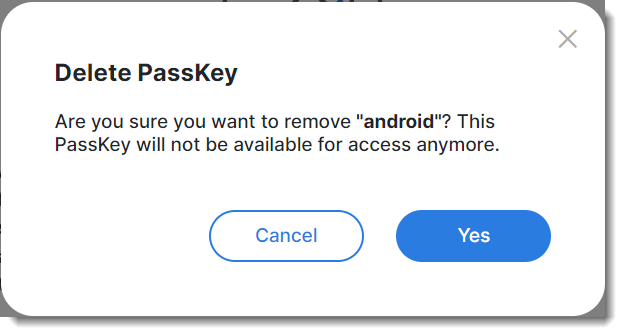
- Click the tool icon, select Manage Passkey, and click the X sign.
- Click Yes.
Security Devices menu:
- Navigate to Security Devices > Passkey, select the passkey, and click Delete.
- Click Yes.