
Deploying a FortiManager Cloud instance
This section explains how to deploy FortiManager Cloud. You can select a region, and then deploy the instance of FortiManager Cloud to the region.
A primary FortiCloud account is required to deploy FortiManager Cloud. A primary FortiCloud account can invite other users to launch FortiManager Cloud as sub users. See Adding a secondary account.
Only one FortiManager Cloud instance can be created per FortiCloud account.
|
|
For support of FortiGates devices on earlier firmware versions, you can change the FortiManager Cloud ADOM version to match the firmware version of the FortiGates. Check the FortiManager/FortiOS Compatibility Guide to see which FortiOS versions are supported by each FortiManager release. For more information on changing the ADOM version, see Updating the ADOM version. |
To deploy a FortiManager Cloud instance:
-
If not done already, go to FortiCloud (https://support.fortinet.com/), and use your FortiCloud account credentials to log in.
The FortiCloud portal is displayed.
-
From the Services menu, select FortiManager Cloud.
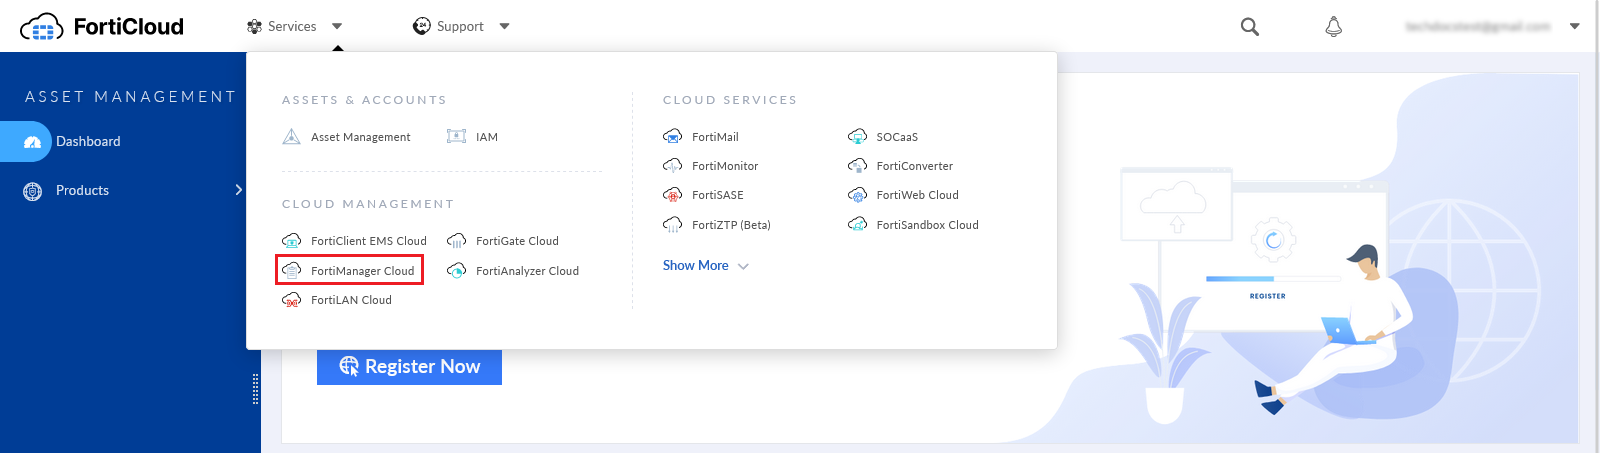
The FortiManager Cloud & Service portal is displayed.
-
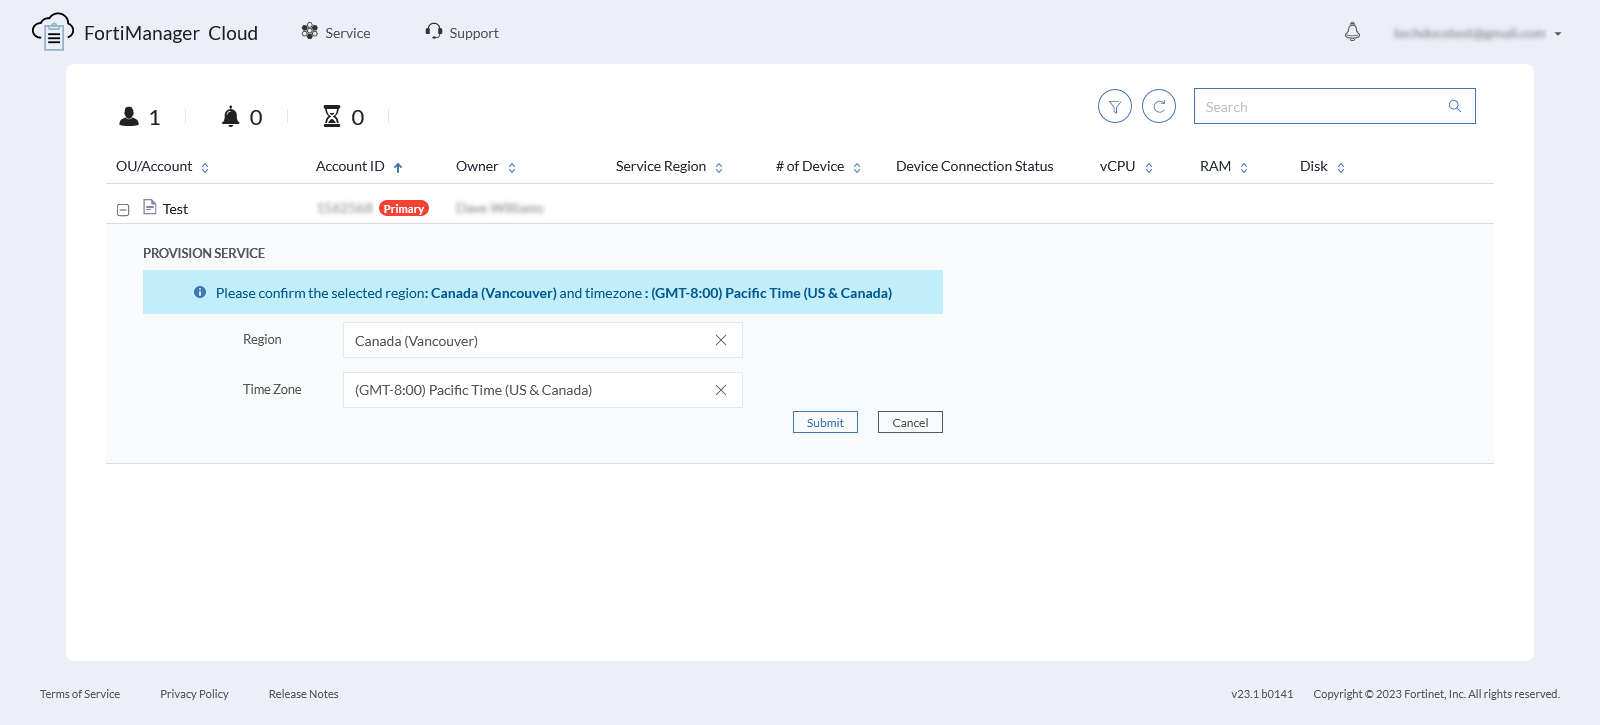
On the FortiManager Cloud & Service portal:
-
Select a Region for the FortiManager Cloud instance. In this example, the region is Canada (Vancouver).
-
Select a Time Zone for the FortiManager Cloud instance.
-
-
Click Submit.
-
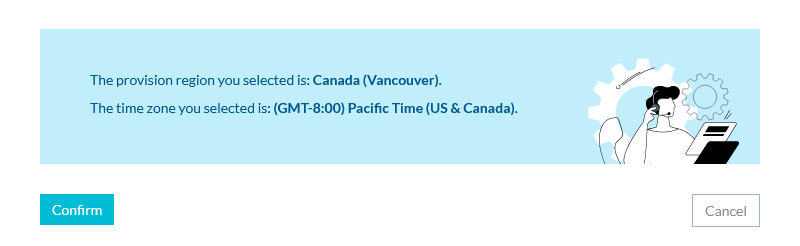
Confirm your selected region and time zone.
-
Click Submit.
-
Review and accept the Terms of Service and Privacy Policy. Privacy settings can be configured in the instance. See Privacy and notification preferences.
-
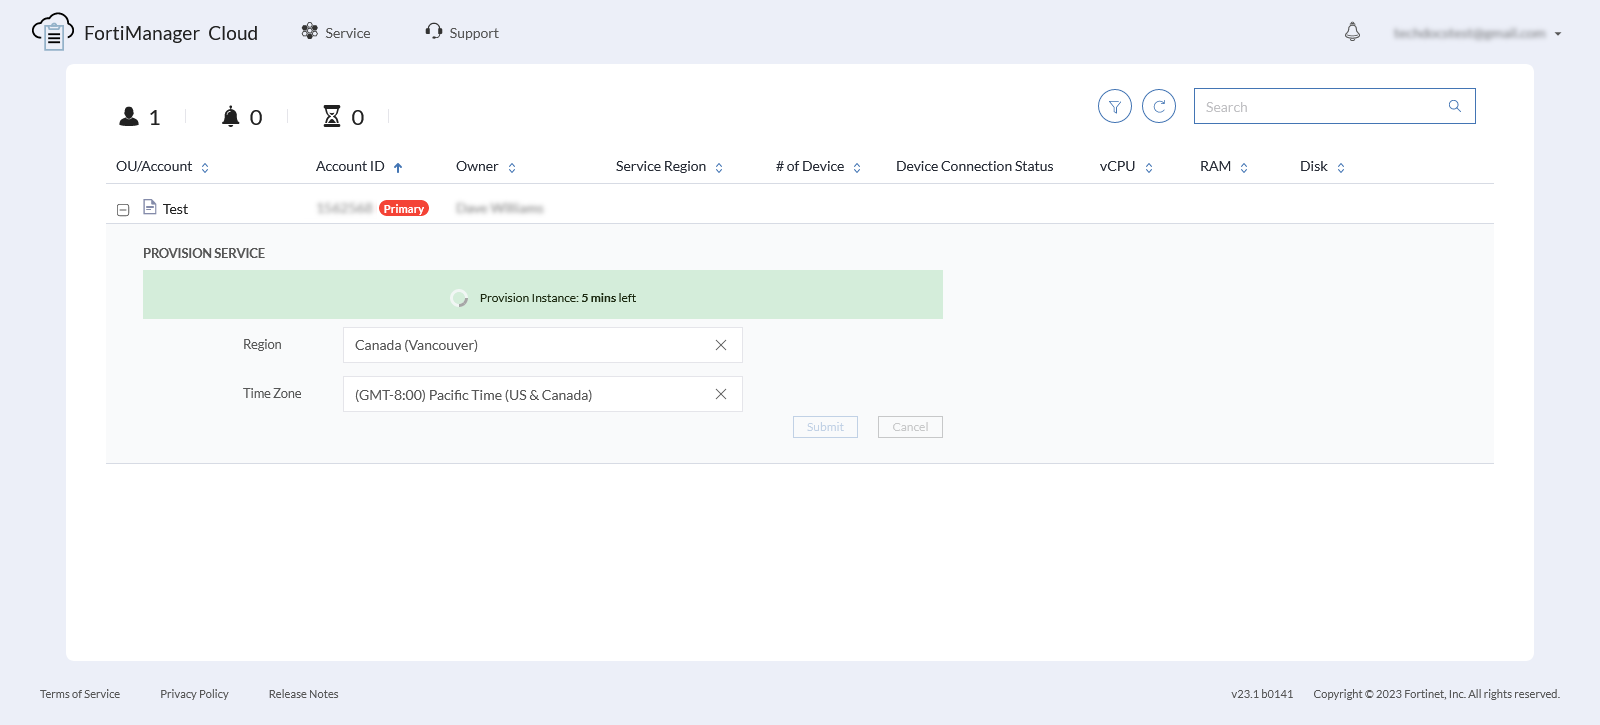
FortiManager Cloud instance is provisioned in a few minutes.
-
Once provisioned, expand the account, and click Enter to access the FortiManager Cloud instance.

-
(Optional) Upgrade FortiManager Cloud to 7.6.x. See Upgrading firmware from the instance.
-
Configure FortiOS to work with FortiManager Cloud. See Configuring FortiOS.