
Creating a secret with Cisco User (SSH Secret) template
To create a secret with Cisco User (SSH Secret) template:
-
Go to Secrets > Secrets.
Alternatively, go to Secrets > Personal/Public Folder, and select a folder where you intend to add a secret.
From the Create dropdown, select Secret, and skip to step 5.
- In Secret List, select Create.
The Create New Secret in: dialog appears.
- Select the folder where you intend to add the secret.
The folder is already selected if you are creating secret from inside a folder.
- Select Create.
The New Secret window opens.
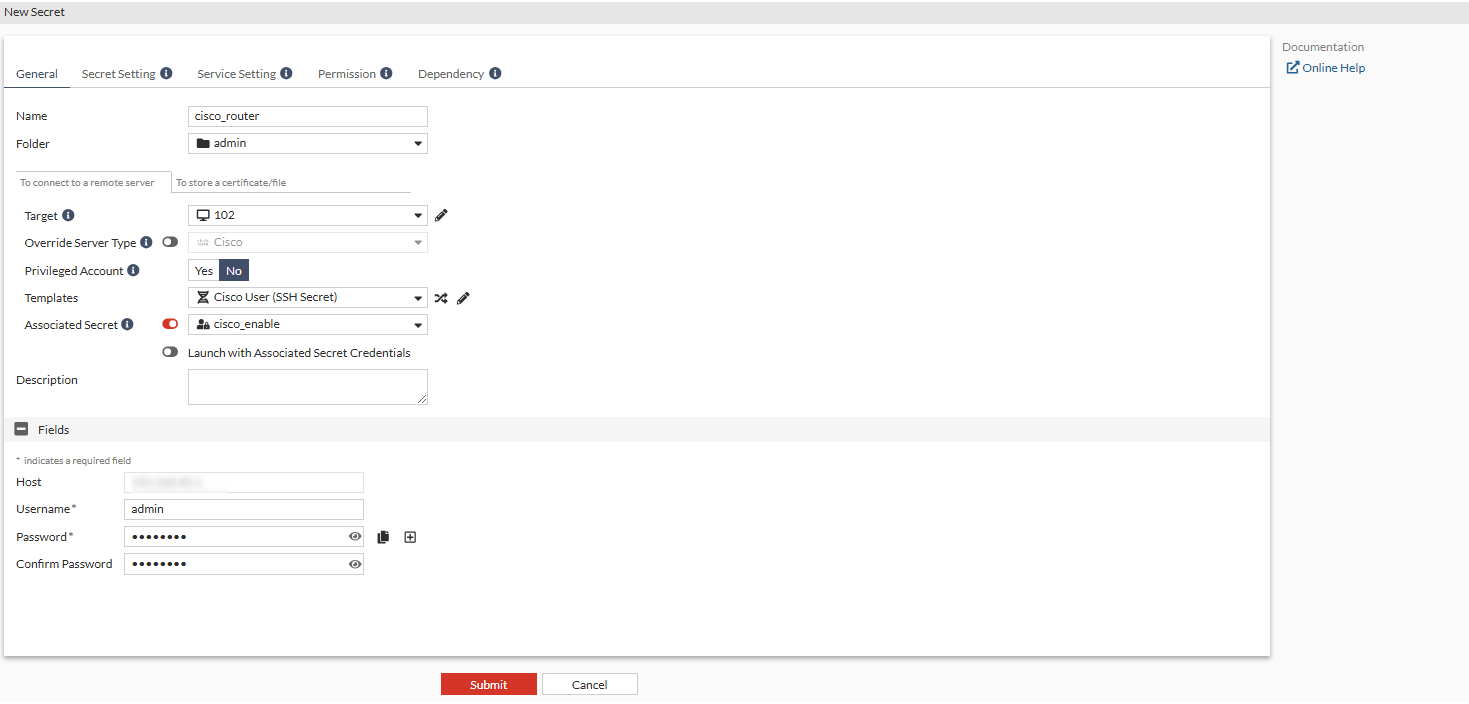
- Enter a name for the secret.
- Ensure that you are in the To connect to a remote server pane.
- In the Template dropdown, select Cisco User (SSH Secret) default template.
- Enable Associated Secret, and select a secret from the Associated Secret dropdown.
In this example, a Cisco Enable Secret template based secret is selected as the associated secret. This allows auto-password delivery and password change feature for the Cisco User (SSH Secret) template based secret being created.
- In the Fields pane:
- In the Username field, enter the username for the Cisco router.
- In the Password field, enter the password for the Cisco router.
- In the Confirm Password field that appears after the password is filled in, enter the password again.
- Go to the Secret Setting tab, enable Session Recording.
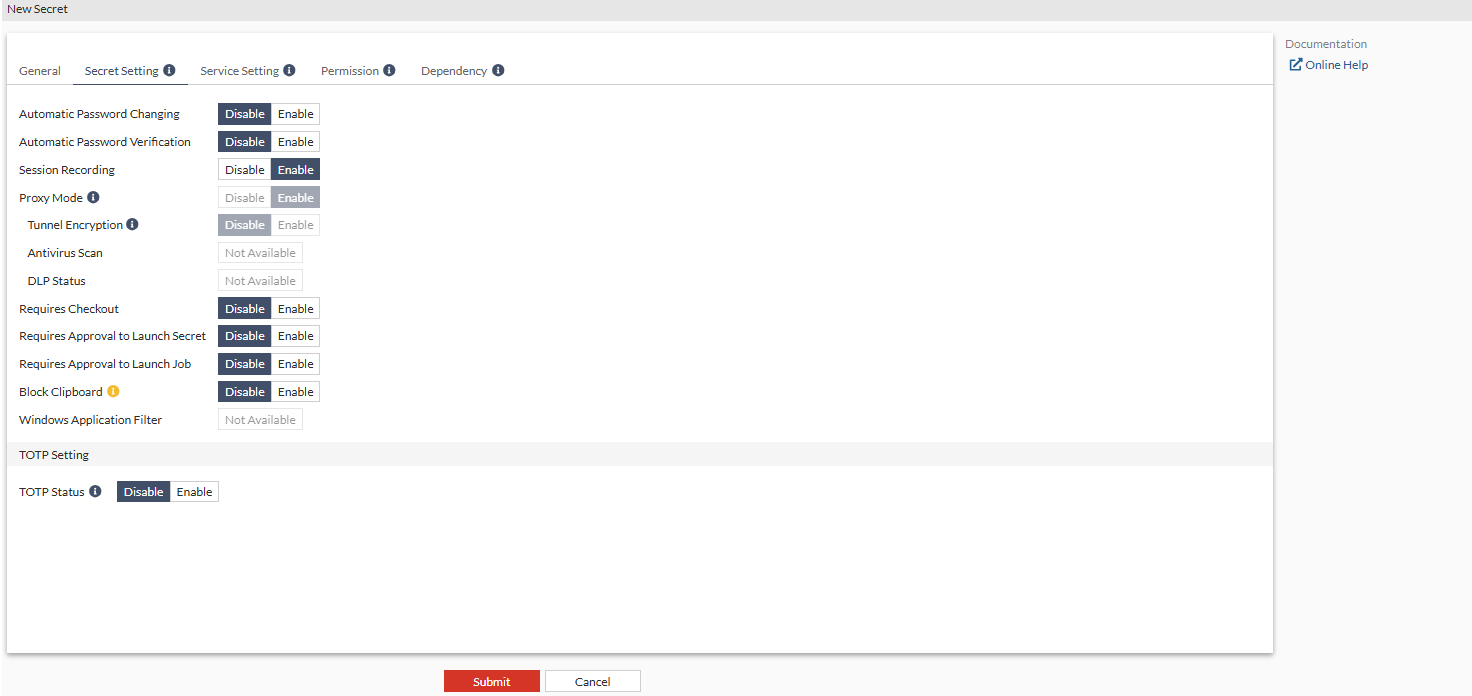
Enabling Session Recording ensures that the user action performed on the secret is recorded.

The video file is available in the log for users with appropriate permission.
- Go to the Service Setting tab, in SSH Service, enable SSH Auto-Password.
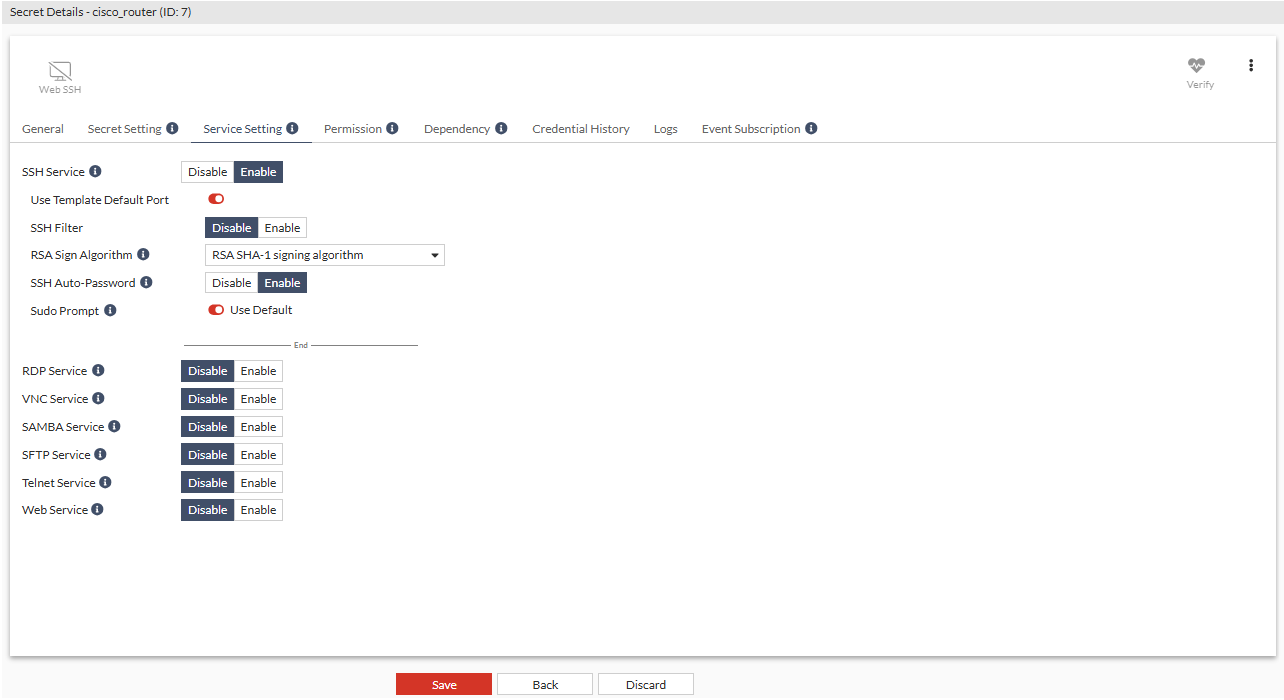
- Click Submit.
Verifying the password
To verify the password manually:
- Go to Secrets > Secrets.
- In Secret List, select the recently created secret, and select Edit.
Alternatively, go to the folder where the secret is located, and double-click the secret.
The Secret Details window opens.
-
From the top, select Verify.
Once the password has been verified, Password Verification Status shows the date and time when the password was verified and its status.

If there is an error in password verification, check your entries for fields and the server status.