


Configuring user verification with Azure AD authentication
The following provides an example of configuring user verification using an Azure Active Directory (AD) server for authentication. This configuration consists of the following steps:
- The EMS administrator adds the Azure AD server to EMS.
- The EMS administrator configures an invitation code and sends it to the desired user.
- The end user receives the invitation email, and uses it to download FortiClient.
- The end user connects to EMS using their Azure AD credentials.
To configure an Azure AD server in EMS:
- Configure the Azure AD server as an authentication server in EMS:
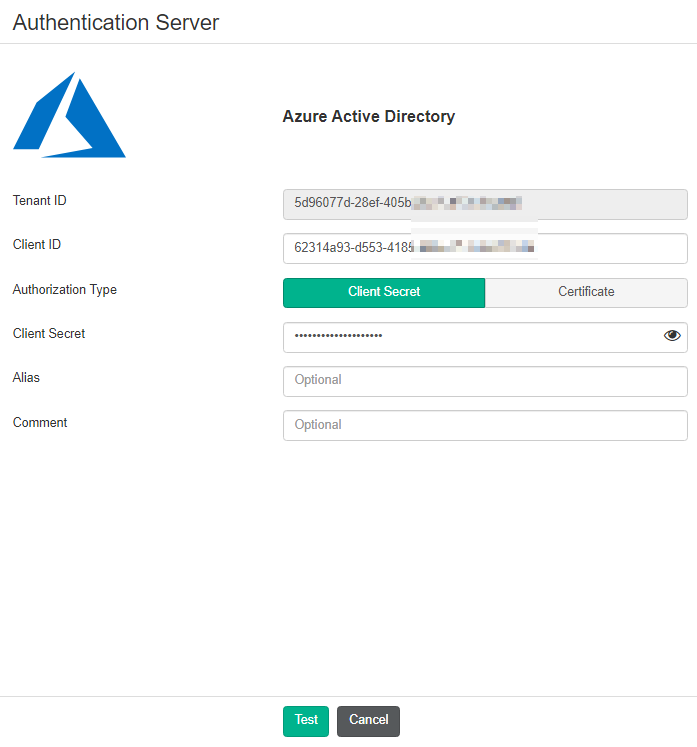
- In the Azure management console, collect your AD tenant ID, client ID, and client secret.
- Go to Administration > Authentication Servers.
- Click Add > Azure.
- In the Tenant ID and Client ID fields, enter the IDs that you collected from the Azure management console.
- For Authorization Type, select Client Secret.
- In the Client Secret field, enter the client secret that you collected from the Azure management console.
- Configure other fields as desired.
- Click Test.
- After the test succeeds, click Save.
To add endpoints using an Azure AD server:
- Go to Endpoints > Manage Domains.
- Click Add, then Azure.
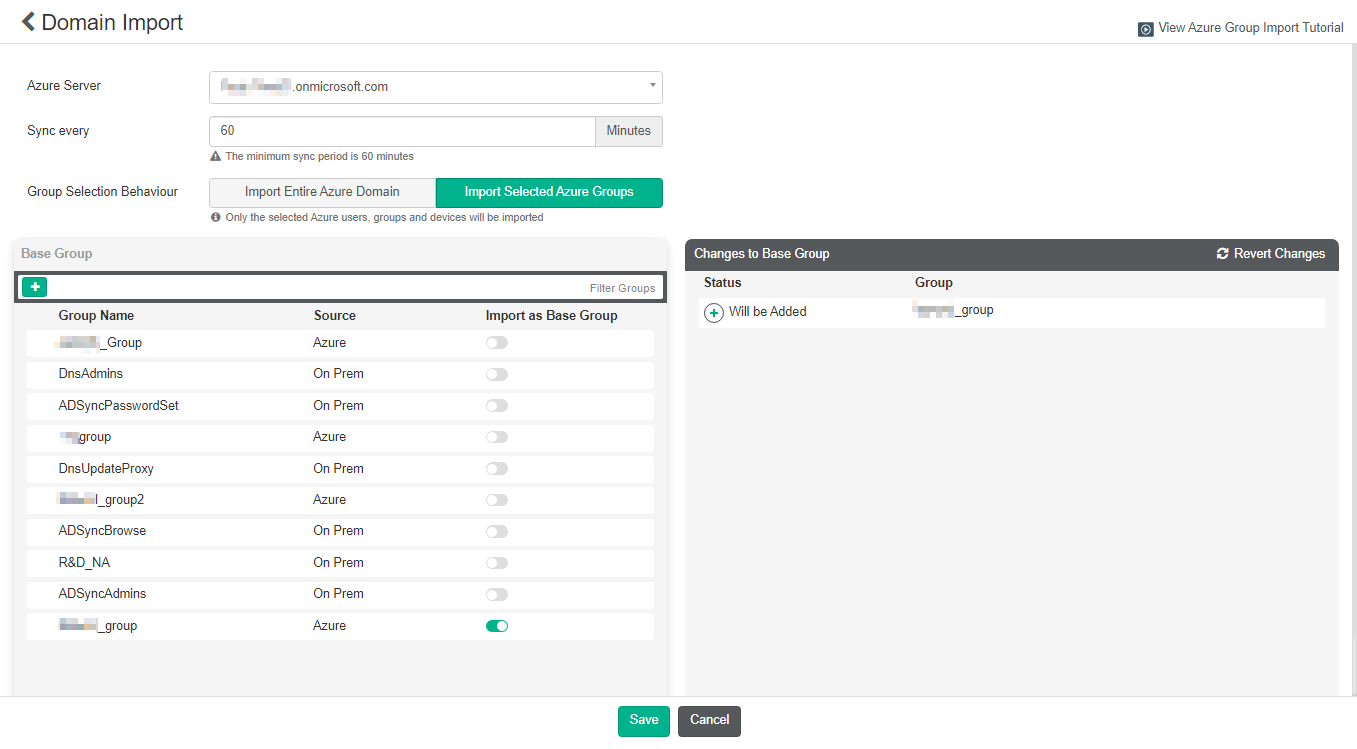
- From the Azure Server dropdown list, select the desired server.
- In the Sync every field, enter the number of minutes after which EMS syncs with the Azure server.
- For Group Selection Behaviour, select Import Entire Azure Domain or Import Selected Azure Groups.
- Enable Import as Base Group for the desired groups, then click Save.
Endpoints > Domains lists the Azure AD server domain groups and subgroups. It lists subgroups as a flat list and does not preserve the hierarchy from the AD server.
To create an invitation code:
- Go to User Management > Invitations.
- Click Add.
- Configure the invitation:
- In the Name field, enter the desired invitation name.
- For Type, select Individual.
- Enable Send Email Notifications.
- In the Email Recipients field, enter the desired user email address.
- In the Include FortiClient Installer field, add a FortiClient deployment package. The email that the user receives includes a link to download this deployment package.
- If desired, use the Expiring and Expiry Date fields to set an expiry date for this invitation.
- For Verification Type, select LDAP.
- From the LDAP Domain User dropdown list, select the desired domain user. This option is available when configuring an invitation to send to an individual. When configuring a bulk invitation, you select an LDAP domain instead of a domain user.
- Click Save.
To register an Azure AD user's endpoint to EMS using an invitation code:
- In the EMS top banner, click Invitations.
- Click Add.
- For Verification Type, select Domain.
- From the LDAP Domain dropdown list, select the Azure AD server.
- Configure other settings as desired, then click Save.
- On the endpoint, go to Settings > Accounts.
- Click Join this device to Azure Active Directory.
- Under Access work or school, click Connect.
- Log in as an Azure AD user.

- In FortiClient, on the Zero Trust Telemetry tab, enter the invitation code to register to EMS. FortiClient register to EMS as the logged in Azure AD user without additional prompts.