Preparing the network in AWS
To prepare the network, create a Virtual Private Cloud (VPC) and create several subnets. Next you will create an Internet Gateway and route table. Associate the subnets with the route table and then allocate an elastic IP address.
Creating a Virtual Private Cloud (VPC)
To create a VPC in AWS:
- In the Services menu, go to Virtual Private Cloud > Your VPCs.
- Click Create VPC. The Create VPC page opens.

- Configure the following settings:
Name Tag Enter a name for the VPC such as fdc-vpc. IPv4 CIDR block Enter the IP address for the VPC 
Creating subnets in the VPC
Create several subnets in VPC for FortiDeceptor management and deployment.
To create subnets in the VPC:
- In the Services menu, go to Virtual Private Cloud > Subnets.
- Click Create subnet. The Create subnet page opens.
- Configure the following settings:
VPC ID Select an ID from the dropdown. Subnet name Enter a name for the subnet such as fdc-mgmnet. IPv4 CIDR block Enter the IP address for the network. 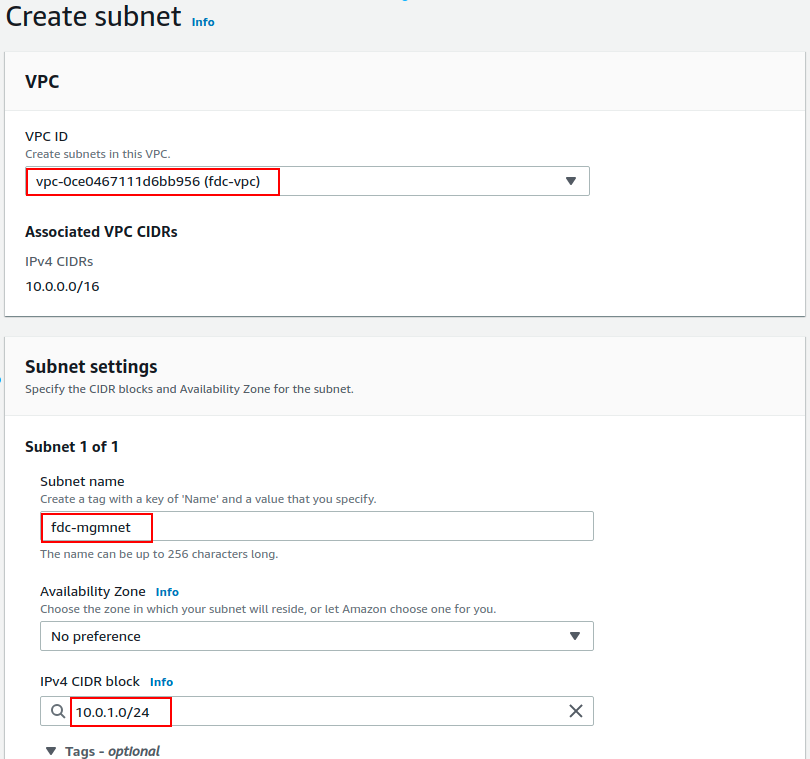
Creating an internet Gateway
To create an internet Gateway:
- In the Services menu, go to Virtual Private Cloud > Internet Gateways.
- Click Create Internet Gateway. The Create Internet Gateway page opens.
- In the Name tag field, enter a name for the tag such as fdc-publicaccess-gw.

- Click Create Internet Gateway.
Creating a route table
To create a route table:
- In the Services menu, go to Virtual Private Cloud > Route Tables.
- Click Create route table. The Create route table page opens.
- In the Name field, enter a name for the table such as fdcvpc-defualt-route.
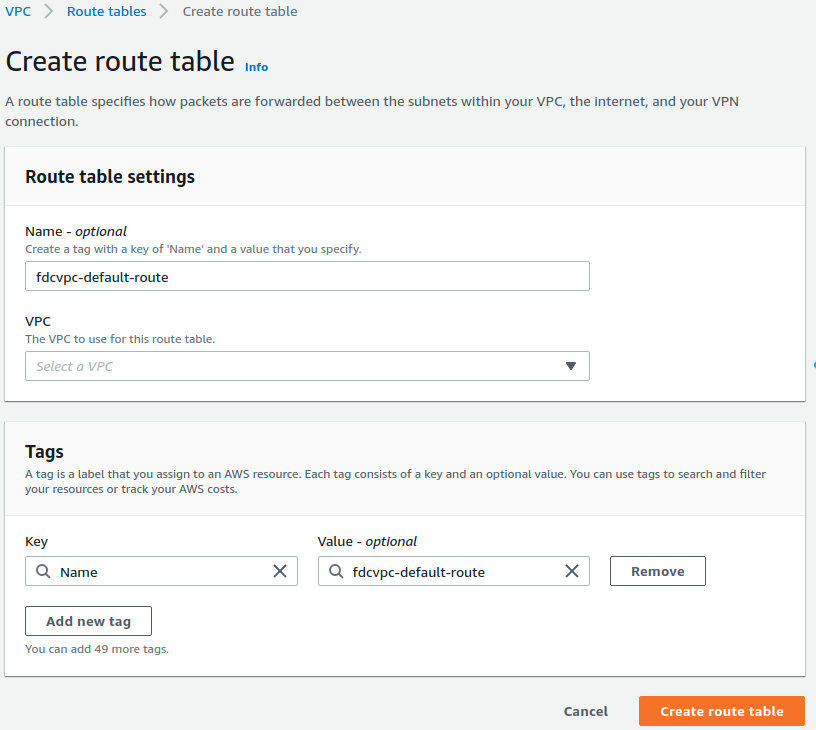
- Click Create route table.
- Open the route table you created to edit it.
- Under Edit routes, configure the following settings:
Destination Enter 0.0.0.0/0. Target Enter the Internet gateway you created. 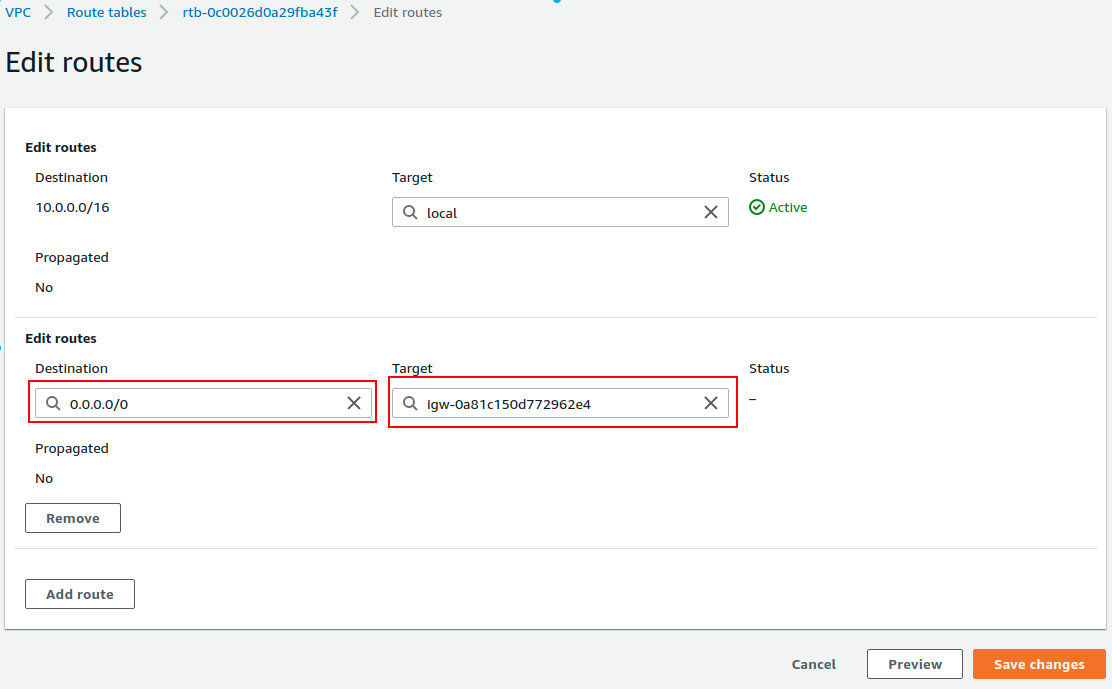
- Click Save changes.
Associating subnets with a route table
Associate a subnet with the route table to apply route rules to that specific subnet.
To associate subnets with Route Table:
- In the Services menu, go to Virtual Private Cloud > Subnets.
- Click the subnet you created. The Edit route table association page opens.
- In the Route table ID field, select the route table you just created.

- Click Save.
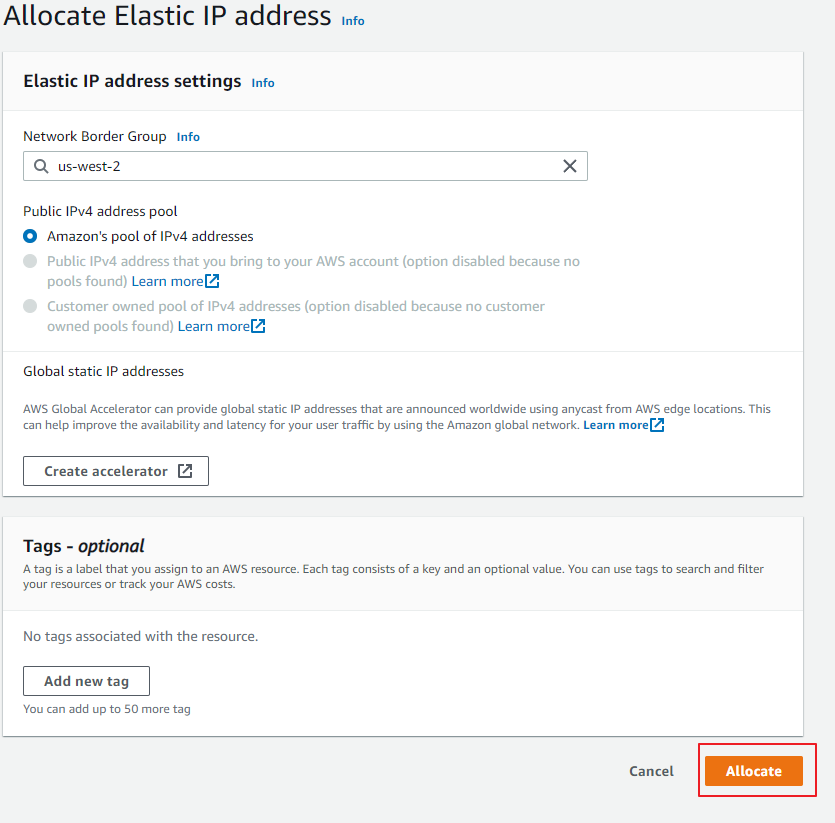
Allocating an elastic IP address
Allocate a public IP for public access to FortiDeceptor management port later. This step is not required for deployment.
To allocate an elastic IP address:
- In the Services menu, go to Virtual Private Cloud > Elastic IPs.
- Select an elastic IP. The Elastic IP address settings window opens.
- Click Allocate.