Update AWS Account Automatically
When your AWS account failed to be added to FortiCNP, you can update the AWS account on FortiCNP to re-add the account. It also gives you a chance to add or delete the optional permissions to the existing account. For more details, see AWS Permission and Resource Requirements
Update AWS Account - Part 1
- From the FortiCNP navigation pane, go to ADMIN > Cloud Accounts, click the account Action button
 and select Update Account.
 - In Update AWS Account selection, select Update this Account Automatically and click Update AWS Account.
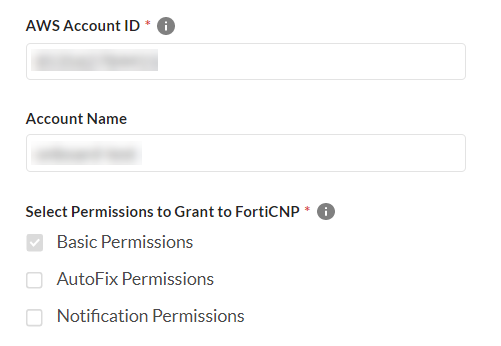
- Edit the account name, and select or unselect the optional permissions to be granted to FortiCNP.
- In CloudTrail section, select "Yes" to allow FortiCNP to create a CloudTrail for the account, or "No" if you already created one.
- Click Next to continue to the next page.
- Click Go to AWS CloudFormation Guide to be re-directed to AWS CloudFormation guide to clean up the previous configurations.
- A new page will pop up with AWS CloudFormation Guide, click Create Stack.
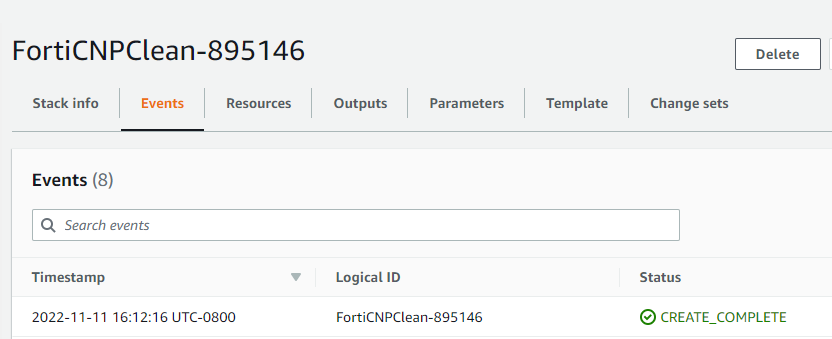
- Refresh the stack status page and until the FortiCNPClean stack status shows "CREATE_COMPLETE".
- Go back to FortiCNP add account page, and check the button for "I confirm the stack has been created at AWS".
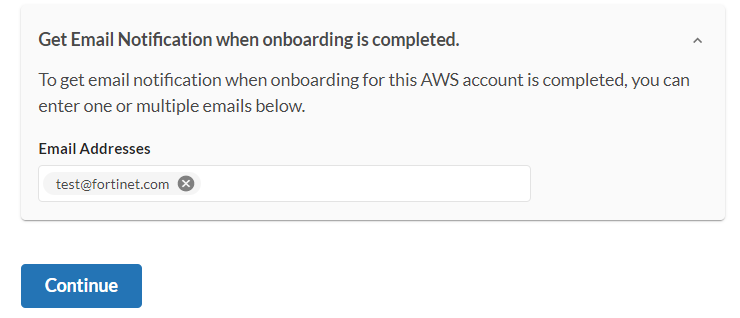
- If you would like to receive notification when the update account process is completed (recommended), click Get Email Notification drop down menu, enter an e-mail address and press
Enter. Add additional email addresses as needed. - Click Continue to go to the next page.


Update AWS Account - Part 2
After part 1 is completed, a status update will show that the cleanup stack have removed the old CloudFormation, roles, and policies.
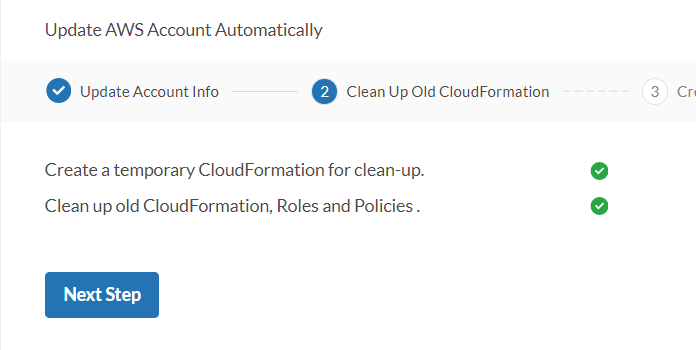
- Click Next Steps to continue with the rest of the configuration.
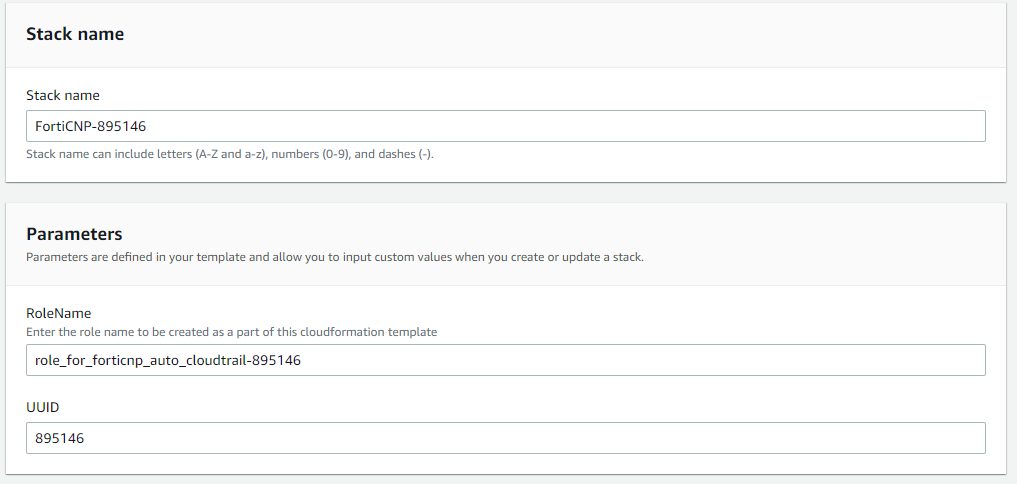
- Click Go to AWS CloudFormation Guide again to create new stack for the AWS account.
- A new page will pop up with AWS CloudFormation Guide, click Create Stack.
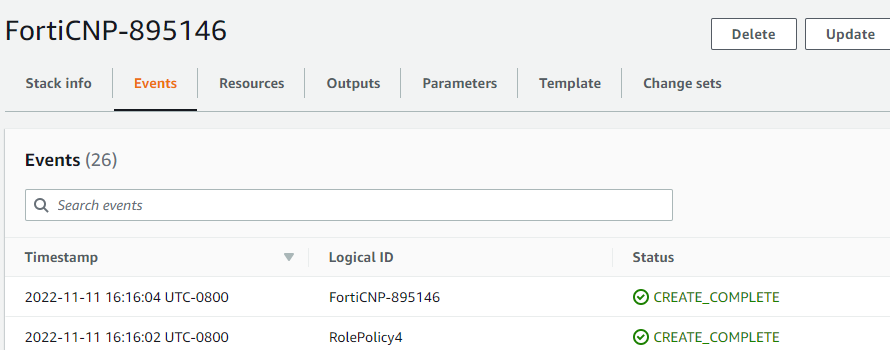
- Refresh the stack status page until the FortiCNP stack status shows "CREATE_COMPLETE".
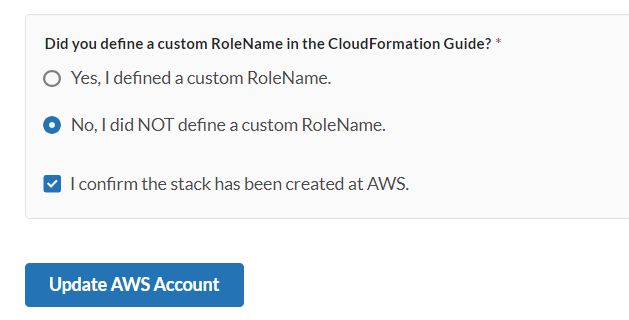
- Go back to FortiCNP update account page, if a custom RoleName is used, enter the custom RoleName, then click Update AWS Account to complete.

Note: The RoleName can be customized, but do not modify the UUID.
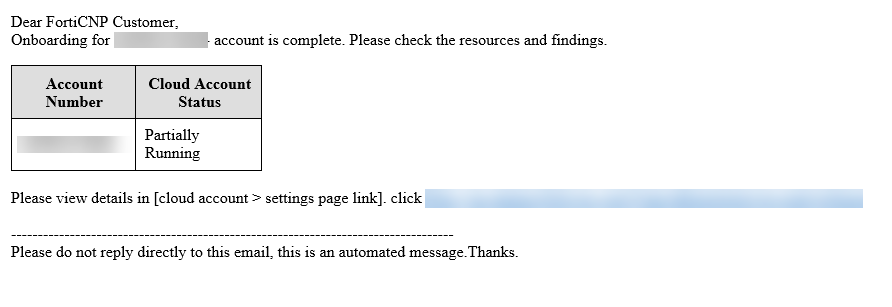
Note: If you have setup an email notification, you should received an email notification upon completion of the account update process.