


Creating User Account Batch
The FortiGuest allows you to create multiple user accounts at the same time. You can create multiple accounts manually or import from a .csv file.
Account Batch
Perform the following steps to create an account batch.
- Navigate to Accounts > Create Account Batch and click New to create an account. Update the following user details.

- The Username of the account.
- The First Name and the Last Name of the user.
- The Password to access the user account. The password must contain at least 2 characters, 2 numbers and 1 symbol (!$^()-_=+{}[];:@#~,<>?).
- The Company or organization of the user.
- The user Email address.
- The Mobile Number of the user.
Note: You cannot import more than 3700 local user accounts using the .csv template, at a given time. Currently, multiple iterations are required to import larger number of accounts.
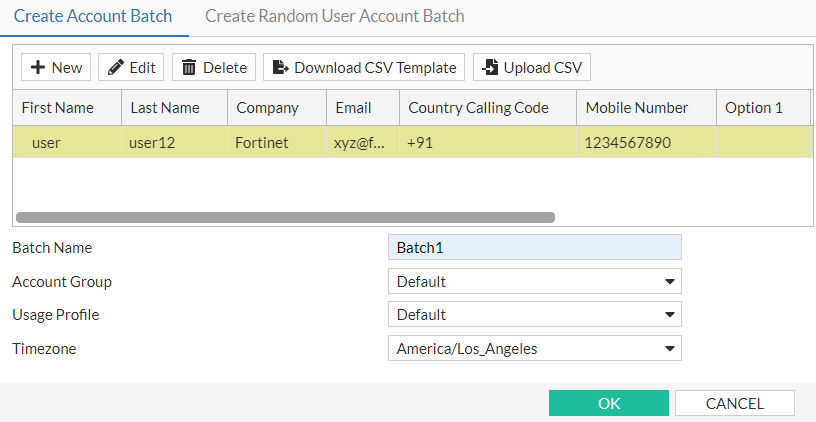
- The Batch Name.
- Select the associated Account Group and Usage Profile.
- Select the Timezone relevant to the users.
Random User Account Batch
You can create a random user account batch when you need to hand out details to visitors, but do not have access to a computer at a given point in time to create and provide the accounts to users. This feature allows you to create accounts in advance and record the details for correlation at a later time.

Click the Create Random User Account Batch tab and update the following details.
- The Number of accounts that you want to generate in this batch.
- The Batch Name.
- Select the associated Account Group and Usage Profile.
- Select the Timezone relevant to the user.