


Create or edit a DNS entry
You can create or edit a DNS entry for the DNS service.
To create a DNS entry:
-
Go to Network > DNS Service and, under DNS Database, select a DNS zone and then click Edit.
-
In the Edit DNS Zone page, select Create New.
-
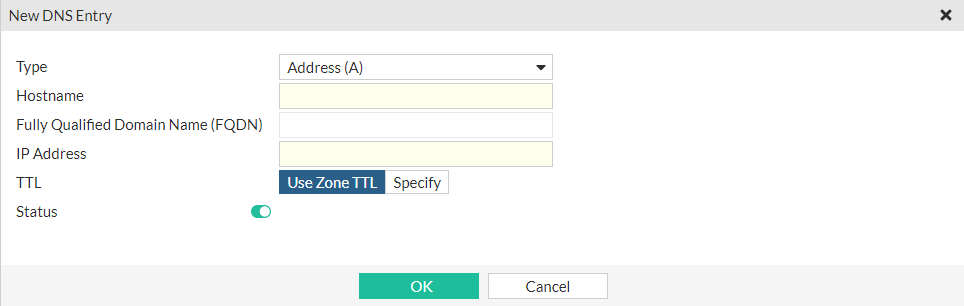
Select the type of DNS entry, one of Address (A), Name Server (NS), Canonical Name (CNAME), Mail Exchange (MX), IPv6 Address (AAAA), IPv4 Pointer (PTR), or IPv6 Pointer (PTR).
-
Enter the host name for the DNS entry.
-
Enter the fully qualified domain name for the DNS entry.
-
Enter the IP address for the DNS entry.
-
For the time to live (TTL), select Use Zone TTL or Specify. If you select Specify, enter the number of days, hours, minutes, and seconds, up to a maximum of 86,400 seconds.
-
Enable or disable Status to make the DNS entry active or inactive.
-
Click OK to save your new DNS entry. The new DNS entry is added to the table.
-
Click OK to save your changes to the DNS zone.
To edit a DNS entry:
-
Go to Network > DNS Service and, under DNS Database, select a DNS zone and then click Edit.
-
Select a DNS entry and then click Edit.
-
In the Edit DNS Entry page, make your changes.
-
Click OK to save your changes to the DNS entry.
-
Click OK to save your changes to the DNS zone.