


Create or edit a virtual IP group
Just like other address, Virtual IP addresses can be organized into groups for ease of administration. If you have multiple virtual IPs that are likely to be associated to common firewall policies rather than add them individually to each of the policies you can add the instead. That way, if the members of the group change then any changes made to the group will propagate to all of the policies using that group.
When using a Virtual IP address group the firewall policy will take into account all of the configured parameters of the Virtual IPs: IP addresses, ports, and port types.
Select Create New > Virtual IP Group to open the Create Virtual IP Group window.
To open the Edit Virtual IP Group window, select an address group and then click Edit.
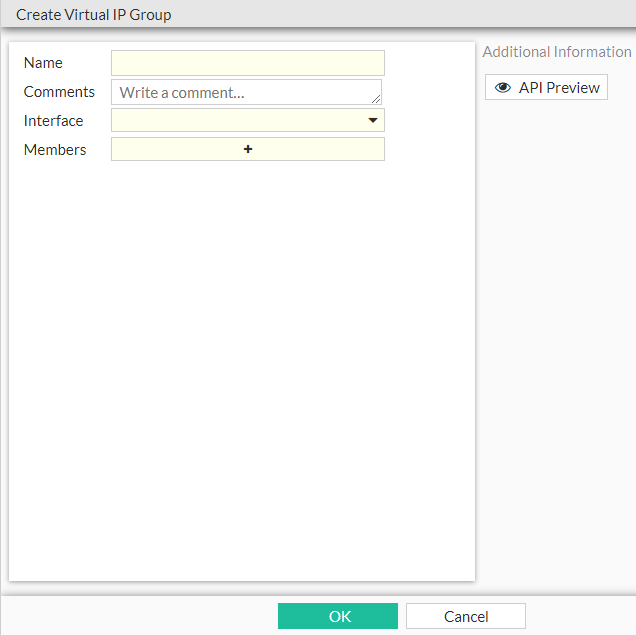
Configure the following settings in the Create Virtual IP Group window or the Edit Virtual IP Group window and then click OK:
|
Name |
Enter a unique name to identify the virtual IP group. |
|
Comments |
Optionally, enter a description of the virtual IP group. |
|
Interface |
Use the drop-down menu to select the interface if all of the VIPs are on the same interface. If any of the VIPS are on different interfaces or if any of them are associated with the "any" option, choose the any option for the group. |
|
Members |
Select the virtual IPs to add to the virtual IP group. |
|
API Preview |
The API Preview allows you to view all REST API requests being used by the page. You can make changes on the page that are reflected in the API request preview. This feature is not available if the user is logged in as an administrator that has read-only GUI permissions. |
To use the API Preview:
- Click API Preview. The API Preview pane opens, and the values for the fields are visible (data). If a new object is being created, the POST request is shown.
- Enable Show modified changes only to show the modified changes instead of the full configuration in the preview.
- Click Copy to Clipboard to copy the JSON code shown on the preview screen to the clipboard.
- Click Close to leave the preview.