


Configuration overview
Dialup users typically obtain dynamic IP addresses from an ISP through Dynamic Host Configuration Protocol (DHCP) or Point-to-Point Protocol over Ethernet (PPPoE). Then, the FortiClient Endpoint Security application initiates a connection to a FortiGate dialup server.
By default the FortiClient dialup client has the same IP address as the host PC on which it runs. If the host connects directly to the Internet, this is a public IP address. If the host is behind a NAT device, such as a router, the IP address is a private IP address. The NAT device must be NAT traversal (NAT-T) compatible to pass encrypted packets (see NAT traversal ). The FortiClient application also can be configured to use a virtual IP address (VIP). For the duration of the connection, the FortiClient application and the FortiGate unit both use the VIP address as the IP address of the FortiClient dialup client.
The FortiClient application sends its encrypted packets to the VPN remote gateway, which is usually the public interface of the FortiGate unit. It also uses this interface to download VPN settings from the FortiGate unit. See Automatic configuration of FortiClient dialup clients.
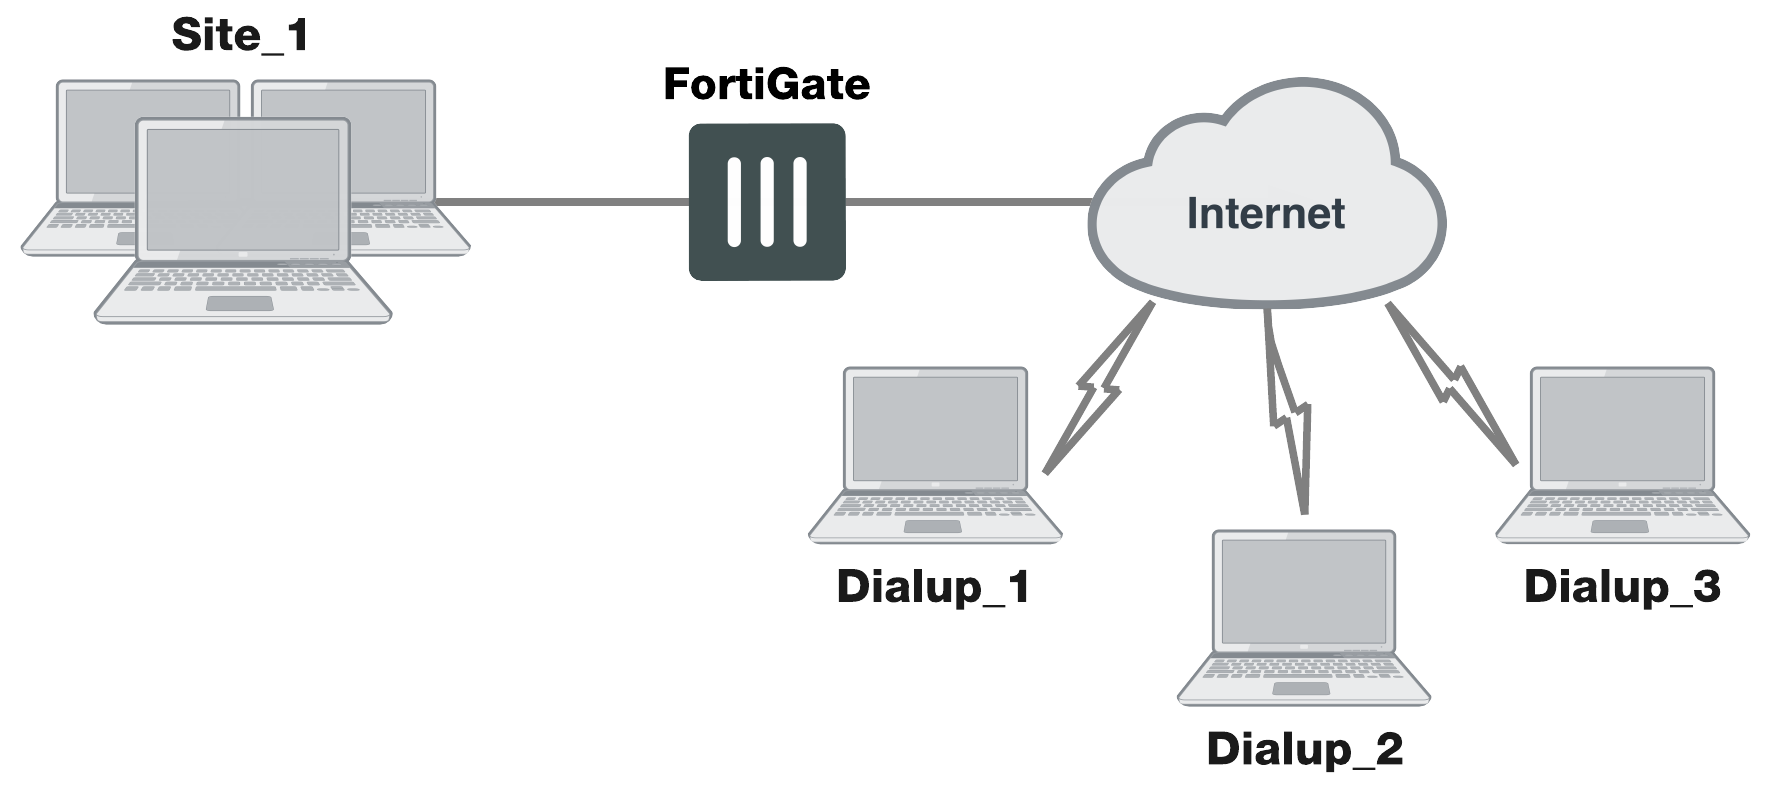
Example FortiClient dialup-client configuration
Peer identification
The FortiClient application can establish an IPsec tunnel with a FortiGate unit configured to act as a dialup server. When the FortiGate unit acts as a dialup server, it does not identify the client using the Phase 1 remote gateway address. The IPsec tunnel is established if authentication is successful and the IPsec security policy associated with the tunnel permits access. If configured, the FortiGate unit could also require FortiClient registration, that is, the remote user would be required to have FortiClient installed before connection is completed.
Automatic configuration of FortiClient dialup clients
The FortiClient application can obtain its VPN settings from the FortiGate VPN server. FortiClient users need to know only the FortiGate VPN server IP address and their username and password on the FortiGate unit.
The FortiGate unit listens for VPN policy requests from clients on TCP port 8900. When the dialup client connects:
- The client initiates a Secure Sockets Layer (SSL) connection to the FortiGate unit.
- The FortiGate unit requests a user name and password from the FortiClient user. Using these credentials, it authenticates the client and determines which VPN policy applies to the client.
- Provided that authentication is successful, the FortiGate unit downloads a VPN policy to the client over the SSL connection. The information includes IPsec Phase 1 and Phase 2 settings, and the IP addresses of the private networks that the client is authorized to access.
- The client uses the VPN policy settings to establish an IPsec Phase 1 connection and Phase 2 tunnel with the FortiGate unit.
FortiClient-to-FortiGate VPN configuration steps
Configuring dialup client capability for FortiClient dialup clients involves the following general configuration steps:
- If you will be using VIP addresses to identify dialup clients, determine which VIP addresses to use. As a precaution, consider using VIP addresses that are not commonly used.
- Configure the FortiGate unit to act as a dialup server. See Configuring the FortiGate unit.
- If the dialup clients will be configured to obtain VIP addresses through DHCP over IPsec, configure the FortiGate unit to act as a DHCP server or to relay DHCP requests to an external DHCP server.
- Configure the dialup clients. See Configure the FortiClient Endpoint Security application .
Using virtual IP addresses
When the FortiClient host PC is located behind a NAT device, unintended IP address overlap issues may arise between the private networks at the two ends of the tunnel. For example, the client’s host might receive a private IP address from a DHCP server on its network that by co-incidence is the same as a private IP address on the network behind the FortiGate unit. A conflict will occur in the host’s routing table and the FortiClient Endpoint Security application will be unable to send traffic through the tunnel. Configuring virtual IP (VIP) addresses for FortiClient applications prevents this problem.
Using VIPs ensures that client IP addresses are in a predictable range. You can then define security policies that allow access only to that source address range. If you do not use VIPs, the security policies must allow all source addresses because you cannot predict the IP address for a remote mobile user.
The FortiClient application must not have the same IP address as any host on the private network behind the FortiGate unit or any other connected FortiClient application. You can ensure this by reserving a range of IP addresses on the private network for FortiClient users. Or, you can assign FortiClient VIPs from an uncommonly used subnet such as 10.254.254.0/24 or 192.168.254.0/24.
You can reserve a VIP address for a particular client according to its device MAC address and type of connection. The DHCP server then always assigns the reserved VIP address to the client.
|
|
On the host computer, you can find out the VIP address that the FortiClient Endpoint Security application is using. For example, in Windows command prompt, type ipconfig /allOn Linux or Mac OS X, type ifconfig in a terminal window. The output will also show the IP address that has been assigned to the host Network Interface Card (NIC). |
It is best to assign VIPs using DHCP over IPsec. The FortiGate dialup server can act as a DHCP server or relay requests to an external DHCP server. You can also configure VIPs manually on FortiClient applications, but it is more difficult to ensure that all clients use unique addresses.
|
|
If you assign a VIP on the private network behind the FortiGate unit and enable DHCP-IPsec (a Phase 2 advanced option), the FortiGate unit acts as a proxy on the local private network for the FortiClient dialup client. Whenever a host on the network behind the dialup server issues an ARP request for the device MAC address of the FortiClient host, the FortiGate unit answers the ARP request on behalf of the FortiClient host and forwards the associated traffic to the FortiClient host through the tunnel. For more information, see DHCP-IPsec . |
FortiGate units fully support RFC 3456. The FortiGate DHCP over IPsec feature can be enabled to allocate VIP addresses to FortiClient dialup clients using a FortiGate DHCP server.
The figure below shows an example of a FortiClient-to-FortiGate VPN where the FortiClient application is assigned a VIP on an uncommonly used subnet. The diagram also shows that while the destination for the information in the encrypted packets is the private network behind the FortiGate unit, the destination of the IPsec packets themselves is the public interface of the FortiGate unit that acts as the end of the VPN tunnel.
IP address assignments in a FortiClient dialup-client configuration

Assigning VIPs by RADIUS user group
If you use XAuth authentication, you can assign users the virtual IP address stored in the Framed-IP-Address field of their record on the RADIUS server. (See RFC 2865 and RFC 2866 for more information about RADIUS fields.) To do this:
- Set the DHCP server IP Assignment Mode to User-group defined method. This is an Advanced setting. See Configuring a DHCP server on a FortiGate interface.
- Create a new firewall user group and add the RADIUS server to it.
- In your Phase 1 settings, configure the FortiGate unit as an XAuth server and select from User Group the new user group that you created. For more information, see XAuth server.
- Configure the FortiClient application to use XAuth. See Adding XAuth authentication.
FortiClient dialup-client infrastructure requirements
- To support policy-based VPNs, the FortiGate dialup server may operate in either NAT mode or transparent mode. NAT mode is required if you want to create a route-based VPN.
- If the FortiClient dialup clients will be configured to obtain VIP addresses through FortiGate DHCP relay, a DHCP server must be available on the network behind the FortiGate unit and the DHCP server must have a direct route to the FortiGate unit.
- If the FortiGate interface to the private network is not the default gateway, the private network behind the FortiGate unit must be configured to route IP traffic destined for dialup clients back (through an appropriate gateway) to the FortiGate interface to the private network. As an alternative, you can configure the IPsec security policy on the FortiGate unit to perform inbound NAT on IP packets. Inbound NAT translates the source addresses of inbound decrypted packets into the IP address of the FortiGate interface to the local private network.
Configuring the FortiGate unit
Configuring the FortiGate unit to establish VPN connections with FortiClient Endpoint Security users involves the following steps:
- Configure the VPN settings
- If the dialup clients use automatic configuration, configure the FortiGate unit as a VPN policy server
- If the dialup clients obtain VIP addresses by DHCP over IPsec, configure an IPsec DHCP server or relay
The procedures in this section cover basic setup of policy-based and route-based VPNs compatible with FortiClient Endpoint Security. A route-based VPN is simpler to configure.
|
|
The IPsec VPN Wizard greatly simplifies IPsec VPN tunnel creation for route-based tunnels. |
To configure FortiGate unit VPN settings to support FortiClient users, you need to:
- Configure the FortiGate Phase 1 VPN settings
- Configure the FortiGate Phase 2 VPN settings
- Add the security policy
On the local FortiGate unit, define the Phase 1 configuration needed to establish a secure connection with the FortiClient peer. See Phase 1 parameters.
- Go to VPN > IPsec Tunnels and create the new custom tunnel or edit an existing tunnel.
- Edit Network (full configuration options are only available once you click the Convert To Custom Tunnel button).
- Enter these settings in particular:
- Client Address Range
- Subnet Mask
- Use System DNS
- DNS Server
- Enable IPv4 Split Tunnel
- Edit Authentication and enter the following information:
- Define the Phase 2 parameters needed to create a VPN tunnel with the FortiClient peer. See Phase 2 parameters. Enter these settings in particular:
- Define names for the addresses or address ranges of the private networks that the VPN links. These addresses are used in the security policies that permit communication between the networks. For more information, see Defining policy addresses.
Enter these settings in particular:
|
Remote Gateway |
Select Dialup User. |
|
|
IP Address |
Enter the IP address of the remote peer. |
|
|
Interface |
Select the interface through which clients connect to the FortiGate unit. |
|
|
Mode Config |
When enabled, further options become available: |
|
|
Authentication Method |
Select Pre-shared Key. |
|
|
Pre-shared Key |
Enter the pre-shared key. This must be the same preshared key provided to the FortiClient users. |
|
|
Peer option |
Select Any peer ID. |
|
|
Method |
Select Pre-shared Key. |
|
|
Pre-shared Key |
Enter the pre-shared key. This must be the same preshared key provided to the FortiClient users. |
|
|
Peer Options |
Set Accept Types to Any peer ID. |
|
|
Name |
Enter a name to identify this Phase 2 configuration. |
|
Phase 1 |
Select the name of the Phase 1 configuration that you defined. |
|
Advanced |
Select to configure the following optional setting. |
|
DHCP-IPsec |
Select if you provide virtual IP addresses to clients using DHCP. |
- Define an address name for the individual address or the subnet address that the dialup users access through the VPN.
- If FortiClient users are assigned VIP addresses, define an address name for the subnet to which these VIPs belong.
If the security policy, which grants the VPN Connection is limited to certain services, DHCP must be included, otherwise the client won’t be able to retrieve a lease from the FortiGate’s (IPsec) DHCP server, because the DHCP Request (coming out of the tunnel) will be blocked.
Route-based VPN security policies
Define an ACCEPT security policy to permit communications between the source and destination addresses.
- Go to Policy & Objects > IPv4 Policy and select Create New.
- Enter these settings in particular:
- Go to Policy & Objects > IPv4 Policy and select Create New.
- Enter these settings in particular:
|
Name |
Enter an appropriate name for the policy. |
|
Incoming Interface |
Select the VPN Tunnel (IPsec Interface) you configured. |
|
Outgoing Interface |
Select the interface that connects to the private network behind this FortiGate unit. |
|
Source |
Select all. |
|
Destination Address |
Select all. |
|
Action |
Select ACCEPT. |
|
NAT |
Disable NAT. |
If you want to allow hosts on the private network to initiate communications with the FortiClient users after the tunnel is established, you need to define a security policy for communication in that direction.
|
Incoming Interface |
Select the interface that connects to the private network behind this FortiGate unit. |
|
Outgoing Interface |
Select the interface that connects to the private network behind this FortiGate unit. |
|
Source |
Select all. |
|
Destination Address |
Select all. |
|
Action |
Select ACCEPT. |
|
NAT |
Disable NAT. |
Policy-based VPN security policy
Define an IPsec security policy to permit communications between the source and destination addresses.
- Go to Policy & Objects > IPv4 Policy and select Create New.
- Enter these settings in particular:
|
Incoming Interface |
Select the interface that connects to the private network behind this FortiGate unit. |
|
Outgoing Interface |
Select the FortiGate unit’s public interface. |
|
Source |
Select the address name that you defined for the private network behind this FortiGate unit. |
|
Destination Address |
If FortiClient users are assigned VIPs, select the address name that you defined for the VIP subnet. Otherwise, select all. |
|
Action |
Select IPsec. Under VPN Tunnel, select the name of the Phase 1 configuration from the drop-down list. Select Allow traffic to be initiated from the remote site. |
Place VPN policies in the policy list above any other policies having similar source and destination addresses.
Configuring the FortiGate unit as a VPN policy server
When a FortiClient application set to automatic configuration connects to the FortiGate unit, the FortiGate unit requests a user name and password. If the user supplies valid credentials, the FortiGate unit downloads the VPN settings to the FortiClient application.
You must do the following to configure the FortiGate unit to work as a VPN policy server for FortiClient automatic configuration:
- Create user accounts for FortiClient users.
- Create a user group for FortiClient users and the user accounts that you created.
- Connect to the FortiGate unit CLI and configure VPN policy distribution as follows:
config vpn ipsec forticlient
edit <policy_name>
set phase2name <tunnel_name>
set usergroupname <group_name>
set status enable
end
<tunnel_name> must be the Name you specified in the step 2 of Configuring the FortiGate unit.
<group_name> must be the name of the user group your created for FortiClient users.
Configuring DHCP services on a FortiGate interface
If the FortiClient dialup clients are configured to obtain a VIP address using DHCP, configure the FortiGate dialup server to either:
- Relay DHCP requests to a DHCP server behind the FortiGate unit (see Configuring DHCP relay on a FortiGate interface below).
- Act as a DHCP server (see Configuring a DHCP server on a FortiGate interface).
Note that DHCP services are typically configured during the interface creation stage, but you can return to an interface to modify DHCP settings if need be.
Configuring DHCP relay on a FortiGate interface
- Go to Network > Interfaces and select the interface that you want to relay DHCP.
- Enable DHCP Server, and create a new DHCP Address Range and Netmask.
- Open the Advanced... menu and set Mode to Relay.
- Enter the DHCP Server IP.
- Select OK.
Configuring a DHCP server on a FortiGate interface
- Go to Network > Interfaces and select the interface that you want to act as a DHCP server.
- Enable DHCP Server, and create a new DHCP Address Range and Netmask.
- Set Default Gateway to Specify, and enter the IP address of the default gateway that the DHCP server assigns to DHCP clients.
- Set DNS Server to Same as System DNS. If you want to use a different DNS server for VPN clients, select Specify and enter an IP address in the available field.
- Open the Advanced... menu and set Mode to Server.
- Select OK.
Configure the FortiClient Endpoint Security application
The following procedure (based on FortiClient 5.4.1) explains how to configure the FortiClient Endpoint Security application to communicate with a remote FortiGate dialup server using the VIP address that you specify manually.
Configuring FortiClient
This procedure explains how to configure the FortiClient application manually using the default IKE and IPsec settings. For more information, refer to the FortiClient Administration Guide.
- Go to Remote Access and select the Settings icon.
- Select Add a new connection, set the new VPN connection to IPsec VPN, and complete following information:
- Select OK.
| Connection Name | Enter a descriptive name for the connection. |
| Remote Gateway | Enter the IP address or the fully qualified domain name (FQDN) of the remote gateway. |
|
Authentication Method |
Select Pre-shared Key and enter the pre-shared key in the field provided. |
|
Authentication (XAuth) |
Extended Authentication (XAuth) increases security by requiring additional user authentication in a separate exchange at the end of the VPN Phase 1 negotiation. The FortiGate unit challenges the user for a user name and password. It then forwards the user’s credentials to an external RADIUS or LDAP server for verification. Implementation of XAuth requires configuration at both the FortiGate unit and the FortiClient application. |
Adding XAuth authentication
For information about configuring a FortiGate unit as an XAuth server, see XAuth server. The following procedure explains how to configure the FortiClient application.
Note that XAuth is not compatible with IKE version 2.