


Appendix A: Installation on KVM
Once you have downloaded the fortipam.qcow2 you can create the virtual machine in your KVM account.
To deploy FortiPAM virtual machine:
- Launch Virtual Machine Manager on your KVM host server.
- From the Virtual Machine Manager (VMM) home page, select Create a new virtual machine.
- Select Import existing disk image and select Forward.
- Select Browse.
If you saved the
fortipam.qcow2file to /var/lib/libvirt/images, it will be visible on the right. If you saved it somewhere else on your server, select Browse Local, find it, and select Open. - Select the OS type as Generic default and select Forward.
- Specify the amount of memory and the number of CPUs to allocate to this virtual machine.
You can set the memory as 4GB and the CPUs to 4.
Select Forward.
-
Enter the name for the VM.
A new VM includes one network adapter by default.
- Check Customize configuration before installation, and select Finish.
To add additional hard disks:
Before opening your virtual machine for the first time you will need to configure two additional hard disks.
- Click Add Hardware in the Virt-manager application, and select the option to add an additional storage disk.
- For the Storage size, select a size according to the disk sizing guidelines. See System requirements in the KVM Admin Guide.
- For Bus type select VirtIO.
- Click Finish.
To add ethernet interfaces:
Before opening your virtual machine for the first time you will need to configure two ethernet interfaces.
- In the Virtual Machine Manager, locate the VM name, then select Open from the toolbar.
- Select
NIC:xxxx; the default network adapter. - In Network source dropdown, select
Host device enxxxx: macvtap. - In the Device model dropdown, select virtio.
- Click Apply.
- Click Add Hardware, and select the option to add an additional interface.
- In the Device model dropdown, select virtio.
- Select Finish.
- Click Begin Installation to start installing the new VM.
To add log/video disks or modify disk sizes after first powering up FortiPAM-VM:
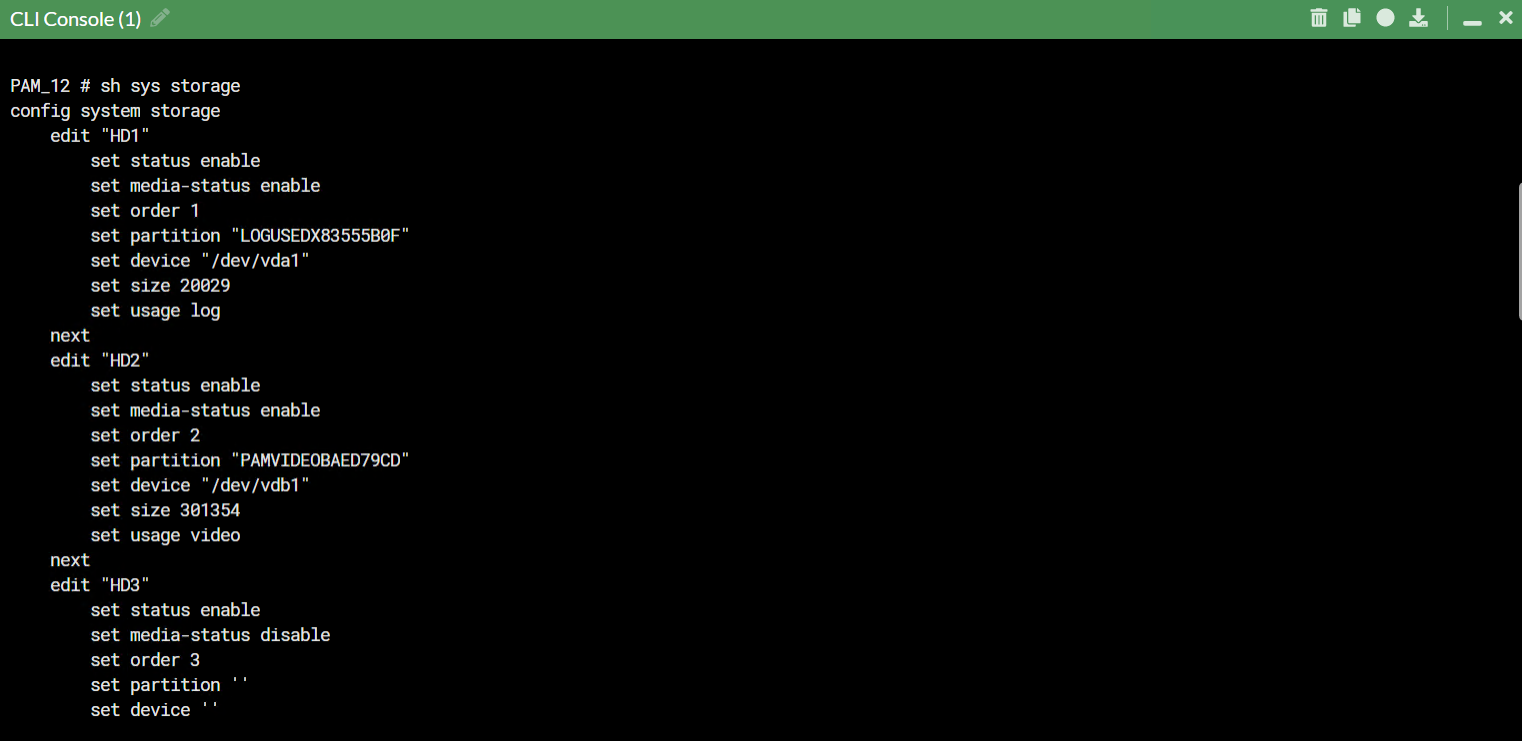
- In the CLI console, enter
sh sys storageto verify that the disk size change was successful:config system storage
edit "HD1"
set status enable
set media-status enable
set order 1
set partition "LOGUSEDX83555B0F"
set device "/dev/vda1"
set size 20029
set usage log
next
edit "HD2"
set status enable
set media-status enable
set order 2
set partition "PAMVIDEOBAED79CD"
set device "/dev/vdb1"
set size 301354
set usage video
next
edit "HD3"
set status enable
set media-status disable
set order 3
set partition ''
set device ''
If the displayed disk size is not what you had configured, enter the following command to format the log and the video disk:
execute disk format <disk_ref>
Note:
<disk_ref>can be checked using the command execute disk list.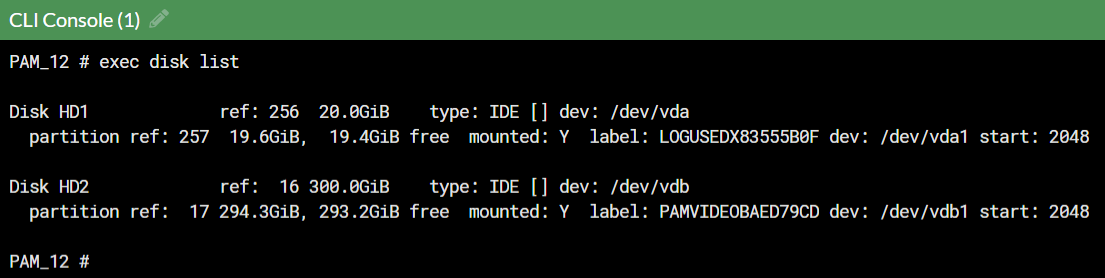
HD1 is used for the log disk and the
disk_refis 256.HD2 is used for the video disk and the
disk_refis 16.In the above example, disks can be formatted by entering the following commands:
execute disk format 256 #HD1
execute disk format 16 #HD2

Disk formatting results in the loss of all existing logs and videos.