


Schedule
Schedule can be configured in User Management.
Set up a schedule to configure when the users can connect to FortiPAM.

The Schedule tab contains the following options:
|
Create |
Select to create a new schedule. |
|
Edit |
Select to edit the selected schedule. |
|
Clone |
Select to clone the selected schedule. |
|
Delete |
Select to delete the selected schedules. |
|
Search |
Enter a search term in the search field, then hit |
To create a schedule:
- Go to User Management > Schedule.
- From the Create dropdown, select Schedule.
The New Schedule window opens.
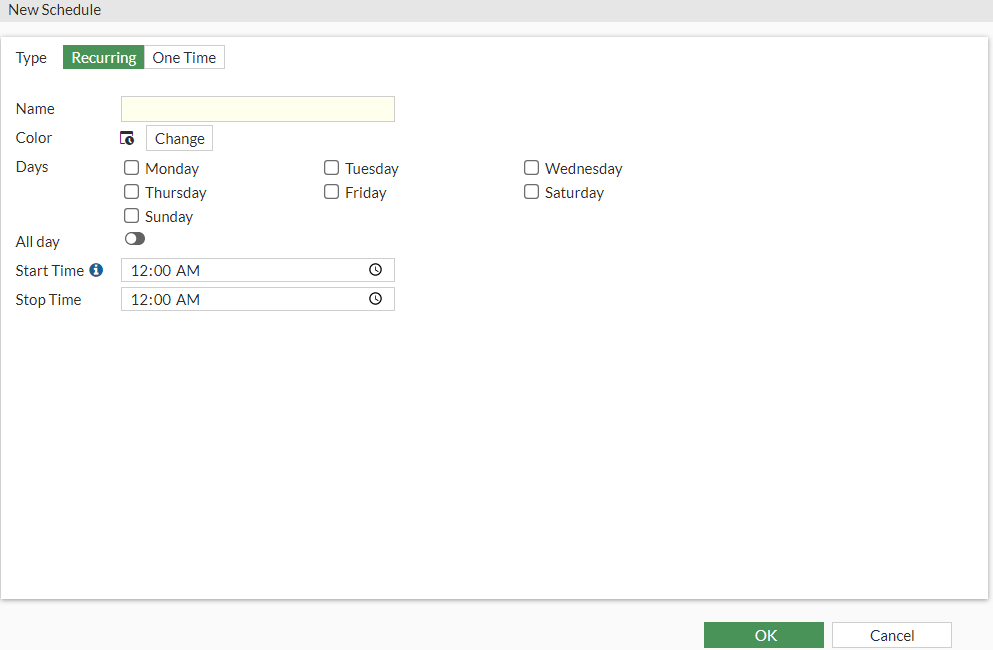
- In the New Schedule window, enter the following information:
Type
Select either Recurring or One Time.
Name
The name of the schedule.
Color
Select Change and then select a color.
Days
Select the days of the week when the schedule applies.
Note: This option is only available when the Type is Recurring.
All day
Enable to apply the schedule all day.
Note: This option is only available when the Type is Recurring.
Start Date
Enter the start date and time. Alternatively, select the calendar icon and then select a date.
Similarly, select the clock icon and then select a time.
Note: This option is only available when the Type is One Time.
Start Time
Enter the start time. Alternatively, select the clock icon and then select a start time.
Note: This option is only available when the Type is Recurring and All day is disabled.
End Date
Enter the end date and time. Alternatively, select the calendar icon and then select a date.
Similarly, select the clock icon and then select a time.
Note: This option is only available when the Type is One Time.
Stop Time
Enter the stop time. Alternatively, select the clock icon and then select a stop time.

If the stop time is set earlier than the start time, the stop time is the same time the next day.
Note: This option is only available when Type is Recurring and All day is disabled.
Pre-expiration event log
Select to create an event log Number of days before the End Date.
Note: This option is only available when the Type is One Time.
Number of days before
Enter the number of days (1 - 100, default = 3).
Note: This option is only available when the Type is One Time and Pre-expiration event log is enabled.
- Click OK.
To create a schedule group:
- Go to User Management > Schedule.
- From the Create dropdown, select Schedule Group.
The New Schedule Group window opens.
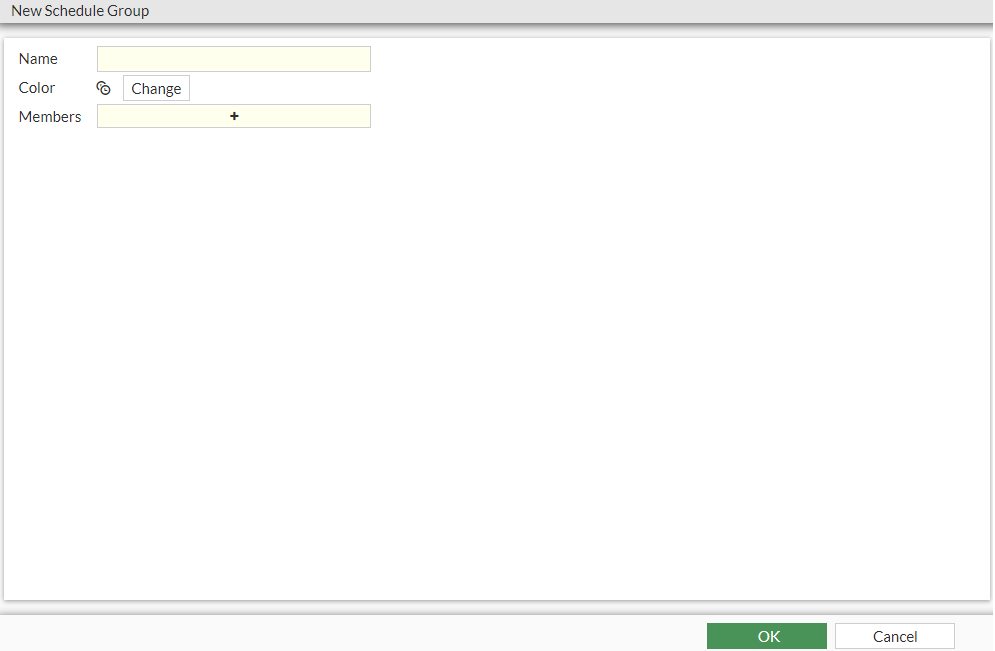
- In the New Schedule window, enter the following information:
Name
The name of the schedule group.
Color
Select Change and then select a color.
Members
From the dropdown, select +, and in Select Entries, select members.
If a new schedule is required, select Create then select the type of schedule to create a new schedule.

Use the search bar to look for members.
Use the pen icon next to a schedule to edit the scheudle.
- Click Close
- Click OK.